
Free to browse
Tips & how-to guides
1,874 free skill tips with unique step photos — plus long-form guides with FAQ and trusted sources. Every tip links to a full photographed course.
Browse tips

📱 Phones · Step 4/4
Once a year: download or copy originals to a labeled USB
Once a year: download or copy originals to a labeled USB — step 4 of 4 in Don't Lose Your Photos. Google Takeout or iCloud download for a year, or plug a drive into a computer signed into Photos and copy. Label the drive with the year.
From course: Don't Lose Your Photos
🍳 Food & Cooking · Step 1/8
Wash until water runs almost clear
Wash until water runs almost clear — step 1 of 8 in Homemade Sushi: Your First Maki and Nigiri. Rice in bowl, cover, swirl, drain. Repeat 4–5 times. Soak 20 min. Cook 1:1 rice to water by weight in rice cooker or pot — lid on, low 15…
From course: Homemade Sushi: Your First Maki and Nigiri

🍳 Food & Cooking · Step 2/8
Season and cool to body temperature
Season and cool to body temperature — step 2 of 8 in Homemade Sushi: Your First Maki and Nigiri. Heat vinegar + sugar + salt until dissolved. Fold into rice with cutting motion — don't smash grains. Fan while mixing to glossy.
From course: Homemade Sushi: Your First Maki and Nigiri
🍳 Food & Cooking · Step 3/8
Set the mat and spread rice
Set the mat and spread rice — step 3 of 8 in Homemade Sushi: Your First Maki and Nigiri. Nori shiny side down on mat covered in plastic. Wet hands. Thin rice layer — leave 2 cm bare at top edge. Wasabi stripe optional.
From course: Homemade Sushi: Your First Maki and Nigiri
🍳 Food & Cooking · Step 4/8
Roll, rest, slice
Roll, rest, slice — step 4 of 8 in Homemade Sushi: Your First Maki and Nigiri. Lift mat edge, roll over filling, squeeze gently into cylinder. Seam down, rest 2 min.
From course: Homemade Sushi: Your First Maki and Nigiri
🍳 Food & Cooking · Step 5/8
Inside-out roll (uramaki)
Inside-out roll (uramaki) — step 5 of 8 in Homemade Sushi: Your First Maki and Nigiri. Plastic wrap on mat, nori down, rice on nori, flip so rice touches wrap, nori up. Fill avocado + fish. Roll. Sesame on outside.
From course: Homemade Sushi: Your First Maki and Nigiri

🍳 Food & Cooking · Step 6/8
Two nigiri pieces
Two nigiri pieces — step 6 of 8 in Homemade Sushi: Your First Maki and Nigiri. Hand-form oval rice — 2 tbsp, gentle pressure. Slice fish 3 mm thick on bias. Wasabi dot on fish, drape over rice, one finger press on top.
From course: Homemade Sushi: Your First Maki and Nigiri

🍳 Food & Cooking · Step 7/8
Plate and eat same session
Plate and eat same session — step 7 of 8 in Homemade Sushi: Your First Maki and Nigiri. Soy sauce dish — dip fish side lightly, not rice sponge. Eat nigiri in one bite if you can. Leftover fish: cook tomorrow or freeze.
From course: Homemade Sushi: Your First Maki and Nigiri
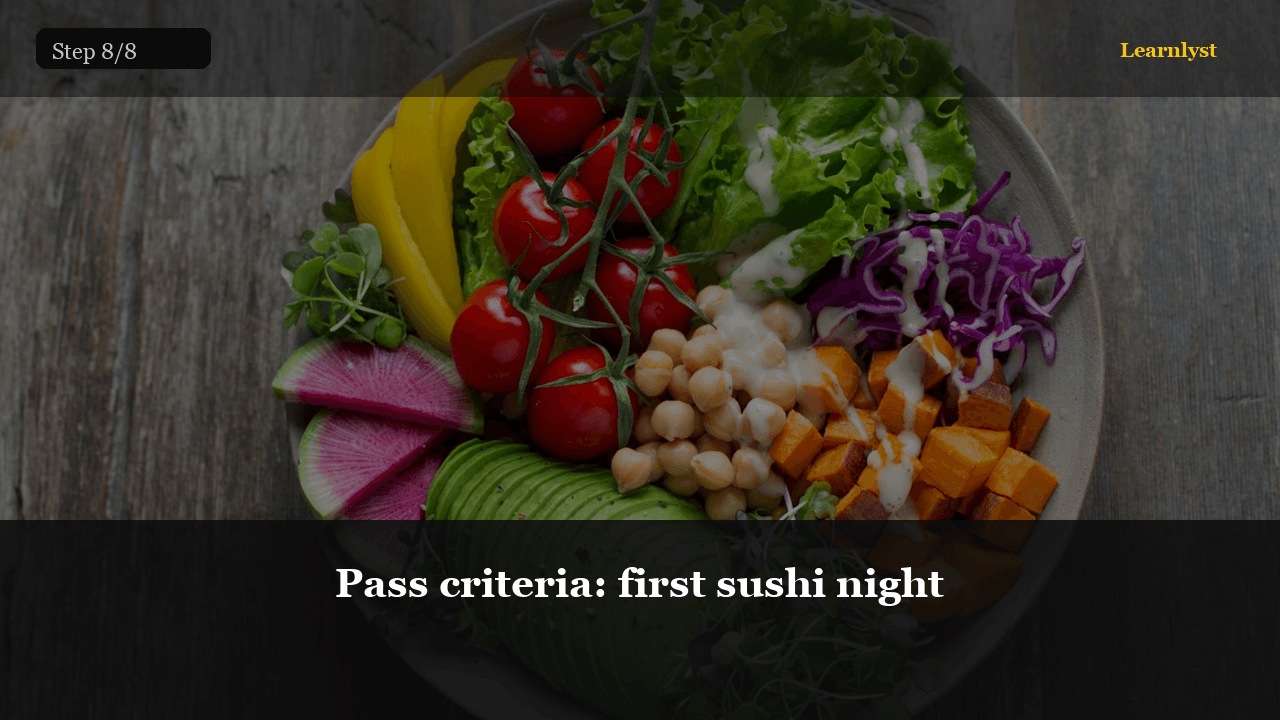
🍳 Food & Cooking · Step 8/8
Pass criteria: first sushi night
Pass criteria: first sushi night — step 8 of 8 in Homemade Sushi: Your First Maki and Nigiri. You pass when rice seasoned correctly, 1 classic maki + 1 uramaki + 2 nigiri on the table, fish was sushi-safe source, knife cuts clean.
From course: Homemade Sushi: Your First Maki and Nigiri

☀️ Everyday Life · Step 1/5
Pocket phone, eyes up — first 10 minutes
Pocket phone, eyes up — first 10 minutes — step 1 of 5 in Read the Room: Social Intelligence for Any Group. Arrive, get drink if applicable, stand where you can see the group not the corner. Notice: loud or quiet? Phones out or engaged?
From course: Read the Room: Social Intelligence for Any Group
☀️ Everyday Life · Step 2/5
Roles in the room
Roles in the room — step 2 of 5 in Read the Room: Social Intelligence for Any Group. Who do people look at when a decision is needed? Who tells jokes but doesn't decide? Who looks bored?
From course: Read the Room: Social Intelligence for Any Group

☀️ Everyday Life · Step 3/5
One question, then shut up
One question, then shut up — step 3 of 5 in Read the Room: Social Intelligence for Any Group. Openers tied to context: 'How do you know the host?' 'What brought you to this project?' Follow with one dig based on their answer.
From course: Read the Room: Social Intelligence for Any Group

☀️ Everyday Life · Step 4/5
Exit without ghosting
Exit without ghosting — step 4 of 5 in Read the Room: Social Intelligence for Any Group. 'I'm going to grab water — great talking about [specific thing].' Use their name if you learned it.
From course: Read the Room: Social Intelligence for Any Group
☀️ Everyday Life · Step 5/5
Post-event 5-minute notes
Post-event 5-minute notes — step 5 of 5 in Read the Room: Social Intelligence for Any Group. What energy was the room? Did I talk too much ratio? One moment I misread?
From course: Read the Room: Social Intelligence for Any Group
🍳 Food & Cooking · Step 1/8
A 7-day starter from nothing
A 7-day starter from nothing — step 1 of 8 in Artisan Sourdough Bread. Day 1: 50 g whole wheat flour + 50 g water in a jar, loose lid. Days 2–7: throw away half, add 50 g flour + 50 g water.
From course: Artisan Sourdough Bread

🍳 Food & Cooking · Step 2/8
The only test that matters
The only test that matters — step 2 of 8 in Artisan Sourdough Bread. Mark the jar with a rubber band after feeding. When the volume has roughly doubled and a spoonful looks airy, it is ready.
From course: Artisan Sourdough Bread
🍳 Food & Cooking · Step 3/8
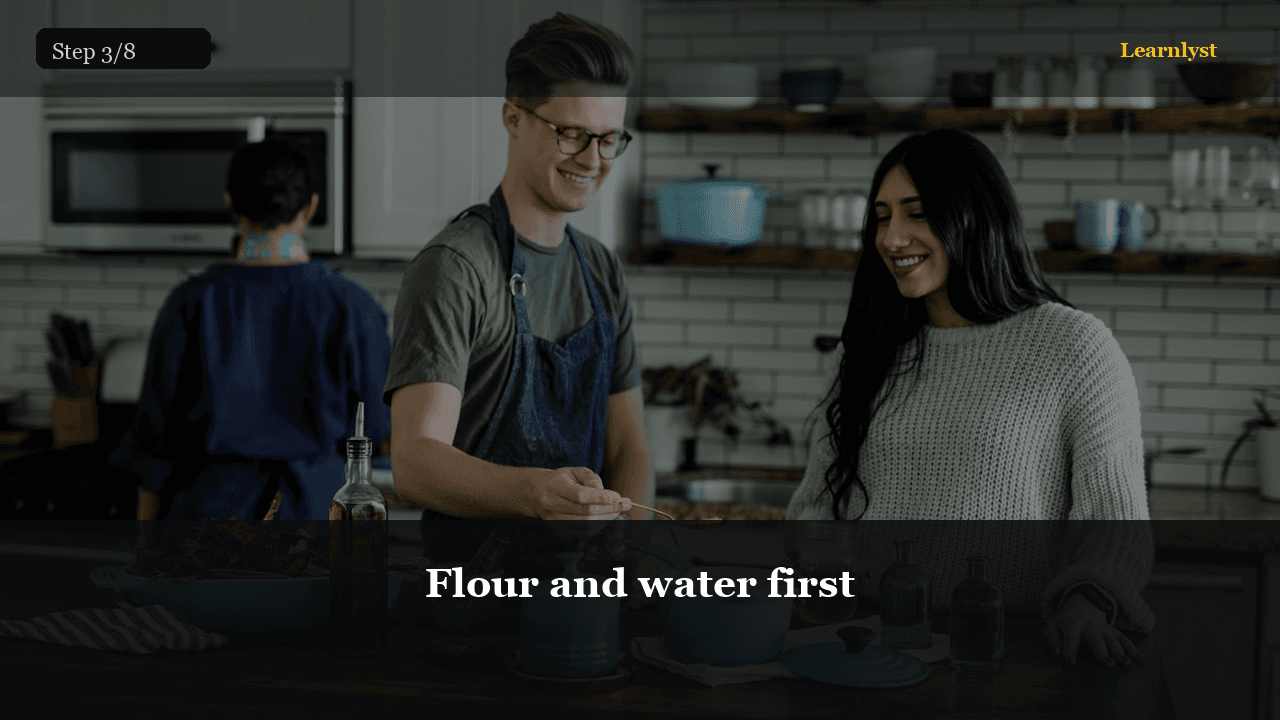
Flour and water first
Flour and water first — step 3 of 8 in Artisan Sourdough Bread. Mix 500 g bread flour with 350 g water until no dry bits. Cover 30–45 minutes. This hydrates the flour so gluten forms with less work.
From course: Artisan Sourdough Bread

🍳 Food & Cooking · Step 4/8
Four sets of coil folds
Four sets of coil folds — step 4 of 8 in Artisan Sourdough Bread. Every 30 minutes for 2 hours: wet your hands, lift one side of the dough, fold it over the center, turn the bowl, repeat.
From course: Artisan Sourdough Bread

🍳 Food & Cooking · Step 5/8
Preshape, rest, final shape
Preshape, rest, final shape — step 5 of 8 in Artisan Sourdough Bread. Tip the dough onto a lightly floured bench. Round it into a ball, seam down, rest 20 minutes uncovered.
From course: Artisan Sourdough Bread
🍳 Food & Cooking · Step 6/8
Cold proof 10–16 hours
Cold proof 10–16 hours — step 6 of 8 in Artisan Sourdough Bread. Cover and refrigerate overnight. The dough should feel puffy but still hold a fingerprint that springs back slowly.
From course: Artisan Sourdough Bread

🍳 Food & Cooking · Step 7/8
Preheat hotter than you think
Preheat hotter than you think — step 7 of 8 in Artisan Sourdough Bread. Put the Dutch oven in the oven and heat to 245°C / 475°F for 45 minutes.
From course: Artisan Sourdough Bread
🍳 Food & Cooking · Step 8/8
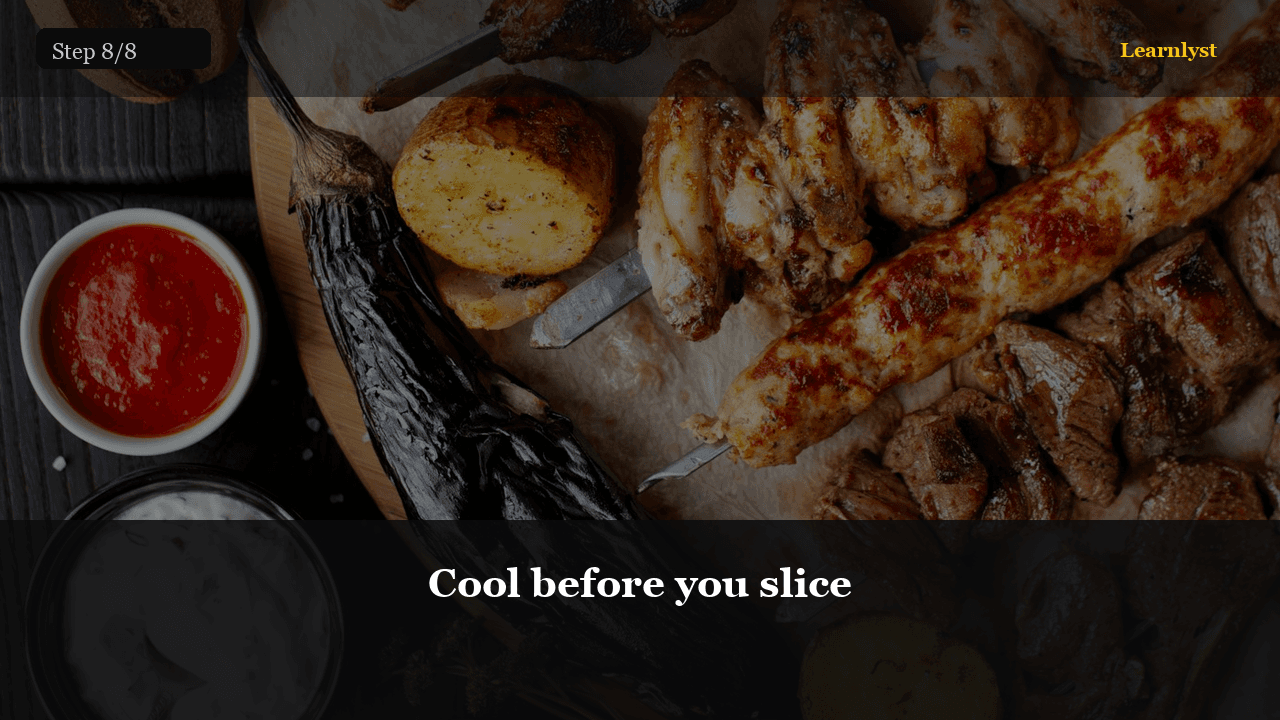
Cool before you slice
Cool before you slice — step 8 of 8 in Artisan Sourdough Bread. The crumb is still setting. Wait at least 1 hour. If you cut early it looks gummy and you will think you failed.
From course: Artisan Sourdough Bread

🍳 Food & Cooking · Step 1/6
Preheat and space
Preheat and space — step 1 of 6 in Air Fryer Weeknight Dinners for Two. Run empty 3 minutes at recipe temp before food goes in. Food in one layer — second batch beats stacked soggy.
From course: Air Fryer Weeknight Dinners for Two

🍳 Food & Cooking · Step 2/6
Four-night rotation
Four-night rotation — step 2 of 6 in Air Fryer Weeknight Dinners for Two. Mon: chicken thighs. Tue: salmon. Wed: fries + salad. Thu: chicken strips + veg. Fri: takeout guilt-free.
From course: Air Fryer Weeknight Dinners for Two
Free tips today. Full courses when you are ready.
Create a free account for daily tips — or unlock everything for $9/mo.