
Free to browse
Home & DIY tips
99 free skill tips with unique step photos — plus long-form guides with FAQ and trusted sources. Every tip links to a full photographed course.
Home & DIY tips
🏠 Home & DIY · Step 1/5
Thermostat is just a switch with a goal
Thermostat is just a switch with a goal — step 1 of 5 in How Your Home Heating System Actually Works. Setpoint above room temp → contacts close → furnace control board starts the sequence.
From course: How Your Home Heating System Actually Works

🏠 Home & DIY · Step 2/5
Return air and the filter
Return air and the filter — step 2 of 5 in How Your Home Heating System Actually Works. Cool room air is pulled into return grilles → return duct → filter → blower. Filter protects the heat exchanger and your lungs' air path.
From course: How Your Home Heating System Actually Works
🏠 Home & DIY · Step 3/5
Burner, heat exchanger, exhaust
Burner, heat exchanger, exhaust — step 3 of 5 in How Your Home Heating System Actually Works. Burner heats a metal heat exchanger. Room air blows across the outside of that metal — combustion gases stay inside and leave via the…
From course: How Your Home Heating System Actually Works

🏠 Home & DIY · Step 4/5
Plenum, main duct, branches, vents
Plenum, main duct, branches, vents — step 4 of 5 in How Your Home Heating System Actually Works. Hot air collects in the supply plenum above the furnace, rides the main trunk, splits into branch ducts, exits floor/ceiling vents.
From course: How Your Home Heating System Actually Works
🏠 Home & DIY · Step 5/5
Pass criteria: narrate the loop
Pass criteria: narrate the loop — step 5 of 5 in How Your Home Heating System Actually Works. You pass when you can point at thermostat → return/filter → blower → heat exchanger → flue → plenum → vents without notes — and you've…
From course: How Your Home Heating System Actually Works
🏠 Home & DIY · Step 1/11
Measure window and mark rod height
Measure window and mark rod height — step 1 of 11 in Hang Curtains So They Look Custom. Higher than the frame elongates the wall. Mark lightly with pencil on both sides.
From course: Hang Curtains So They Look Custom
🏠 Home & DIY · Step 2/11
Mark bracket width past the frame
Mark bracket width past the frame — step 2 of 11 in Hang Curtains So They Look Custom. Extend beyond the window so stacked panels do not block light when open.
From course: Hang Curtains So They Look Custom
🏠 Home & DIY · Step 3/11
Choose panel length and fullness
Choose panel length and fullness — step 3 of 11 in Hang Curtains So They Look Custom. Width: about 1.5–2x the rod span for fullness. Length: floor-kiss preferred for custom look.
From course: Hang Curtains So They Look Custom
🏠 Home & DIY · Step 4/11
Find studs or use rated anchors
Find studs or use rated anchors — step 4 of 11 in Hang Curtains So They Look Custom. Heavy drapes need secure fixing. Level the marks before drilling.
From course: Hang Curtains So They Look Custom
🏠 Home & DIY · Step 5/11
Install brackets then seat the rod
Install brackets then seat the rod — step 5 of 11 in Hang Curtains So They Look Custom. Tighten firmly. Center decorative finials. Confirm level across the span.
From course: Hang Curtains So They Look Custom
🏠 Home & DIY · Step 6/11
Test weight with a gentle tug
Test weight with a gentle tug — step 6 of 11 in Hang Curtains So They Look Custom. Fix wobble now — not after panels are hung. Add a center support on wide windows.
From course: Hang Curtains So They Look Custom
🏠 Home & DIY · Step 7/11
Slide panels on in the correct order
Slide panels on in the correct order — step 7 of 11 in Hang Curtains So They Look Custom. Facing and hooks or rings per panel type. Keep seams and hems even.
From course: Hang Curtains So They Look Custom

🏠 Home & DIY · Step 8/11
Space folds evenly across the rod
Space folds evenly across the rod — step 8 of 11 in Hang Curtains So They Look Custom. Hand-train pleats. Open and close once to settle hardware.
From course: Hang Curtains So They Look Custom
🏠 Home & DIY · Step 9/11
Steam or iron wrinkles from top to hem
Steam or iron wrinkles from top to hem — step 9 of 11 in Hang Curtains So They Look Custom. Steam while hanging if possible. Wrinkle-free panels sell the custom look.
From course: Hang Curtains So They Look Custom
🏠 Home & DIY · Step 10/11
Step back and adjust length illusion
Step back and adjust length illusion — step 10 of 11 in Hang Curtains So They Look Custom. Break vs kiss vs slight puddle — pick one and match both sides.
From course: Hang Curtains So They Look Custom
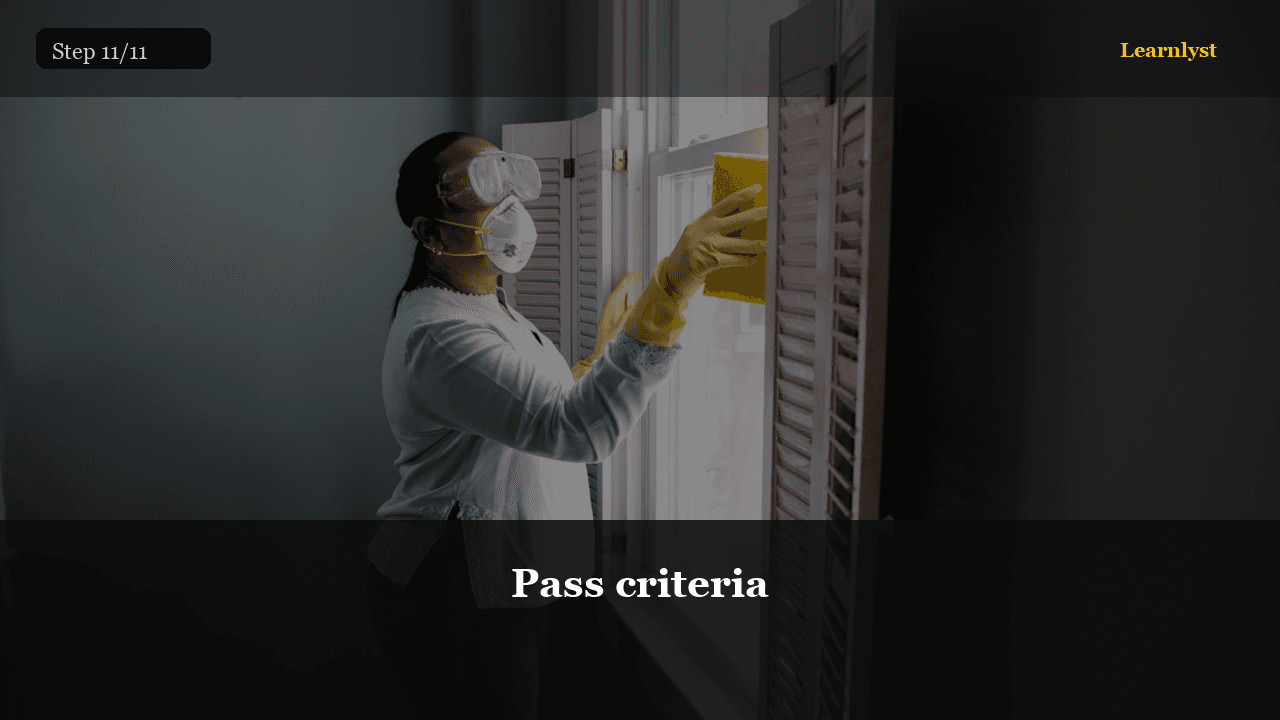
🏠 Home & DIY · Step 11/11
Pass criteria
Pass criteria — step 11 of 11 in Hang Curtains So They Look Custom. Review your result against this course checklist and note what you finished.
From course: Hang Curtains So They Look Custom
🏠 Home & DIY · Step 1/10
Clear and cover floors
Clear and cover floors — step 1 of 10 in Paint a Room in One Weekend. Furniture center; drop cloths; remove plates; tape trim.
From course: Paint a Room in One Weekend

🏠 Home & DIY · Step 2/10
Fill holes and sand
Fill holes and sand — step 2 of 10 in Paint a Room in One Weekend. Spackle, dry, sand smooth, wipe dust.
From course: Paint a Room in One Weekend

🏠 Home & DIY · Step 3/10
Clean walls and spot-prime
Clean walls and spot-prime — step 3 of 10 in Paint a Room in One Weekend. Grease spots and patches get primer.
From course: Paint a Room in One Weekend
🏠 Home & DIY · Step 4/10
Stir paint and load tray
Stir paint and load tray — step 4 of 10 in Paint a Room in One Weekend. Full mix; pour workable amount.
From course: Paint a Room in One Weekend
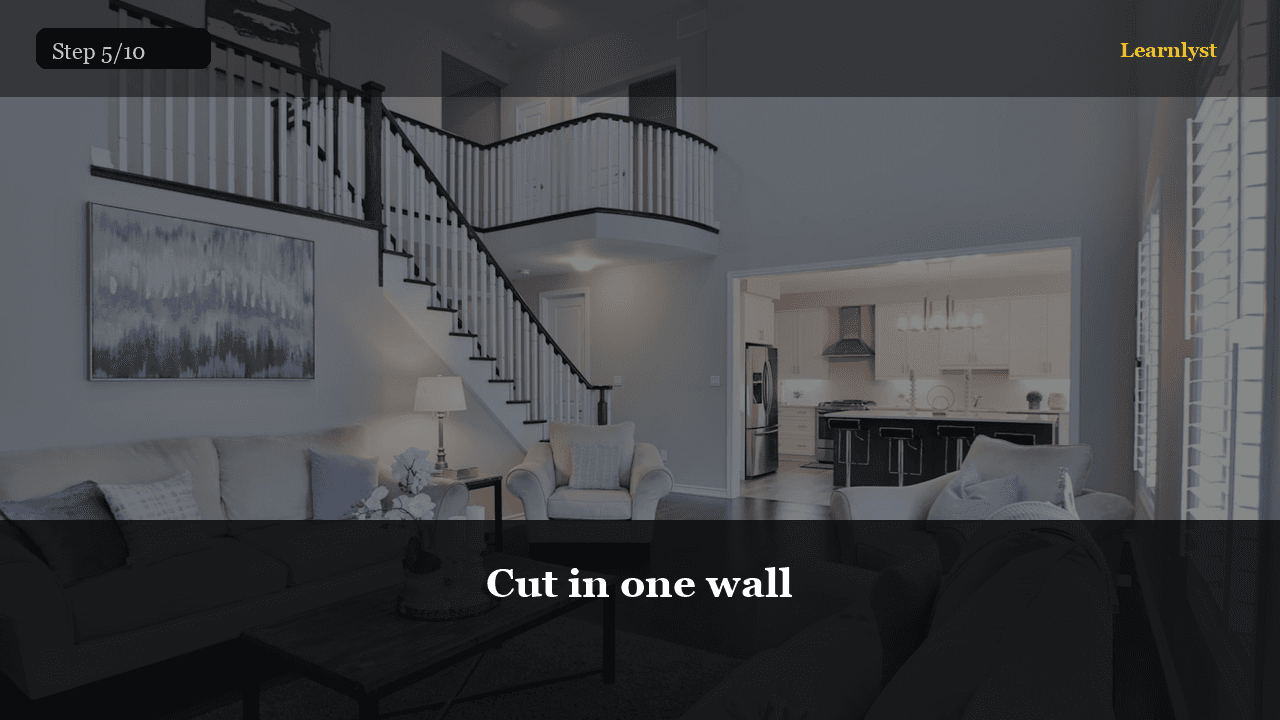
🏠 Home & DIY · Step 5/10
Cut in one wall
Cut in one wall — step 5 of 10 in Paint a Room in One Weekend. 5 cm band at edges; keep wet edge.
From course: Paint a Room in One Weekend
🏠 Home & DIY · Step 6/10
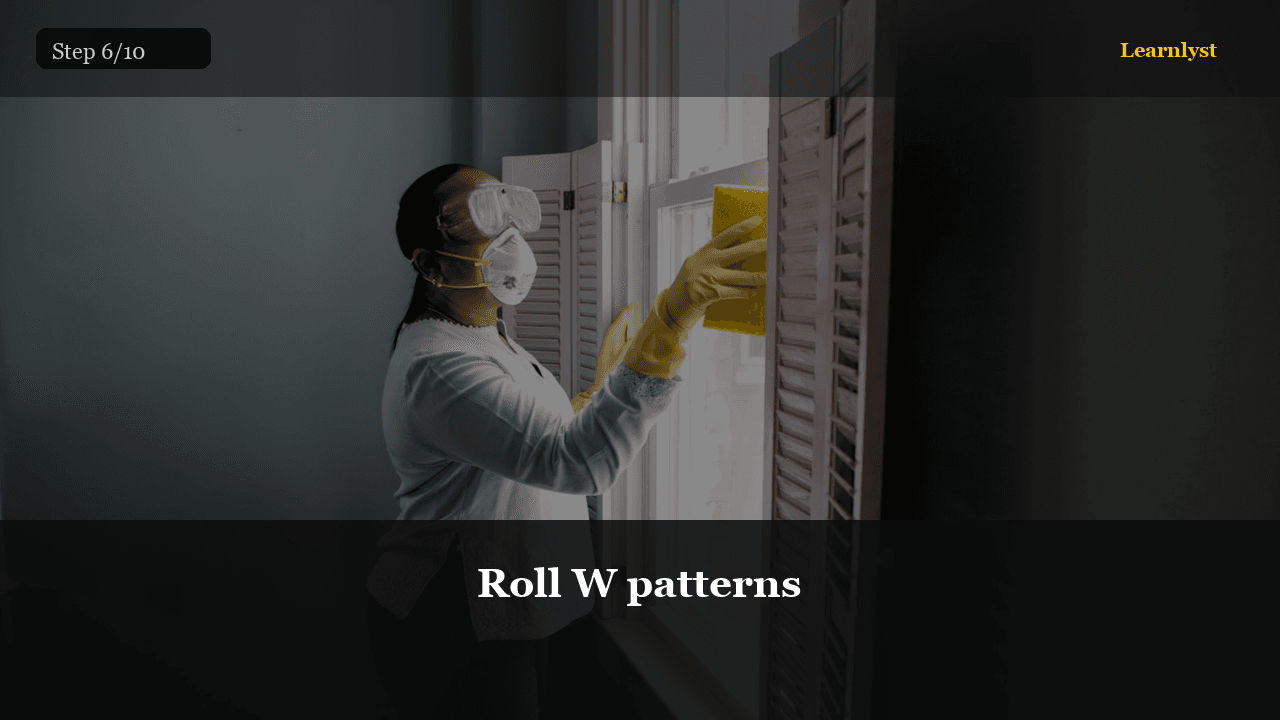
Roll W patterns
Roll W patterns — step 6 of 10 in Paint a Room in One Weekend. Overlap; reload before dry marks.
From course: Paint a Room in One Weekend
🏠 Home & DIY · Step 7/10
Second coat after dry time
Second coat after dry time — step 7 of 10 in Paint a Room in One Weekend. Same method; check side light for holidays.
From course: Paint a Room in One Weekend
🏠 Home & DIY · Step 8/10
Pull tape carefully
Pull tape carefully — step 8 of 10 in Paint a Room in One Weekend. 45 degree pull; touch up skips.
From course: Paint a Room in One Weekend
Free tips today. Full courses when you are ready.
Create a free account for daily tips — or unlock everything for $9/mo.