
Free to browse
Gardening tips
42 free skill tips with unique step photos — plus long-form guides with FAQ and trusted sources. Every tip links to a full photographed course.
Gardening tips

🌱 Gardening · Step 1/11
Choose pot size variety and sunny spot
Choose pot size variety and sunny spot — step 1 of 11 in Grow Tomatoes in Containers. Determinate or patio types for smaller pots. Confirm 6+ hours of direct sun.
From course: Grow Tomatoes in Containers

🌱 Gardening · Step 2/11
Fill with potting mix and plant at the right depth
Fill with potting mix and plant at the right depth — step 2 of 11 in Grow Tomatoes in Containers. Bury stem deeper than nursery level — tomatoes root along the stem. Water in well.
From course: Grow Tomatoes in Containers

🌱 Gardening · Step 3/11
Install cage or stake the same day
Install cage or stake the same day — step 3 of 11 in Grow Tomatoes in Containers. Do not wait until the plant flops. Soft ties; leave room to thicken.
From course: Grow Tomatoes in Containers

🌱 Gardening · Step 4/11
Water when the top inch is dry
Water when the top inch is dry — step 4 of 11 in Grow Tomatoes in Containers. Containers dry fast in heat. Deep soak until water exits drainage — skip daily sips that wet only the surface.
From course: Grow Tomatoes in Containers

🌱 Gardening · Step 5/11
Feed on a simple schedule
Feed on a simple schedule — step 5 of 11 in Grow Tomatoes in Containers. Follow label for tomato fertilizer every 1–2 weeks after first flowers, or use slow-release at planting.
From course: Grow Tomatoes in Containers
🌱 Gardening · Step 6/11
Prune suckers lightly if plant is crowded
Prune suckers lightly if plant is crowded — step 6 of 11 in Grow Tomatoes in Containers. Especially on indeterminates. Keep airflow; do not strip the plant bare.
From course: Grow Tomatoes in Containers
🌱 Gardening · Step 7/11
Watch for pests and blossom end rot
Watch for pests and blossom end rot — step 7 of 11 in Grow Tomatoes in Containers. Remove damaged leaves. Even watering reduces blossom end rot; calcium myths are often really water stress.
From course: Grow Tomatoes in Containers
🌱 Gardening · Step 8/11
Harvest when color is full and fruit gives slightly
Harvest when color is full and fruit gives slightly — step 8 of 11 in Grow Tomatoes in Containers. Snip with stem. Indoor finish is OK if frost threatens — pick mature green and ripen inside.
From course: Grow Tomatoes in Containers

🌱 Gardening · Step 9/11
Keep a one-line weekly care log
Keep a one-line weekly care log — step 9 of 11 in Grow Tomatoes in Containers. Water days, feed days, first ripe date — makes next season easier.
From course: Grow Tomatoes in Containers
🌱 Gardening · Step 10/11
End-of-season clean pot for reuse
End-of-season clean pot for reuse — step 10 of 11 in Grow Tomatoes in Containers. Pull roots, refresh mix or replace top third, scrub pot if disease was present.
From course: Grow Tomatoes in Containers
🌱 Gardening · Step 11/11
Pass criteria
Pass criteria — step 11 of 11 in Grow Tomatoes in Containers. Review your result against this course checklist and note what you finished.
From course: Grow Tomatoes in Containers

🌱 Gardening · Step 1/4
Design and cut list
Design and cut list — step 1 of 4 in Build a Raised Planter Box This Weekend. Example: 24×48 in inside, 12 in tall. Long sides, short sides, four corner posts. Write every piece length before cutting.
From course: Build a Raised Planter Box This Weekend

🌱 Gardening · Step 2/4
Cut and dry-fit
Cut and dry-fit — step 2 of 4 in Build a Raised Planter Box This Weekend. Cut all pieces. Dry-fit corners on a flat driveway. Diagonals should match within ~1/8 in when squared.
From course: Build a Raised Planter Box This Weekend

🌱 Gardening · Step 3/4
Screw it square
Screw it square — step 3 of 4 in Build a Raised Planter Box This Weekend. Assemble corners with exterior screws into posts or overlapping boards. Recheck diagonals.
From course: Build a Raised Planter Box This Weekend

🌱 Gardening · Step 4/4
Soil and pass criteria
Soil and pass criteria — step 4 of 4 in Build a Raised Planter Box This Weekend. Fill with potting/raised-bed mix + compost. Water to settle, top up. Plant herbs or salad starts.
From course: Build a Raised Planter Box This Weekend
🌱 Gardening · Step 1/7
Fill the tray with 1–2 cm of moist potting mix
Fill the tray with 1–2 cm of moist potting mix — step 1 of 7 in Grow Microgreens on the Counter. Dampen the mix first — grab a handful and squeeze. A few drops should come out, not a stream.
From course: Grow Microgreens on the Counter

🌱 Gardening · Step 2/7
Sow densely — seeds almost touching
Sow densely — seeds almost touching — step 2 of 7 in Grow Microgreens on the Counter. Scatter seeds across the entire surface so they are nearly shoulder to shoulder. For radish: about 1–2 tablespoons per 10×20 tray.
From course: Grow Microgreens on the Counter

🌱 Gardening · Step 3/7
Cover with a second tray or lid — total darkness for 2–4 days
Cover with a second tray or lid — total darkness for 2–4 days — step 3 of 7 in Grow Microgreens on the Counter. Place an inverted tray or a piece of cardboard directly on top, resting on the seeds (light weight is fine — it encourages straight stems).
From course: Grow Microgreens on the Counter
🌱 Gardening · Step 4/7
Uncover when stems are 2–3 cm tall
Uncover when stems are 2–3 cm tall — step 4 of 7 in Grow Microgreens on the Counter. When you lift the lid and see a forest of pale stems 2–3 cm tall, move the tray to the windowsill.
From course: Grow Microgreens on the Counter
🌱 Gardening · Step 5/7
Mist the soil, not the canopy
Mist the soil, not the canopy — step 5 of 7 in Grow Microgreens on the Counter. Once a day, aim the spray at the base. Wet leaves in a dense tray invite mold — the air between microgreen stems has no circulation.
From course: Grow Microgreens on the Counter

🌱 Gardening · Step 6/7
Cut at soil level when the first true leaves open
Cut at soil level when the first true leaves open — step 6 of 7 in Grow Microgreens on the Counter. The first two leaves are cotyledons — round and generic. The next pair are true leaves — shaped like the adult plant.
From course: Grow Microgreens on the Counter

🌱 Gardening · Step 7/7
Pass criteria: one tray from seed to plate
Pass criteria: one tray from seed to plate — step 7 of 7 in Grow Microgreens on the Counter. You pass when you have harvested at least one full tray of microgreens and eaten them — on a sandwich, in a salad, as a garnish.
From course: Grow Microgreens on the Counter
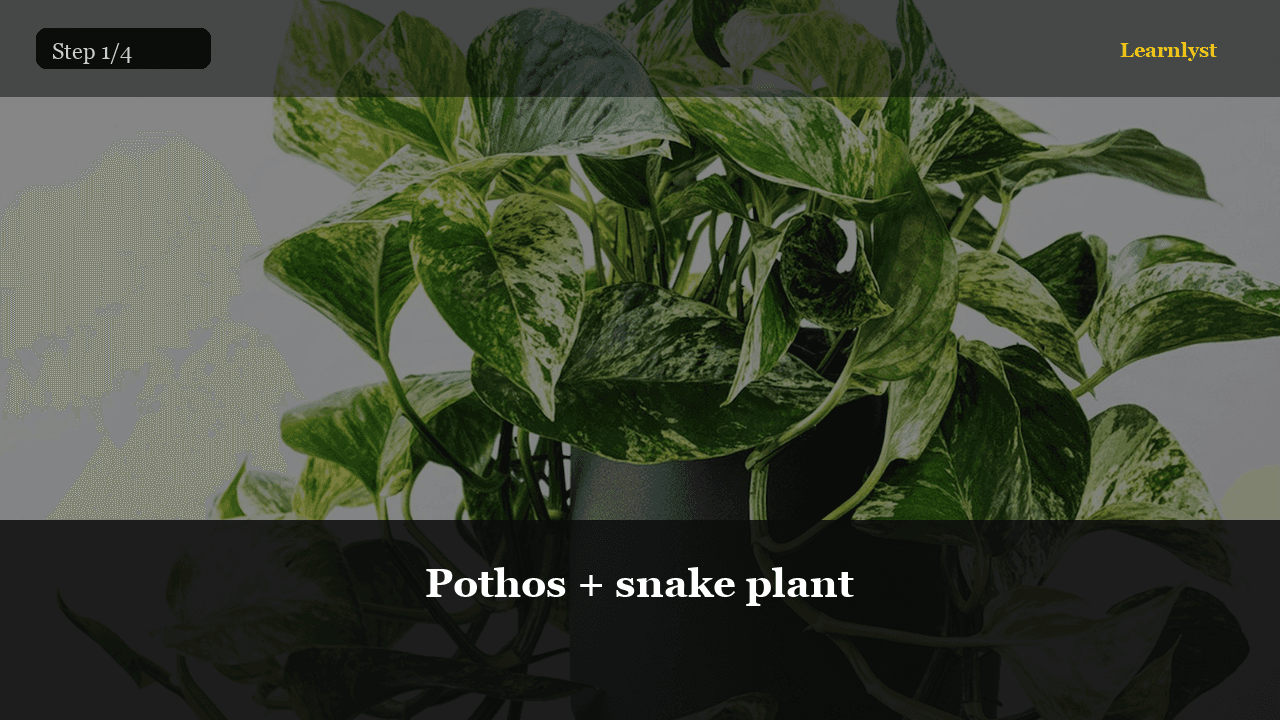
🌱 Gardening · Step 1/4
Pothos + snake plant
Pothos + snake plant — step 1 of 4 in Houseplants That Live. If these die, it's almost always water or a pot with no hole. Don't start with calathea.
From course: Houseplants That Live

🌱 Gardening · Step 2/4
Finger or stick two knuckles down
Finger or stick two knuckles down — step 2 of 4 in Houseplants That Live. Dry? Water until it drains. Wet? Walk away. Snake plants want to dry more than pothos. Winter: less often.
From course: Houseplants That Live
Free tips today. Full courses when you are ready.
Create a free account for daily tips — or unlock everything for $9/mo.