
Free to browse
Photography tips
54 free skill tips with unique step photos — plus long-form guides with FAQ and trusted sources. Every tip links to a full photographed course.
Photography tips

📷 Photography · Step 1/3
Soft light, plain background
Soft light, plain background — step 1 of 3 in Product Photos That Sell on Marketplace. Place item near a window on a plain sheet or clean floor. Turn off overhead yellow lights if they clash.
From course: Product Photos That Sell on Marketplace

📷 Photography · Step 2/3
Hero, details, flaw, scale
Hero, details, flaw, scale — step 2 of 3 in Product Photos That Sell on Marketplace. 1) Straight-on hero. 2–3) Other sides. 4) Label/brand. 5) Flaw honest close-up. 6) Scale (coin, banana, or tape). Fill the frame.
From course: Product Photos That Sell on Marketplace

📷 Photography · Step 3/3
Pass criteria: scroll-stopping set
Pass criteria: scroll-stopping set — step 3 of 3 in Product Photos That Sell on Marketplace. You pass when five photos look consistent, bright enough on a phone screen, and you'd buy from the listing yourself.
From course: Product Photos That Sell on Marketplace
📷 Photography · Step 1/14
Turn on the grid
Turn on the grid — step 1 of 14 in Phone Photography That Looks Intentional. Open your camera settings and enable the 3×3 grid overlay. This grid divides the frame into nine equal rectangles.
From course: Phone Photography That Looks Intentional

📷 Photography · Step 2/14
Place the subject on an intersection
Place the subject on an intersection — step 2 of 14 in Phone Photography That Looks Intentional. Take your phone outside and photograph a single object — a post, a person, a tree.
From course: Phone Photography That Looks Intentional

📷 Photography · Step 3/14
Find lines that pull the eye
Find lines that pull the eye — step 3 of 14 in Phone Photography That Looks Intentional. Leading lines are real-world lines — sidewalks, fences, shadows, railings — that guide the viewer's eye into or through the frame.
From course: Phone Photography That Looks Intentional
📷 Photography · Step 4/14
Combine lines with the grid
Combine lines with the grid — step 4 of 14 in Phone Photography That Looks Intentional. Place your subject on a thirds intersection and let a leading line run toward it.
From course: Phone Photography That Looks Intentional

📷 Photography · Step 5/14
Why the first and last hour matter
Why the first and last hour matter — step 5 of 14 in Phone Photography That Looks Intentional. Golden hour is the 60 minutes after sunrise and before sunset. The sun is low, light wraps around subjects with warm color and soft…
From course: Phone Photography That Looks Intentional
📷 Photography · Step 6/14
Position relative to the sun
Position relative to the sun — step 6 of 14 in Phone Photography That Looks Intentional. Front light (sun behind you) is safe and flat. Side light (sun at 90°) adds depth and texture.
From course: Phone Photography That Looks Intentional
📷 Photography · Step 7/14
Use one window as your light source
Use one window as your light source — step 7 of 14 in Phone Photography That Looks Intentional. Place your subject next to a window with no direct sun blasting through. The window becomes a large, soft light source.
From course: Phone Photography That Looks Intentional
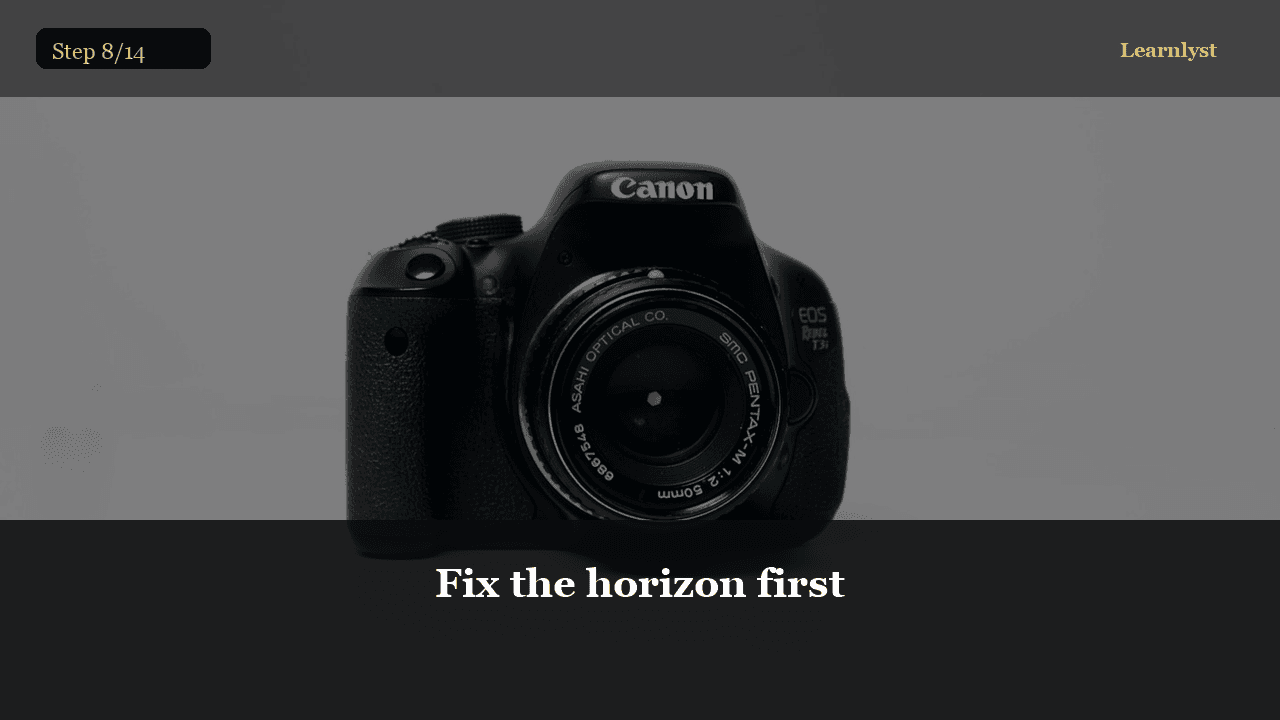
📷 Photography · Step 8/14
Fix the horizon first
Fix the horizon first — step 8 of 14 in Phone Photography That Looks Intentional. Open your photo in Snapseed (or your default editor). Use the rotate/straighten tool.
From course: Phone Photography That Looks Intentional

📷 Photography · Step 9/14
Pull exposure to match what your eye saw
Pull exposure to match what your eye saw — step 9 of 14 in Phone Photography That Looks Intentional. Your phone exposes for the average brightness of the frame, which often means the subject is slightly too dark or the sky is blown.
From course: Phone Photography That Looks Intentional

📷 Photography · Step 10/14
Add a touch of contrast if the image looks flat
Add a touch of contrast if the image looks flat — step 10 of 14 in Phone Photography That Looks Intentional. Flat means the darks and lights are close together — the image looks hazy.
From course: Phone Photography That Looks Intentional

📷 Photography · Step 11/14
Save at maximum quality
Save at maximum quality — step 11 of 14 in Phone Photography That Looks Intentional. In Snapseed, tap Export → Save a copy. This preserves the original and saves an edited version at full resolution.
From course: Phone Photography That Looks Intentional
📷 Photography · Step 12/14
Move to a folder you'll find
Move to a folder you'll find — step 12 of 14 in Phone Photography That Looks Intentional. Create a folder called 'Portfolio' or 'Finals' on your phone. After each edit session, move your best 1–2 shots there.
From course: Phone Photography That Looks Intentional
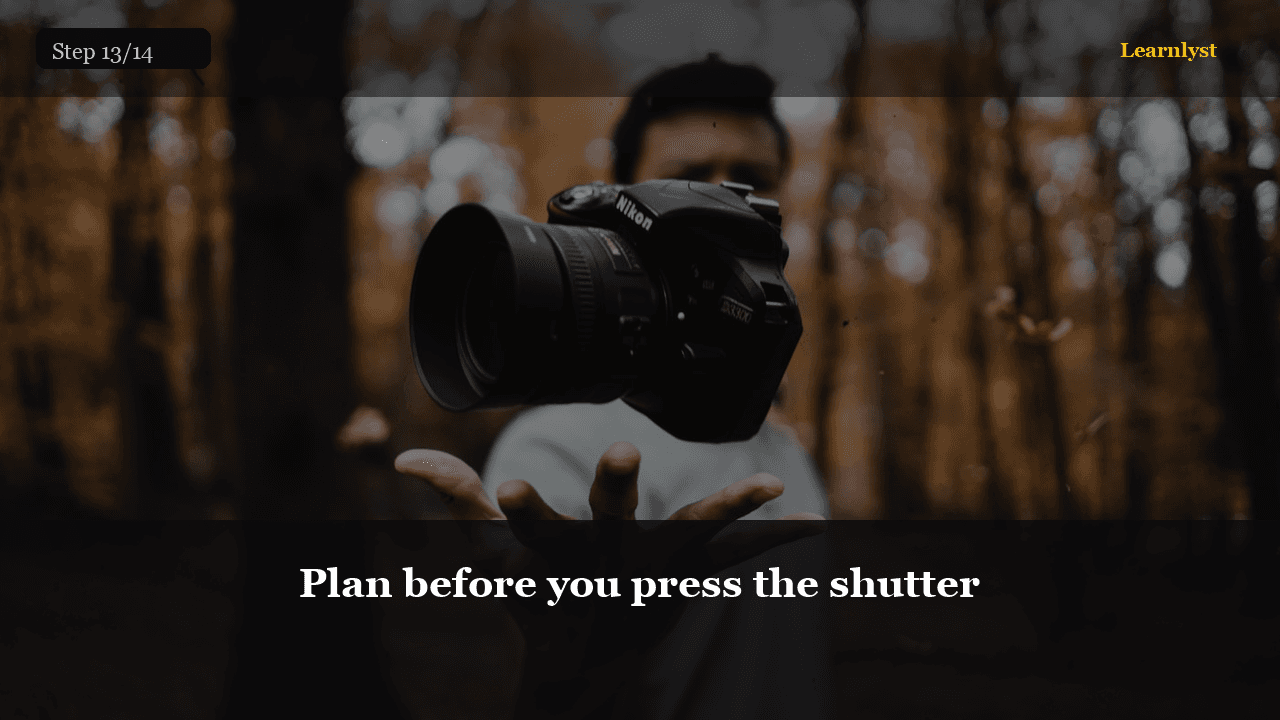
📷 Photography · Step 13/14
Plan before you press the shutter
Plan before you press the shutter — step 13 of 14 in Phone Photography That Looks Intentional. Pick a subject. Decide: where's the light coming from? Where will the subject sit on the grid? Is there a leading line I can use?
From course: Phone Photography That Looks Intentional

📷 Photography · Step 14/14
Edit and export your best frame
Edit and export your best frame — step 14 of 14 in Phone Photography That Looks Intentional. Choose one frame from the session. Straighten, adjust exposure, save at full resolution.
From course: Phone Photography That Looks Intentional
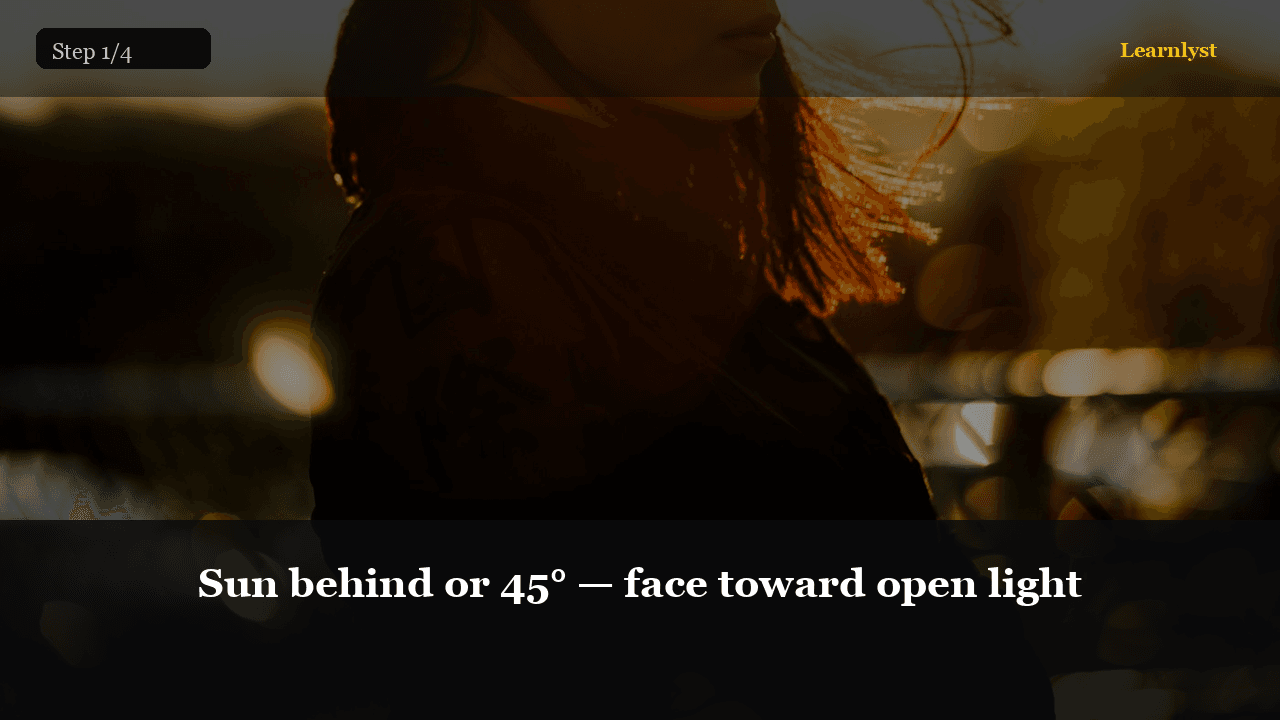
📷 Photography · Step 1/4
Sun behind or 45° — face toward open light
Sun behind or 45° — face toward open light — step 1 of 4 in Golden Hour Portraits on a Phone. Golden hour: sun low. Put sun behind or to the side so the face isn't squinting into noon glare.
From course: Golden Hour Portraits on a Phone
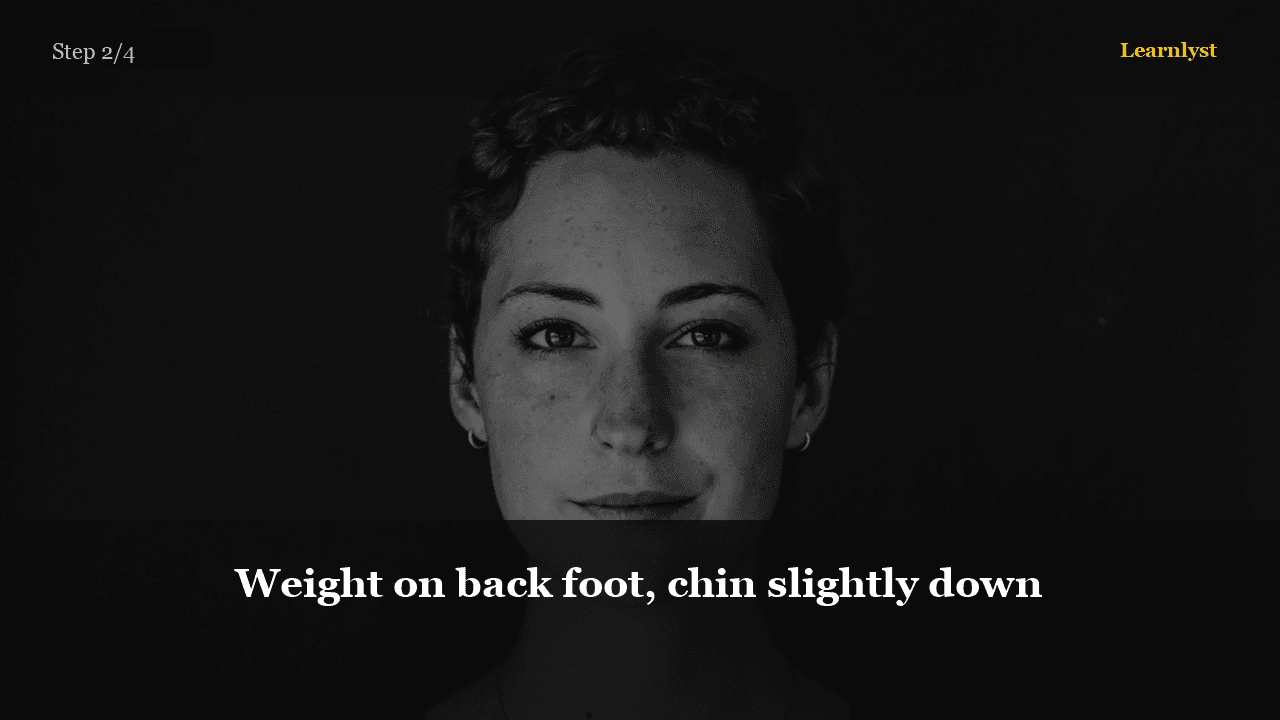
📷 Photography · Step 2/4
Weight on back foot, chin slightly down
Weight on back foot, chin slightly down — step 2 of 4 in Golden Hour Portraits on a Phone. Person stands at a slight angle. Weight on back foot. Chin gently toward camera, not up.
From course: Golden Hour Portraits on a Phone

📷 Photography · Step 3/4
Tap face, lock exposure, shoot burst
Tap face, lock exposure, shoot burst — step 3 of 4 in Golden Hour Portraits on a Phone. Tap the face to focus. If the sky is too bright, drag exposure down a notch so skin holds detail. Burst or hold for continuous shots.
From course: Golden Hour Portraits on a Phone
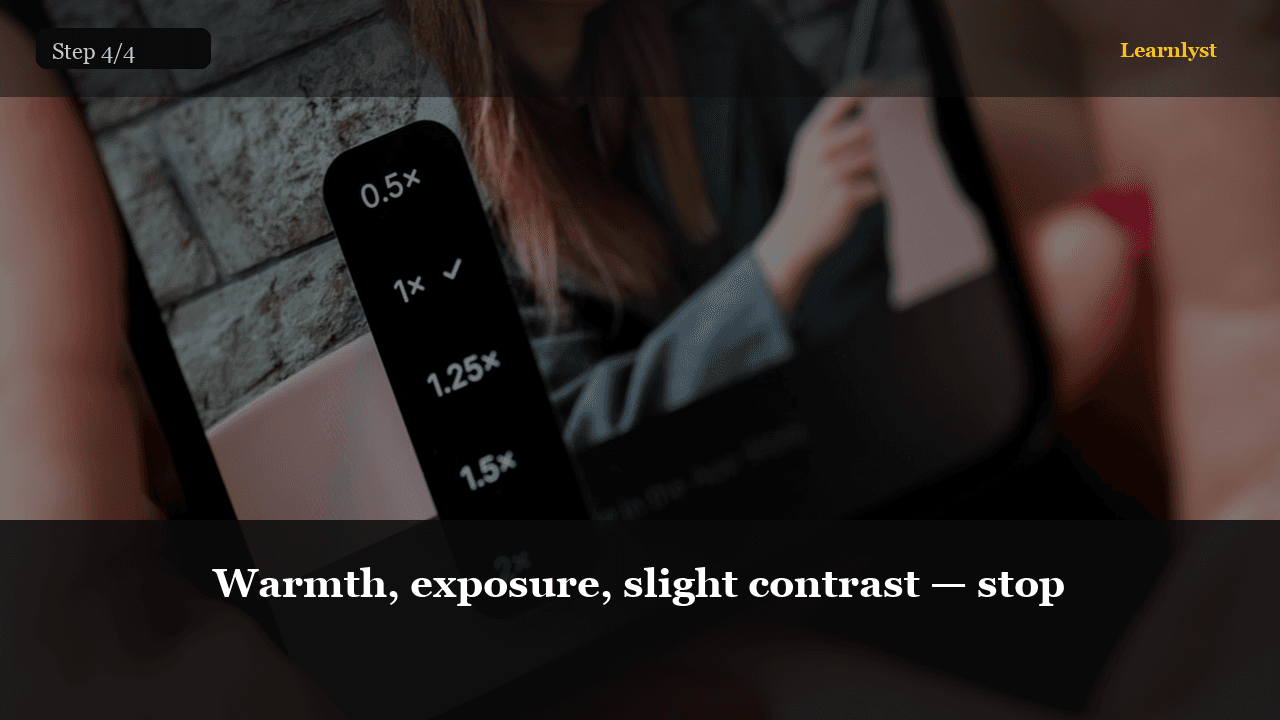
📷 Photography · Step 4/4
Warmth, exposure, slight contrast — stop
Warmth, exposure, slight contrast — stop — step 4 of 4 in Golden Hour Portraits on a Phone. Warmth up a little if needed. Lift shadows on the face, pull highlights on the sky. No heavy beauty filters.
From course: Golden Hour Portraits on a Phone

📷 Photography · Step 1/6
When and where to stand
When and where to stand — step 1 of 6 in Golden Hour Portraits on Your Phone. Check sunset/sunrise time. Arrive 40 minutes before sunset for warm side light; last 15 minutes for strong orange — harder on skin tones.
From course: Golden Hour Portraits on Your Phone
📷 Photography · Step 2/6
Backlight without silhouette
Backlight without silhouette — step 2 of 6 in Golden Hour Portraits on Your Phone. Put sun behind subject at 10–20° off center — not directly into lens or you get flare soup.
From course: Golden Hour Portraits on Your Phone

📷 Photography · Step 3/6
Clean lens and tap face
Clean lens and tap face — step 3 of 6 in Golden Hour Portraits on Your Phone. Wipe lens. Frame head and shoulders with space above hair. Tap face on screen — exposure locks to skin.
From course: Golden Hour Portraits on Your Phone
Free tips today. Full courses when you are ready.
Create a free account for daily tips — or unlock everything for $9/mo.