
Free to browse
Tips & how-to guides
1,874 free skill tips with unique step photos — plus long-form guides with FAQ and trusted sources. Every tip links to a full photographed course.
Browse tips

🏕️ Outdoor Skills · Step 5/6
Eat and drink before you feel bad
Eat and drink before you feel bad — step 5 of 6 in Pack a Daypack for a Full-Day Hike. Sip water every 20 minutes. Eat half a bar at hour two even if not hungry. Bonking is optional; planning is not.
From course: Pack a Daypack for a Full-Day Hike

🏕️ Outdoor Skills · Step 6/6
Pass criteria: pack ready, hike finished
Pass criteria: pack ready, hike finished — step 6 of 6 in Pack a Daypack for a Full-Day Hike. You pass when your pack is under 8 kg for a summer day hike, you carried water and rain layer, used at least one snack, and returned with…
From course: Pack a Daypack for a Full-Day Hike

🏕️ Outdoor Skills · Step 1/14
Check the rules before you drive
Check the rules before you drive — step 1 of 14 in Build a Campfire That Lights First Try. Every jurisdiction publishes fire bans by season, sometimes by day. A campground sign reading 'fires permitted in rings only' overrides…
From course: Build a Campfire That Lights First Try

🏕️ Outdoor Skills · Step 2/14
Pick and prepare the fire site
Pick and prepare the fire site — step 2 of 14 in Build a Campfire That Lights First Try. Choose mineral soil or an existing fire ring at least 3 metres from tents, trees, roots, and overhanging branches.
From course: Build a Campfire That Lights First Try

🏕️ Outdoor Skills · Step 3/14
Gather tinder the size of threads
Gather tinder the size of threads — step 3 of 14 in Build a Campfire That Lights First Try. Tinder must ignite from a single match flame — that means material no thicker than a toothpick, preferably thinner.
From course: Build a Campfire That Lights First Try

🏕️ Outdoor Skills · Step 4/14
Cotton ball + petroleum jelly backup
Cotton ball + petroleum jelly backup — step 4 of 14 in Build a Campfire That Lights First Try. Take a cotton ball and work a pea-sized blob of petroleum jelly into the fibres — not a soaked glob, just enough to make the cotton…
From course: Build a Campfire That Lights First Try

🏕️ Outdoor Skills · Step 5/14
Kindling: pencil-thick, snap-dry
Kindling: pencil-thick, snap-dry — step 5 of 14 in Build a Campfire That Lights First Try. Kindling bridges the gap between tinder flame and real fuel. Collect dead sticks — still on the tree or just fallen — that snap cleanly…
From course: Build a Campfire That Lights First Try
🏕️ Outdoor Skills · Step 6/14
Fuel wood: wrist-thick, forearm-long
Fuel wood: wrist-thick, forearm-long — step 6 of 14 in Build a Campfire That Lights First Try. Fuel is what burns for the evening. Wrist-thick (5–8 cm diameter) logs burn long but are still light enough to process without a chainsaw.
From course: Build a Campfire That Lights First Try

🏕️ Outdoor Skills · Step 7/14
Build the teepee frame
Build the teepee frame — step 7 of 14 in Build a Campfire That Lights First Try. Place your tinder bundle in the centre of the fire ring. Lean 4–5 of your thinnest kindling sticks against each other above the tinder,…
From course: Build a Campfire That Lights First Try

🏕️ Outdoor Skills · Step 8/14
Light through the door
Light through the door — step 8 of 14 in Build a Campfire That Lights First Try. Kneel upwind. Strike your match and shield it with your cupped hand. Reach through the lighting door and touch the flame to the cotton-ball…
From course: Build a Campfire That Lights First Try
🏕️ Outdoor Skills · Step 9/14
Stack the cabin walls
Stack the cabin walls — step 9 of 14 in Build a Campfire That Lights First Try. Place two fuel-sized logs parallel, 20 cm apart. Lay two more perpendicular on top, forming a square. Build 2–3 layers.
From course: Build a Campfire That Lights First Try

🏕️ Outdoor Skills · Step 10/14
The strike
The strike — step 10 of 14 in Build a Campfire That Lights First Try. Hold the match at 45 degrees, head angled slightly down. Strike away from your body on the box or a dry rock.
From course: Build a Campfire That Lights First Try
🏕️ Outdoor Skills · Step 11/14
Feed the fire up the size ladder
Feed the fire up the size ladder — step 11 of 14 in Build a Campfire That Lights First Try. Once kindling catches, add the next size up — never skip a size. Matchstick-thin to pencil, pencil to finger, finger to thumb, thumb to…
From course: Build a Campfire That Lights First Try

🏕️ Outdoor Skills · Step 12/14
Wind, damp, and the second try
Wind, damp, and the second try — step 12 of 14 in Build a Campfire That Lights First Try. If the match blows out: reposition your body as a windbreak, or build a small rock wall on the windward side of the ring.
From course: Build a Campfire That Lights First Try

🏕️ Outdoor Skills · Step 13/14
Drown, stir, feel
Drown, stir, feel — step 13 of 14 in Build a Campfire That Lights First Try. Pour water slowly over the entire fire bed — coals, ash, and rocks. It will hiss and steam.
From course: Build a Campfire That Lights First Try

🏕️ Outdoor Skills · Step 14/14
Leave no trace — pass criteria
Leave no trace — pass criteria — step 14 of 14 in Build a Campfire That Lights First Try. Scatter cool ash over a wide area if dispersed camping is allowed, or leave it in the ring for the next user.
From course: Build a Campfire That Lights First Try
🧹 Cleaning & Laundry · Step 1/3
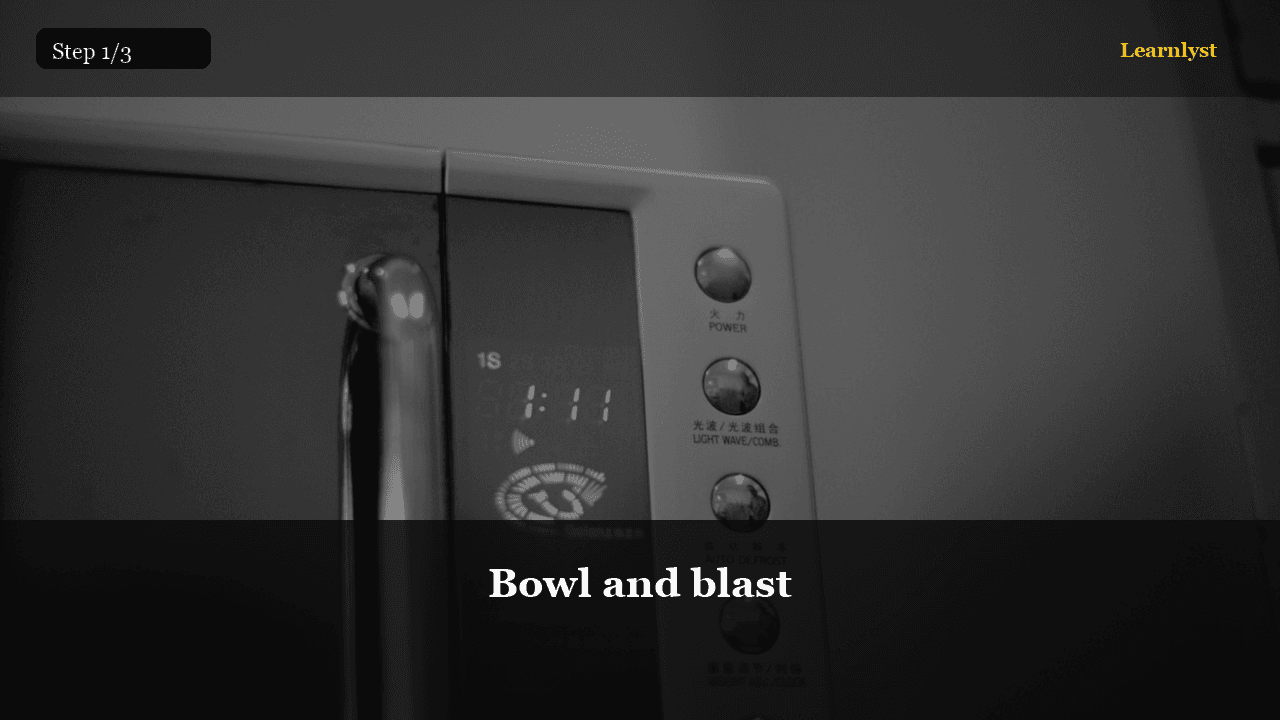
Bowl and blast
Bowl and blast — step 1 of 3 in Deep Clean a Microwave Without Scrubbing. Bowl with 1 cup water + lemon squeeze or vinegar. Microwave high 5 minutes. Don't open — let steam sit 2 more minutes.
From course: Deep Clean a Microwave Without Scrubbing

🧹 Cleaning & Laundry · Step 2/3
Wipe everything
Wipe everything — step 2 of 3 in Deep Clean a Microwave Without Scrubbing. Open carefully — hot steam. Wipe ceiling, walls, door inside in one pass microfiber. Turntable out to sink — soap and sponge.
From course: Deep Clean a Microwave Without Scrubbing
🧹 Cleaning & Laundry · Step 3/3
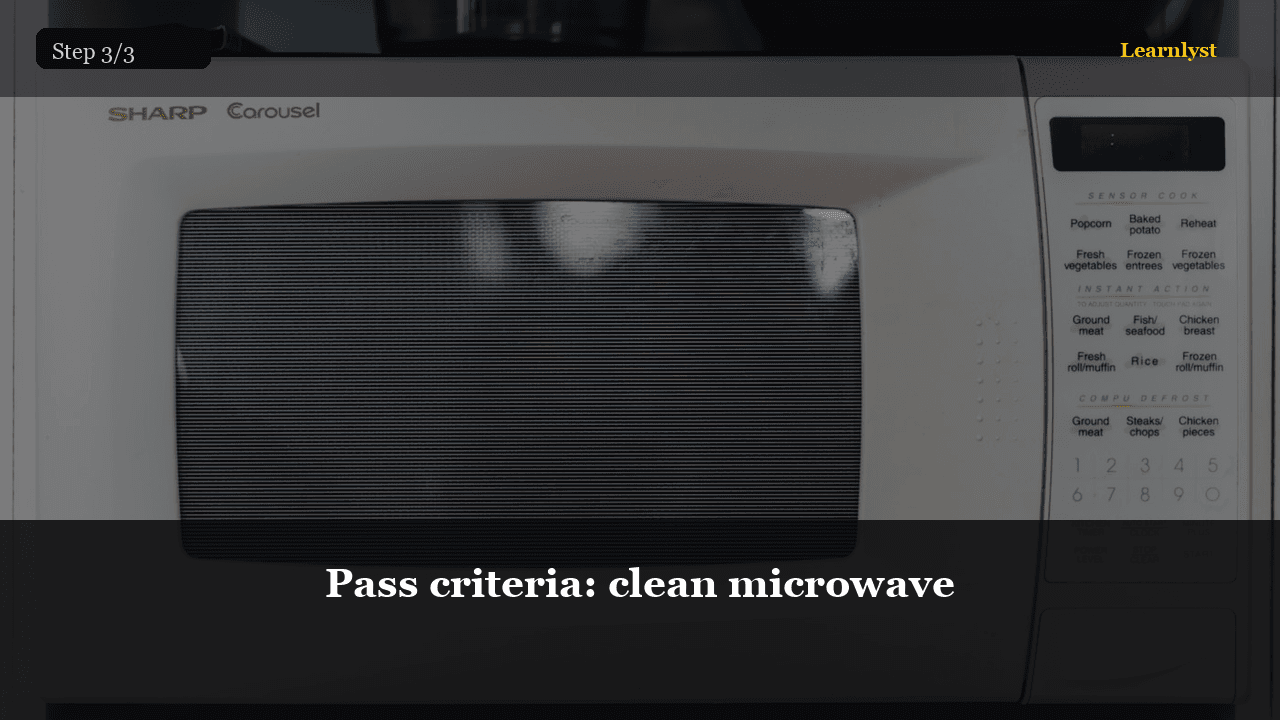
Pass criteria: clean microwave
Pass criteria: clean microwave — step 3 of 3 in Deep Clean a Microwave Without Scrubbing. You pass when no visible splatter, no sour smell, turntable clean, cover habit started for next heat-up.
From course: Deep Clean a Microwave Without Scrubbing

🌱 Gardening · Step 1/7
Fill the tray with 1–2 cm of moist potting mix
Fill the tray with 1–2 cm of moist potting mix — step 1 of 7 in Grow Microgreens on the Counter. Dampen the mix first — grab a handful and squeeze. A few drops should come out, not a stream.
From course: Grow Microgreens on the Counter

🌱 Gardening · Step 2/7
Sow densely — seeds almost touching
Sow densely — seeds almost touching — step 2 of 7 in Grow Microgreens on the Counter. Scatter seeds across the entire surface so they are nearly shoulder to shoulder. For radish: about 1–2 tablespoons per 10×20 tray.
From course: Grow Microgreens on the Counter
🌱 Gardening · Step 3/7
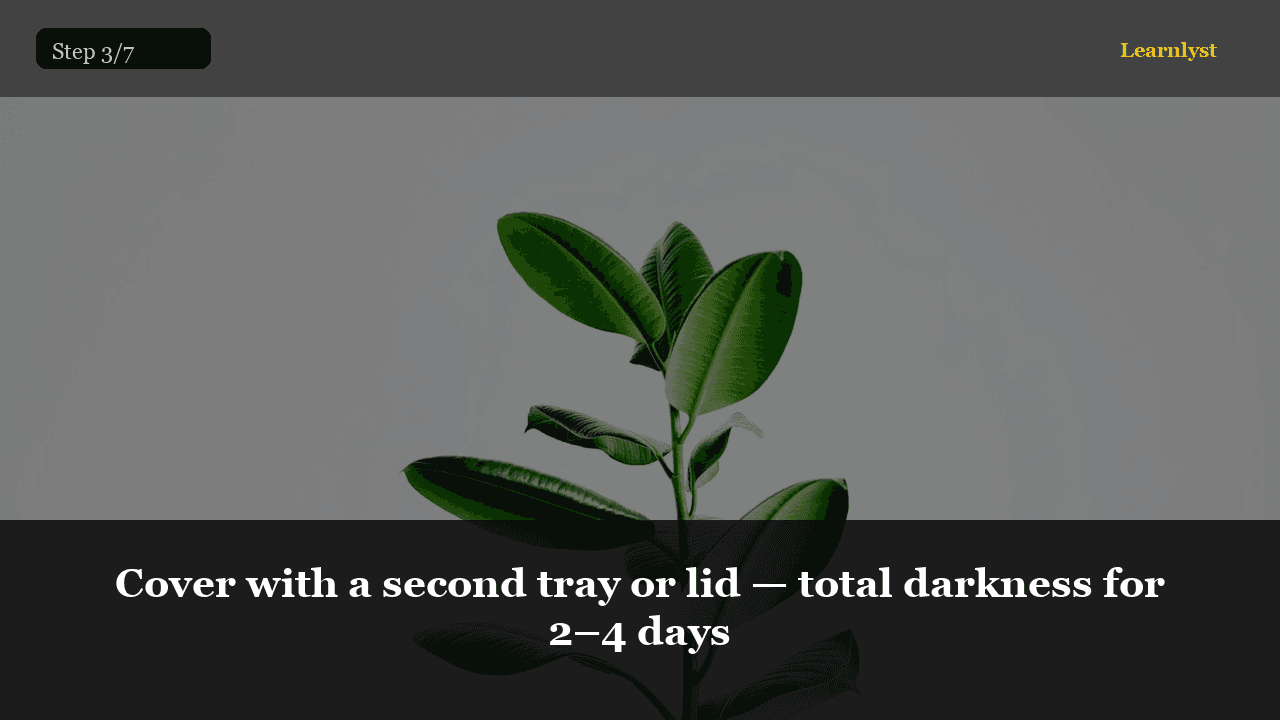
Cover with a second tray or lid — total darkness for 2–4 days
Cover with a second tray or lid — total darkness for 2–4 days — step 3 of 7 in Grow Microgreens on the Counter. Place an inverted tray or a piece of cardboard directly on top, resting on the seeds (light weight is fine — it encourages straight stems).
From course: Grow Microgreens on the Counter

🌱 Gardening · Step 4/7
Uncover when stems are 2–3 cm tall
Uncover when stems are 2–3 cm tall — step 4 of 7 in Grow Microgreens on the Counter. When you lift the lid and see a forest of pale stems 2–3 cm tall, move the tray to the windowsill.
From course: Grow Microgreens on the Counter

🌱 Gardening · Step 5/7
Mist the soil, not the canopy
Mist the soil, not the canopy — step 5 of 7 in Grow Microgreens on the Counter. Once a day, aim the spray at the base. Wet leaves in a dense tray invite mold — the air between microgreen stems has no circulation.
From course: Grow Microgreens on the Counter
Free tips today. Full courses when you are ready.
Create a free account for daily tips — or unlock everything for $9/mo.