
Free to browse
Food & Cooking tips
248 free skill tips with unique step photos — plus long-form guides with FAQ and trusted sources. Every tip links to a full photographed course.
Food & Cooking tips

🍳 Food & Cooking · Step 11/11
Pass criteria
Pass criteria — step 11 of 11 in Meal Prep Five Lunches in One Hour. Review your result against this course checklist and note what you finished.
From course: Meal Prep Five Lunches in One Hour
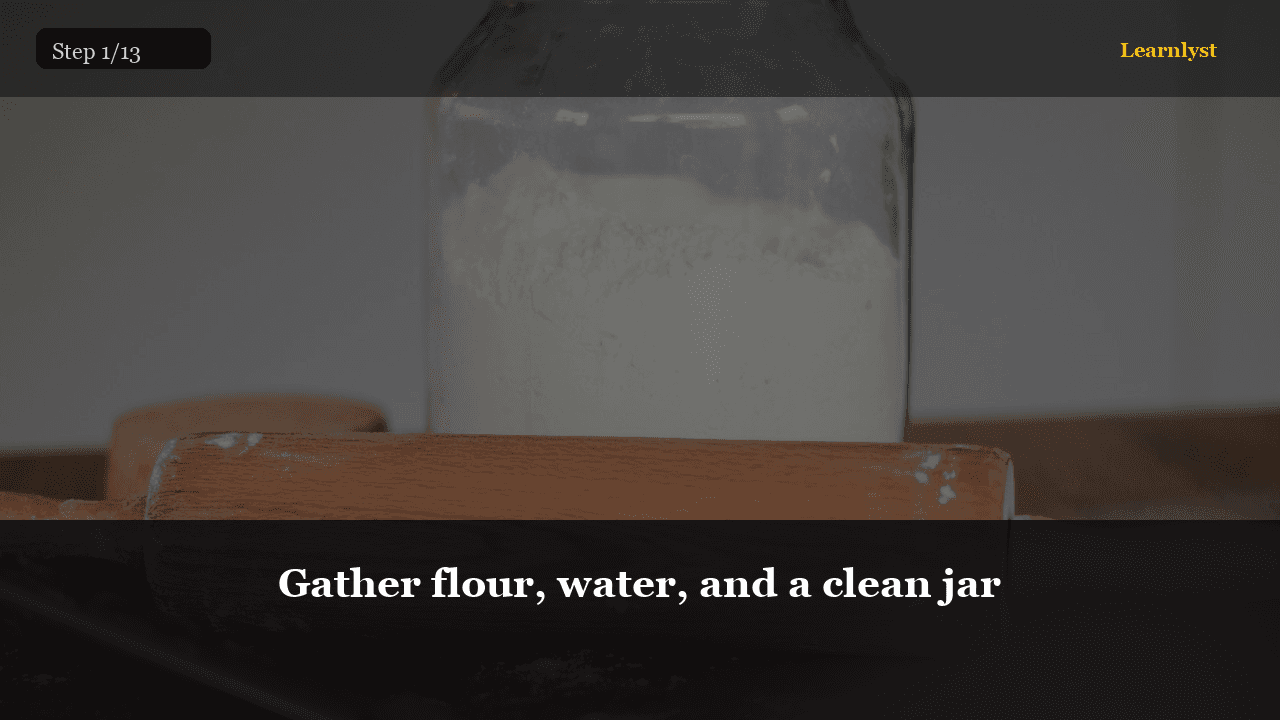
🍳 Food & Cooking · Step 1/13
Gather flour, water, and a clean jar
Gather flour, water, and a clean jar — step 1 of 13 in Sourdough Starter From Scratch. Set out bread flour, filtered water, a 500 ml glass jar, scale, and spoon. Wipe the jar dry — soap residue slows fermentation.
From course: Sourdough Starter From Scratch

🍳 Food & Cooking · Step 2/13
Weigh 50 g flour and 50 g water
Weigh 50 g flour and 50 g water — step 2 of 13 in Sourdough Starter From Scratch. Tare the jar on the scale. Add 50 g flour, then 50 g water (100% hydration). Equal weights, not equal volume — flour compacts.
From course: Sourdough Starter From Scratch

🍳 Food & Cooking · Step 3/13
Mix until no dry flour remains
Mix until no dry flour remains — step 3 of 13 in Sourdough Starter From Scratch. Stir 30–60 seconds until you have a thick paste — like peanut butter, not pourable batter. Scrape jar sides so everything is wet.
From course: Sourdough Starter From Scratch

🍳 Food & Cooking · Step 4/13
Cover loosely — air must get in
Cover loosely — air must get in — step 4 of 13 in Sourdough Starter From Scratch. Cloth or paper towel over the mouth, secured with a rubber band. Do not screw a lid tight — gas needs to escape.
From course: Sourdough Starter From Scratch

🍳 Food & Cooking · Step 5/13
Mark the level with a rubber band
Mark the level with a rubber band — step 5 of 13 in Sourdough Starter From Scratch. Rubber band at the paste line. You will measure rise from here, not guess from memory. No band = 'I think it doubled' when it barely moved.
From course: Sourdough Starter From Scratch

🍳 Food & Cooking · Step 6/13
Day 2 — look for bubbles and smell
Day 2 — look for bubbles and smell — step 6 of 13 in Sourdough Starter From Scratch. By day 2–3 you may see tiny bubbles and a sweet/sour smell. It might not rise yet — normal. If the surface looks dry, stir once.
From course: Sourdough Starter From Scratch

🍳 Food & Cooking · Step 7/13
Discard half the starter (about 50 g)
Discard half the starter (about 50 g) — step 7 of 13 in Sourdough Starter From Scratch. Stir, then spoon out and discard roughly half — compost or trash, not down the drain in large amounts. Leave ~50 g in the jar.
From course: Sourdough Starter From Scratch

🍳 Food & Cooking · Step 8/13
Feed 50 g flour + 50 g water
Feed 50 g flour + 50 g water — step 8 of 13 in Sourdough Starter From Scratch. Add 50 g flour and 50 g water to what remains. Stir smooth. Scrape sides. You are back to ~150 g total after feed.
From course: Sourdough Starter From Scratch

🍳 Food & Cooking · Step 9/13
Stir, mark the band, wait 4–12 hours
Stir, mark the band, wait 4–12 hours — step 9 of 13 in Sourdough Starter From Scratch. Move the rubber band to the new level after feeding. Starter should rise and fall — peak usually 4–8 hours in a warm kitchen.
From course: Sourdough Starter From Scratch

🍳 Food & Cooking · Step 10/13
Smell check — ripe vs hungry
Smell check — ripe vs hungry — step 10 of 13 in Sourdough Starter From Scratch. Ripe: tangy, yogurt, slightly sweet. Hungry: sharp nail-polish/acetone smell — feed now. Rotten: throw away.
From course: Sourdough Starter From Scratch

🍳 Food & Cooking · Step 11/13
Float test — a spoonful in water
Float test — a spoonful in water — step 11 of 13 in Sourdough Starter From Scratch. At peak rise, drop a small spoonful of starter into a glass of room-temperature water.
From course: Sourdough Starter From Scratch

🍳 Food & Cooking · Step 12/13
Move a backup to the fridge
Move a backup to the fridge — step 12 of 13 in Sourdough Starter From Scratch. Take 50 g starter to a small jar, feed once, let sit 2 hours, then refrigerate. Feed fridge starter every 1–2 weeks.
From course: Sourdough Starter From Scratch
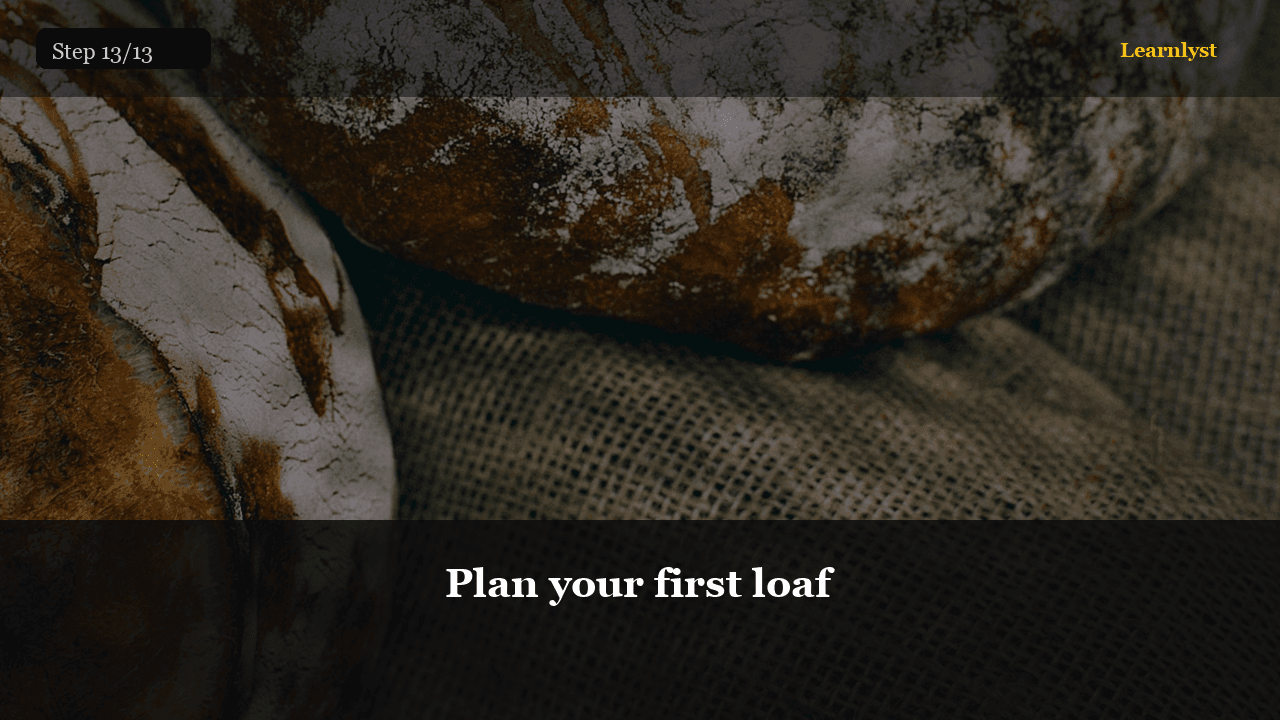
🍳 Food & Cooking · Step 13/13
Plan your first loaf
Plan your first loaf — step 13 of 13 in Sourdough Starter From Scratch. You pass when starter doubles in 4–6 hours after feeding, floats, and smells tangy-clean.
From course: Sourdough Starter From Scratch

🍳 Food & Cooking · Step 1/11
What 'done' looks like
What 'done' looks like — step 1 of 11 in The Ultimate Burger Masterclass. You want a lacy brown crust, melted cheese glued to the patty, a toasted bun that still bends, and sauce on both cut faces.
From course: The Ultimate Burger Masterclass

🍳 Food & Cooking · Step 2/11
Shop once, cook once
Shop once, cook once — step 2 of 11 in The Ultimate Burger Masterclass. Buy chuck labeled 80/20. If the pack looks watery and grey, pick another. Buns should be soft — a crusty bakery roll will fight you.
From course: The Ultimate Burger Masterclass

🍳 Food & Cooking · Step 3/11
Build a left-to-right station
Build a left-to-right station — step 3 of 11 in The Ultimate Burger Masterclass. Left: a plate of four 113 g (4 oz) meat balls, loosely rolled — do not pack them like meatballs. Center: the hot pan.
From course: The Ultimate Burger Masterclass

🍳 Food & Cooking · Step 4/11
Quick skillet onions
Quick skillet onions — step 4 of 11 in The Ultimate Burger Masterclass. If you want onion on the burger, cook it first in the same pan: 1 small onion, sliced thin, pinch of salt, 1 tsp oil, medium heat, 8–10…
From course: The Ultimate Burger Masterclass

🍳 Food & Cooking · Step 5/11
Get the pan actually hot
Get the pan actually hot — step 5 of 11 in The Ultimate Burger Masterclass. Set a dry cast-iron skillet on medium-high for 3–4 minutes. A drop of water should skitter, not sit and boil.
From course: The Ultimate Burger Masterclass

🍳 Food & Cooking · Step 6/11
Smash once, immediately
Smash once, immediately — step 6 of 11 in The Ultimate Burger Masterclass. Place two balls in the pan with space between them. Press hard with a stiff spatula (parchment on top of the meat if it sticks to the…
From course: The Ultimate Burger Masterclass

🍳 Food & Cooking · Step 7/11
Cheese while it is still in the pan
Cheese while it is still in the pan — step 7 of 11 in The Ultimate Burger Masterclass. Flip. Lay a slice of American on each patty. You can tent with a lid for 20–30 seconds so it drapes.
From course: The Ultimate Burger Masterclass

🍳 Food & Cooking · Step 8/11
Cut faces down in the same pan
Cut faces down in the same pan — step 8 of 11 in The Ultimate Burger Masterclass. After the patties come off, drop the buns cut-side down in the leftover fat for 30–45 seconds until they pick up color.
From course: The Ultimate Burger Masterclass

🍳 Food & Cooking · Step 9/11
Mix it in one bowl
Mix it in one bowl — step 9 of 11 in The Ultimate Burger Masterclass. 4 Tbsp mayonnaise, 1 Tbsp ketchup, 1 tsp yellow mustard, 1 tsp pickle brine, pinch of smoked paprika or a grind of black pepper. Stir.
From course: The Ultimate Burger Masterclass

🍳 Food & Cooking · Step 10/11
Build from the bottom bun up
Build from the bottom bun up — step 10 of 11 in The Ultimate Burger Masterclass. Bottom bun, sauce, pickles, patty with cheese, onions, more sauce on the top bun, close, press gently for two seconds.
From course: The Ultimate Burger Masterclass
Free tips today. Full courses when you are ready.
Create a free account for daily tips — or unlock everything for $9/mo.