
Free to browse
Tips & how-to guides
1,874 free skill tips with unique step photos — plus long-form guides with FAQ and trusted sources. Every tip links to a full photographed course.
Browse tips

🎣 Fishing · Step 5/6
Sketch the stretch
Sketch the stretch — step 5 of 6 in Reading Water: Where Fish Hold in a Stream. Phone photo or notebook: mark pools and seams that looked best. Note time of day and water color.
From course: Reading Water: Where Fish Hold in a Stream

🎣 Fishing · Step 6/6
Pass criteria: read before cast
Pass criteria: read before cast — step 6 of 6 in Reading Water: Where Fish Hold in a Stream. You pass with three labeled spots (pool, seam, undercut), quiet approach, and at least one intentional drift through a seam — catch…
From course: Reading Water: Where Fish Hold in a Stream

👨👩👧 Parenting & Family · Step 1/4
Tray with everything needed
Tray with everything needed — step 1 of 4 in Homework Station for Elementary Kids. Pencils sharpened, eraser, paper, ruler, glue stick if age needs it. Phone in another room.
From course: Homework Station for Elementary Kids
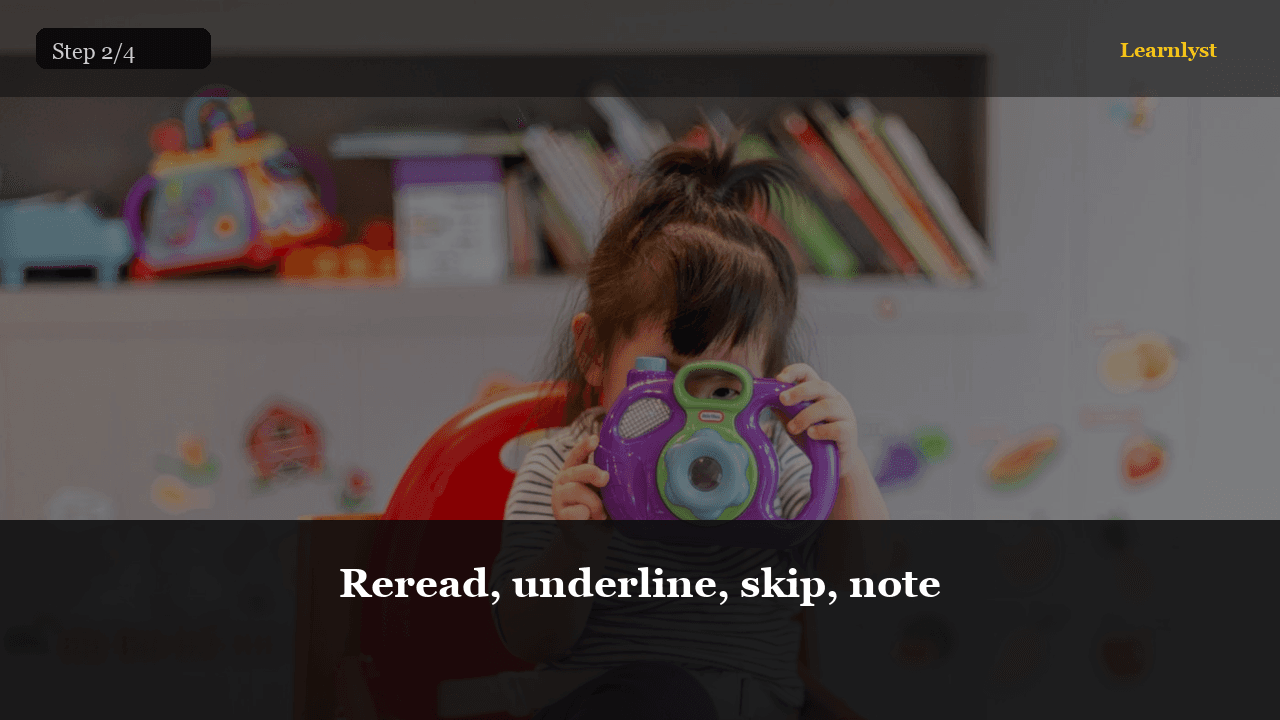
👨👩👧 Parenting & Family · Step 2/4
Reread, underline, skip, note
Reread, underline, skip, note — step 2 of 4 in Homework Station for Elementary Kids. Card steps: 1) Reread question 2) Underline key words 3) Skip and return 4) Write teacher note if still stuck. Tape card to the table.
From course: Homework Station for Elementary Kids

👨👩👧 Parenting & Family · Step 3/4
Set timer, one subject at a time
Set timer, one subject at a time — step 3 of 4 in Homework Station for Elementary Kids. 25 minutes max per block for grades 1–3 (shorter if needed). Break: water, stretch. Second block only if assigned work remains.
From course: Homework Station for Elementary Kids

👨👩👧 Parenting & Family · Step 4/4
Same spot 10 school nights
Same spot 10 school nights — step 4 of 4 in Homework Station for Elementary Kids. You pass when the station is used 10 nights with timer — and you didn't complete the homework yourself.
From course: Homework Station for Elementary Kids
🏠 Home & DIY · Step 1/3
Tap pin out, clean, lubricate
Tap pin out, clean, lubricate — step 1 of 3 in Fix a Squeaky Door in 5 Minutes. Paper towel under hinge. Nail against pin bottom, tap up with hammer. Pin out — wipe black grime.
From course: Fix a Squeaky Door in 5 Minutes
🏠 Home & DIY · Step 2/3
Reinsert and work it
Reinsert and work it — step 2 of 3 in Fix a Squeaky Door in 5 Minutes. Tap pin down. Open-close 10 times distribute lube. Wipe excess — drips on carpet bad. Repeat middle hinge if needed.
From course: Fix a Squeaky Door in 5 Minutes

🏠 Home & DIY · Step 3/3
Pass criteria: no squeak
Pass criteria: no squeak — step 3 of 3 in Fix a Squeaky Door in 5 Minutes. You pass when door opens silent slow and fast, screws tight, pin seated flush. Annual touch-up — 30 seconds prevention.
From course: Fix a Squeaky Door in 5 Minutes

🎁 Gifts & Giving · Step 1/4
Wrap once around + 2–3 cm, height covers ends
Wrap once around + 2–3 cm, height covers ends — step 1 of 4 in Wrap a Gift That Looks Expensive. Paper should go around the box once with a small overlap. Height should fold over both ends with enough to tuck.
From course: Wrap a Gift That Looks Expensive
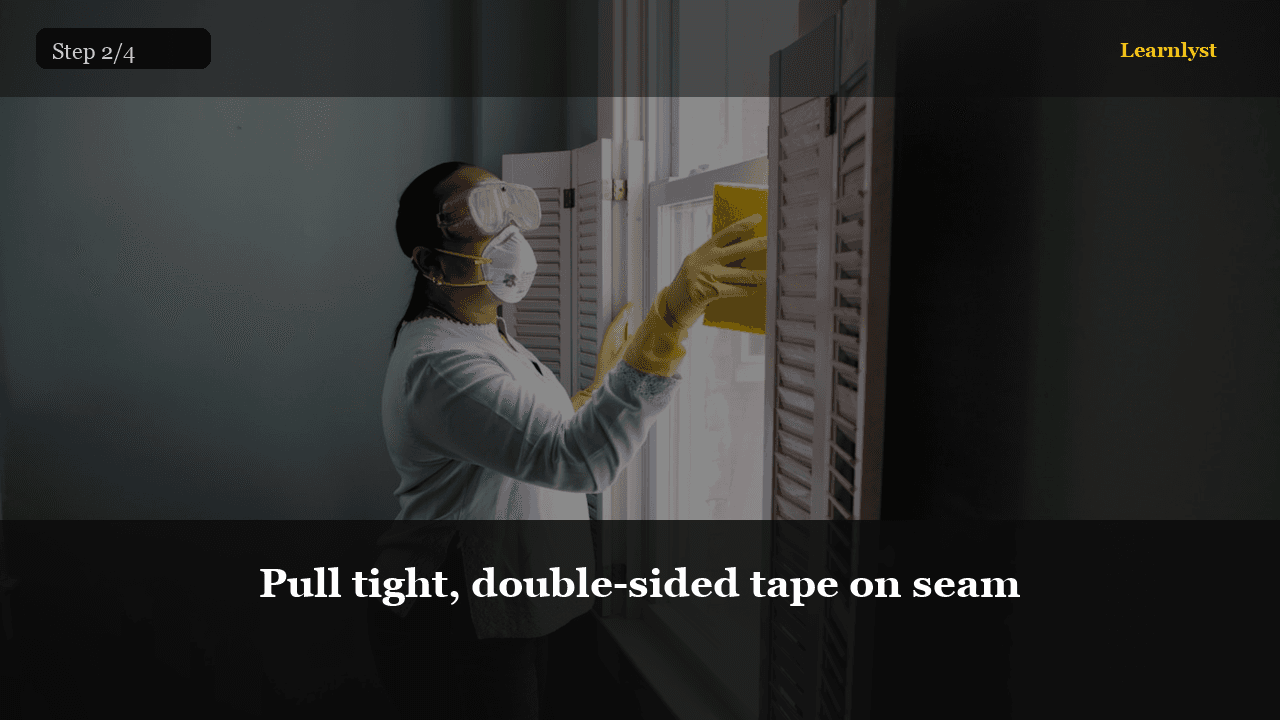
🎁 Gifts & Giving · Step 2/4
Pull tight, double-sided tape on seam
Pull tight, double-sided tape on seam — step 2 of 4 in Wrap a Gift That Looks Expensive. Place box face-down on paper. Bring sides up. Seam along the bottom or a side that won't show. Double-sided tape hides.
From course: Wrap a Gift That Looks Expensive

🎁 Gifts & Giving · Step 3/4
Push sides in, fold triangle, tape flat
Push sides in, fold triangle, tape flat — step 3 of 4 in Wrap a Gift That Looks Expensive. At each end: push left and right flaps in to make a triangle. Fold the triangle down. Tape underneath. Same on the other end.
From course: Wrap a Gift That Looks Expensive
🎁 Gifts & Giving · Step 4/4
Simple wrap and knot or bow
Simple wrap and knot or bow — step 4 of 4 in Wrap a Gift That Looks Expensive. Ribbon around once or twice, neat knot or small bow. Trim tails at an angle.
From course: Wrap a Gift That Looks Expensive

☀️ Everyday Life · Step 1/2
Label, damp cloth, collar first
Label, damp cloth, collar first — step 1 of 2 in Iron a Shirt Without Shiny Patches. Set heat to fabric. Slightly damp shirt or steam on. Collar underside then top. Cuffs. Sleeves flat. Body fronts and back.
From course: Iron a Shirt Without Shiny Patches

☀️ Everyday Life · Step 2/2
Pass criteria: meeting-ready
Pass criteria: meeting-ready — step 2 of 2 in Iron a Shirt Without Shiny Patches. Hang on a hanger immediately. You pass when collar lies flat, no iron shine, and sleeves aren't creased mid-arm.
From course: Iron a Shirt Without Shiny Patches

📷 Photography · Step 1/14
Tape the poster board into a curve
Tape the poster board into a curve — step 1 of 14 in Product Photos on a $20 Setup. Take your white poster board and tape the top edge to a wall or a box behind your table.
From course: Product Photos on a $20 Setup

📷 Photography · Step 2/14
Position the table near a window
Position the table near a window — step 2 of 14 in Product Photos on a $20 Setup. Push your table so one end is within two feet of a window. The window should be to the side of your shooting angle, not behind or in front…
From course: Product Photos on a $20 Setup

📷 Photography · Step 3/14
Hold a white card opposite the window
Hold a white card opposite the window — step 3 of 14 in Product Photos on a $20 Setup. Your reflector is just a second white card or foam board. Hold it (or lean it against a box) on the shadow side of your product — the side…
From course: Product Photos on a $20 Setup

📷 Photography · Step 4/14
Shoot slightly above eye level
Shoot slightly above eye level — step 4 of 14 in Product Photos on a $20 Setup. For most products, position your camera slightly above the product's midpoint — about 20–30 degrees down.
From course: Product Photos on a $20 Setup

📷 Photography · Step 5/14
Take 5 shots and pick 1
Take 5 shots and pick 1 — step 5 of 14 in Product Photos on a $20 Setup. Move the product slightly between shots: rotate it, adjust the reflector, try the handle facing left then right.
From course: Product Photos on a $20 Setup

📷 Photography · Step 6/14
Label facing camera, lit from the side
Label facing camera, lit from the side — step 6 of 14 in Product Photos on a $20 Setup. Place the candle with its label facing your camera. Side window light will skim across the cylindrical surface, revealing the shape.
From course: Product Photos on a $20 Setup

📷 Photography · Step 7/14
Arrange items on the board, shoot straight down
Arrange items on the board, shoot straight down — step 7 of 14 in Product Photos on a $20 Setup. For a flat-lay, place items directly on the horizontal part of your poster board.
From course: Product Photos on a $20 Setup

📷 Photography · Step 8/14
Create visual hierarchy
Create visual hierarchy — step 8 of 14 in Product Photos on a $20 Setup. The hero product should be largest or most central. Supporting items should be smaller, partially cropped at edges, or placed in secondary…
From course: Product Photos on a $20 Setup
📷 Photography · Step 9/14
Use the white point dropper
Use the white point dropper — step 9 of 14 in Product Photos on a $20 Setup. Open your best shot in Snapseed or Lightroom Mobile. Find the white balance tool.
From course: Product Photos on a $20 Setup
Free tips today. Full courses when you are ready.
Create a free account for daily tips — or unlock everything for $9/mo.