
Step 4 of 14 · Product Photos on a $20 Setup
Shoot slightly above eye level
Shoot slightly above eye level — step 4 of 14 in Product Photos on a $20 Setup. For most products, position your camera slightly above the product's midpoint — about 20–30 degrees down.
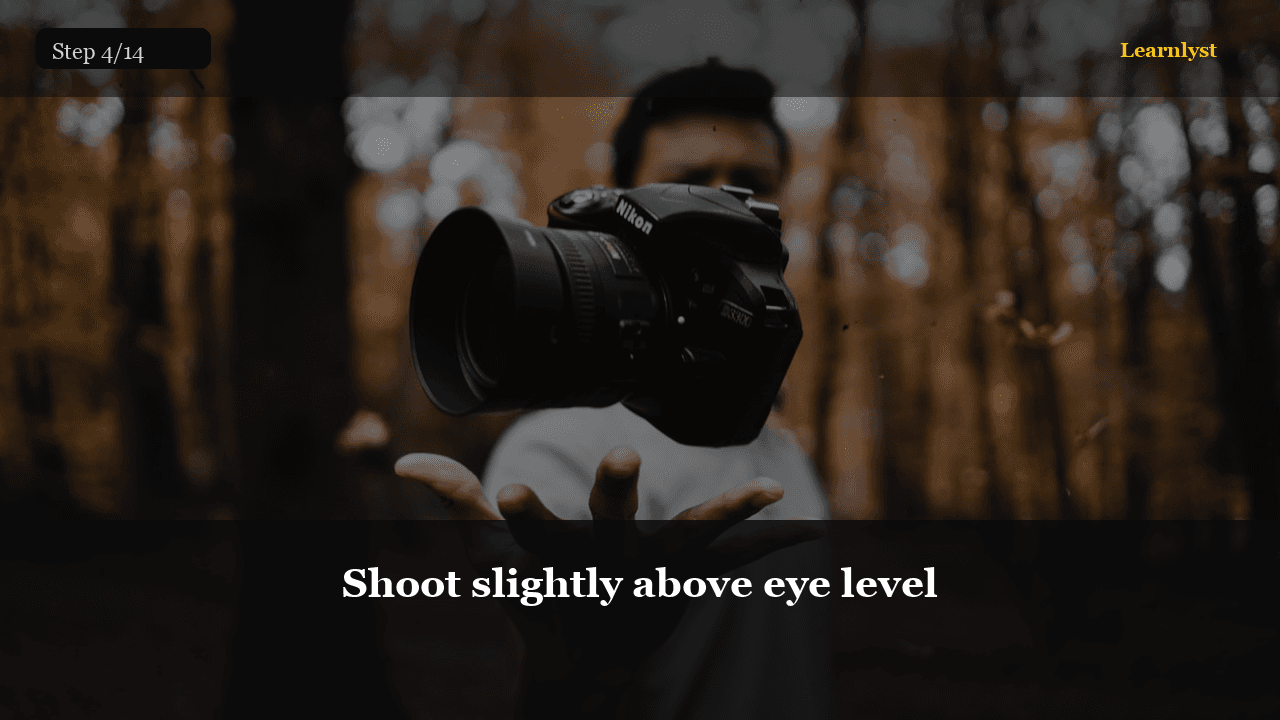
Free photography tip: Shoot slightly above eye level (step 4 of 14 from "Product Photos on a $20 Setup").
For most products, position your camera slightly above the product's midpoint — about 20–30 degrees down. This shows the top and the front, giving the viewer a natural sense of the object's shape.
Fill 60–70% of the frame with the product. Leave breathing room on all sides for cropping flexibility later. Don't shoot from directly above unless it's a flat-lay — straight-down angles hide the height and shape of 3D objects.
1 more paragraph in this tip — free with a Learnlyst account.
Create a free account to read the full tip
Unlock “Shoot slightly above eye level” plus daily tips. Guides and course pages stay public for search.
From the full photographed course
Product Photos on a $20 Setup →This tip is one step — unlock all 14 steps inside Learnlyst.
More Photography tips
Ready for the full Learnlyst library?
Free account for daily tips · $9/mo or $79/yr for every course.