
Free to browse
Photography tips
54 free skill tips with unique step photos — plus long-form guides with FAQ and trusted sources. Every tip links to a full photographed course.
Photography tips

📷 Photography · Step 4/6
Burst and angles
Burst and angles — step 4 of 6 in Golden Hour Portraits on Your Phone. Hold shutter for burst — pick eyes open, not mid-blink. Shoot slightly above eye level (you on tiptoes or subject on lower step) —…
From course: Golden Hour Portraits on Your Phone

📷 Photography · Step 5/6
Shoulders, chin, hands
Shoulders, chin, hands — step 5 of 6 in Golden Hour Portraits on Your Phone. Ask subject to turn shoulders 45° to camera, chin slightly forward and down — 'make a small double chin' kills neck tension.
From course: Golden Hour Portraits on Your Phone

📷 Photography · Step 6/6
Pass criteria: ten keepers
Pass criteria: ten keepers — step 6 of 6 in Golden Hour Portraits on Your Phone. You pass with ten sharp portraits where eyes are lit, skin tone looks human not orange, and background is not a pole growing from head.
From course: Golden Hour Portraits on Your Phone

📷 Photography · Step 1/4
White board, product centered, dust gone
White board, product centered, dust gone — step 1 of 4 in Product Photos for Selling Online. Tape white poster board as a seamless curve (backdrop + floor). Clean the product — fingerprints show in listings.
From course: Product Photos for Selling Online
📷 Photography · Step 2/4
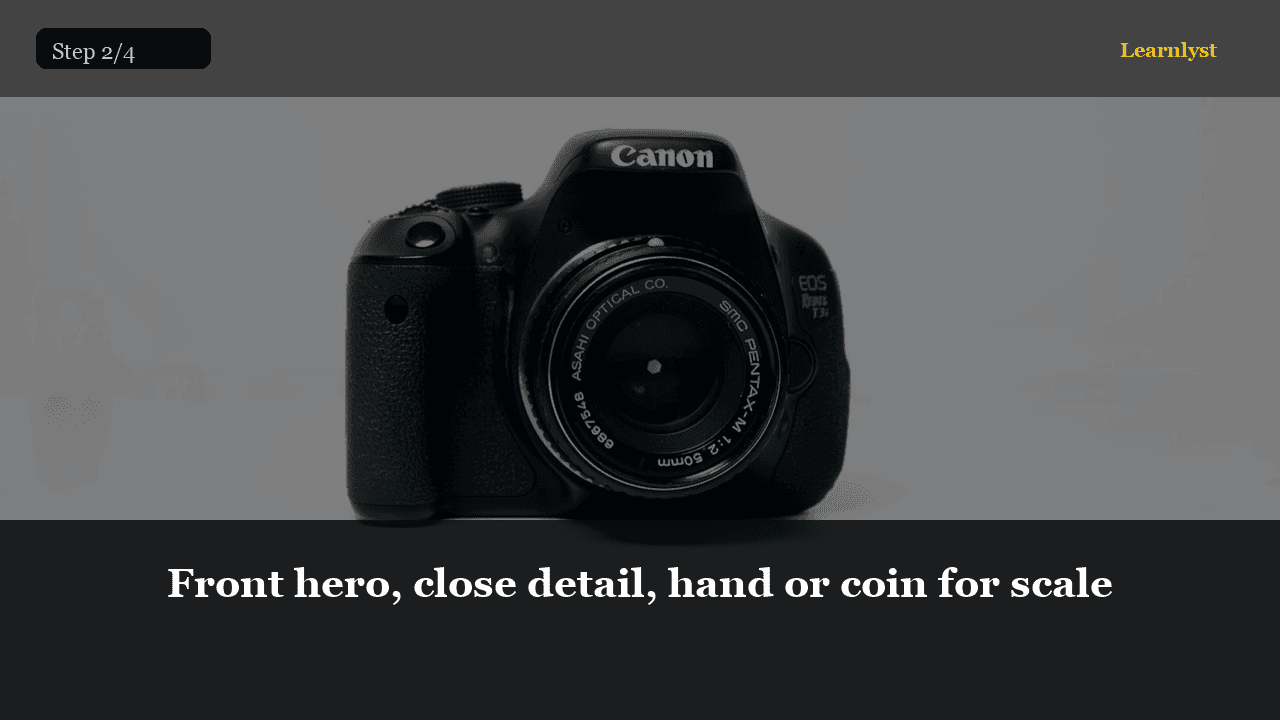
Front hero, close detail, hand or coin for scale
Front hero, close detail, hand or coin for scale — step 2 of 4 in Product Photos for Selling Online. Shot 1: straight-on hero. Shot 2: texture/label detail. Shot 3: hand, ruler, or next to a known object for size.
From course: Product Photos for Selling Online

📷 Photography · Step 3/4
Tap product, lower exposure if white blows out
Tap product, lower exposure if white blows out — step 3 of 4 in Product Photos for Selling Online. Tap to focus on the product. If the white board is clipping, drag exposure down. Shoot slightly above eye level for most small goods.
From course: Product Photos for Selling Online

📷 Photography · Step 4/4
Crop, true color, upload three
Crop, true color, upload three — step 4 of 4 in Product Photos for Selling Online. Crop evenly. Match white balance so whites look white. No heavy filters that change the product color.
From course: Product Photos for Selling Online
📷 Photography · Step 1/14
Tape the poster board into a curve
Tape the poster board into a curve — step 1 of 14 in Product Photos on a $20 Setup. Take your white poster board and tape the top edge to a wall or a box behind your table.
From course: Product Photos on a $20 Setup

📷 Photography · Step 2/14
Position the table near a window
Position the table near a window — step 2 of 14 in Product Photos on a $20 Setup. Push your table so one end is within two feet of a window. The window should be to the side of your shooting angle, not behind or in front…
From course: Product Photos on a $20 Setup
📷 Photography · Step 3/14
Hold a white card opposite the window
Hold a white card opposite the window — step 3 of 14 in Product Photos on a $20 Setup. Your reflector is just a second white card or foam board. Hold it (or lean it against a box) on the shadow side of your product — the side…
From course: Product Photos on a $20 Setup

📷 Photography · Step 4/14
Shoot slightly above eye level
Shoot slightly above eye level — step 4 of 14 in Product Photos on a $20 Setup. For most products, position your camera slightly above the product's midpoint — about 20–30 degrees down.
From course: Product Photos on a $20 Setup
📷 Photography · Step 5/14
Take 5 shots and pick 1
Take 5 shots and pick 1 — step 5 of 14 in Product Photos on a $20 Setup. Move the product slightly between shots: rotate it, adjust the reflector, try the handle facing left then right.
From course: Product Photos on a $20 Setup
📷 Photography · Step 6/14
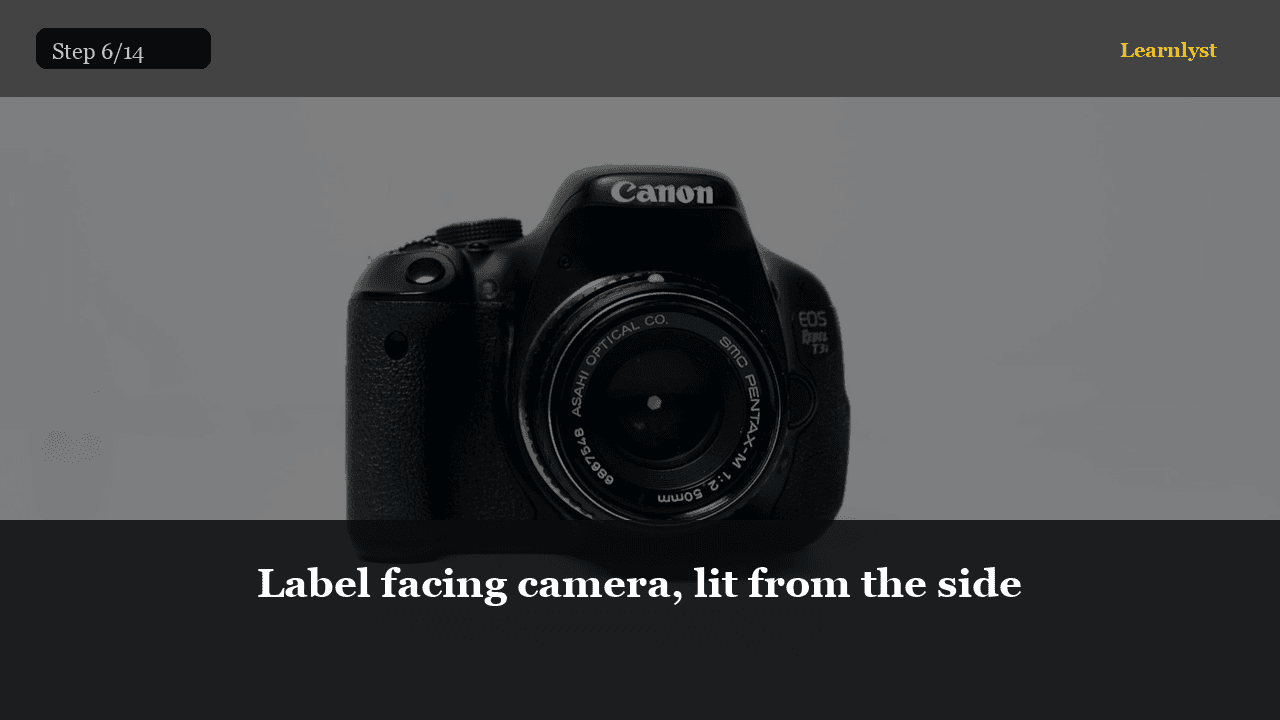
Label facing camera, lit from the side
Label facing camera, lit from the side — step 6 of 14 in Product Photos on a $20 Setup. Place the candle with its label facing your camera. Side window light will skim across the cylindrical surface, revealing the shape.
From course: Product Photos on a $20 Setup

📷 Photography · Step 7/14
Arrange items on the board, shoot straight down
Arrange items on the board, shoot straight down — step 7 of 14 in Product Photos on a $20 Setup. For a flat-lay, place items directly on the horizontal part of your poster board.
From course: Product Photos on a $20 Setup

📷 Photography · Step 8/14
Create visual hierarchy
Create visual hierarchy — step 8 of 14 in Product Photos on a $20 Setup. The hero product should be largest or most central. Supporting items should be smaller, partially cropped at edges, or placed in secondary…
From course: Product Photos on a $20 Setup
📷 Photography · Step 9/14
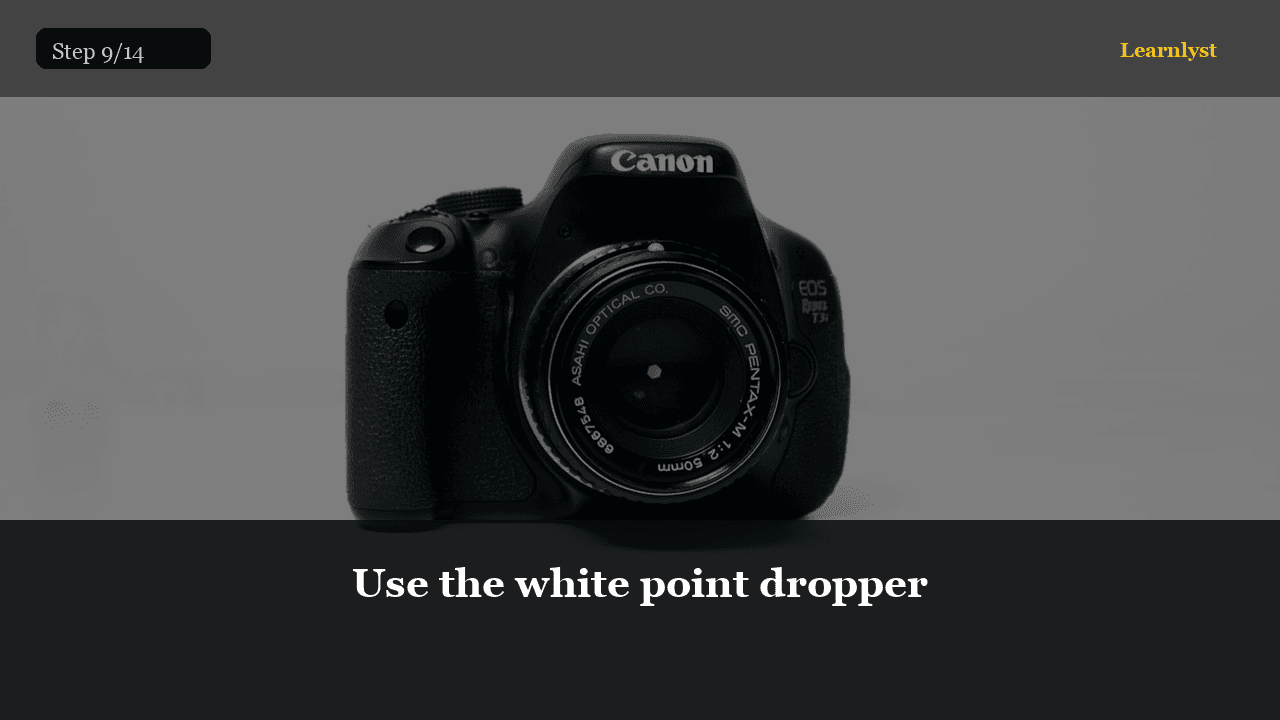
Use the white point dropper
Use the white point dropper — step 9 of 14 in Product Photos on a $20 Setup. Open your best shot in Snapseed or Lightroom Mobile. Find the white balance tool.
From course: Product Photos on a $20 Setup

📷 Photography · Step 10/14
Check the product color against reality
Check the product color against reality — step 10 of 14 in Product Photos on a $20 Setup. After setting white balance, hold the product next to your screen. Does the blue glaze on the mug look right? Does the candle label match?
From course: Product Photos on a $20 Setup

📷 Photography · Step 11/14
Square crop for marketplaces
Square crop for marketplaces — step 11 of 14 in Product Photos on a $20 Setup. Most platforms (Etsy, eBay, Shopify) display product thumbnails as squares.
From course: Product Photos on a $20 Setup
📷 Photography · Step 12/14
Save and name consistently
Save and name consistently — step 12 of 14 in Product Photos on a $20 Setup. Name files with the product and angle: mug-front.jpg, candle-label.jpg, flatlay-01.jpg. Upload to a 'Listing Photos' folder.
From course: Product Photos on a $20 Setup
📷 Photography · Step 13/14
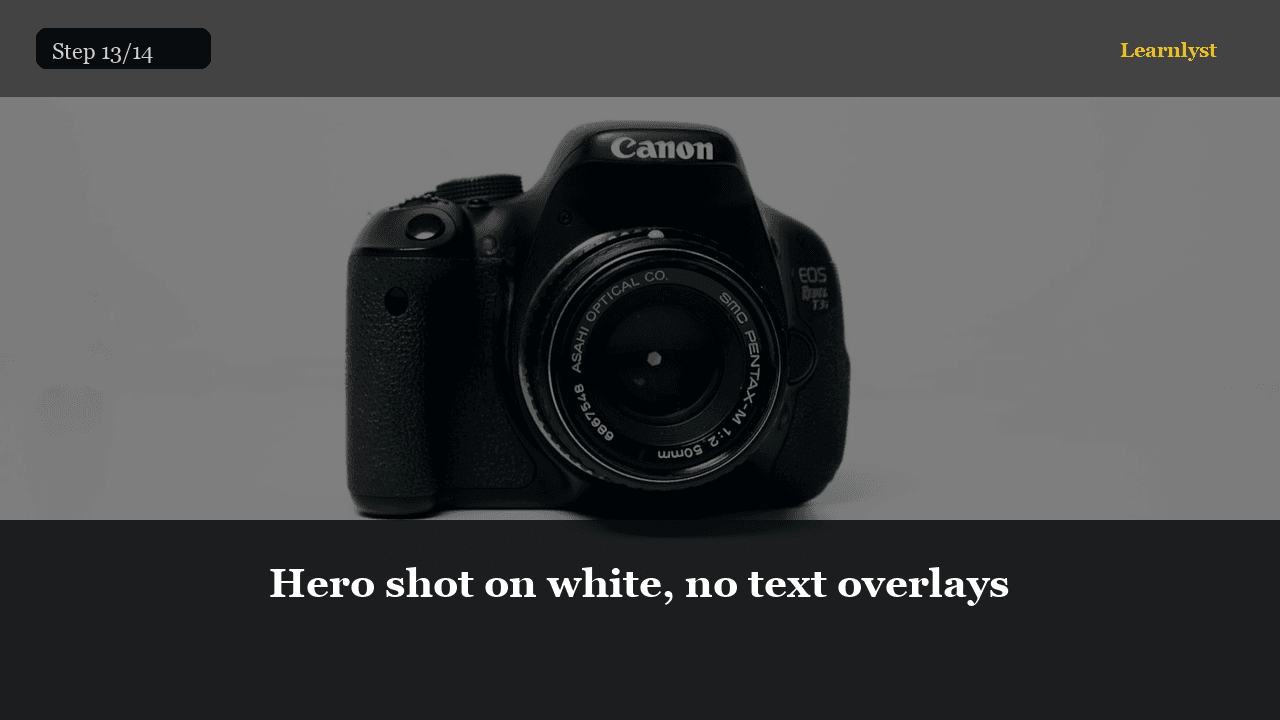
Hero shot on white, no text overlays
Hero shot on white, no text overlays — step 13 of 14 in Product Photos on a $20 Setup. Your first listing image should be the product on pure white with no text, watermarks, or badges.
From course: Product Photos on a $20 Setup

📷 Photography · Step 14/14
Show scale and context in later images
Show scale and context in later images — step 14 of 14 in Product Photos on a $20 Setup. After the hero shot, add a photo that shows size (product next to a hand, a ruler, or a common object).
From course: Product Photos on a $20 Setup

📷 Photography · Step 1/9
Open the file in your editor
Open the file in your editor — step 1 of 9 in Edit a RAW Photo in 5 Minutes. In Lightroom, import via File → Import or drag the file in. In RawTherapee or darktable, open the file browser and double-click.
From course: Edit a RAW Photo in 5 Minutes
📷 Photography · Step 2/9
Check the histogram
Check the histogram — step 2 of 9 in Edit a RAW Photo in 5 Minutes. The histogram shows the distribution of tones from black (left) to white (right).
From course: Edit a RAW Photo in 5 Minutes
📷 Photography · Step 3/9
Set temperature and tint
Set temperature and tint — step 3 of 9 in Edit a RAW Photo in 5 Minutes. Click the white balance eyedropper and tap something that should be neutral — a gray sidewalk, a white wall, a gray card if you shot one.
From course: Edit a RAW Photo in 5 Minutes
Free tips today. Full courses when you are ready.
Create a free account for daily tips — or unlock everything for $9/mo.