
Free to browse
Tips & how-to guides
1,874 free skill tips with unique step photos — plus long-form guides with FAQ and trusted sources. Every tip links to a full photographed course.
Browse tips

📷 Photography · Step 1/9
Open the file in your editor
Open the file in your editor — step 1 of 9 in Edit a RAW Photo in 5 Minutes. In Lightroom, import via File → Import or drag the file in. In RawTherapee or darktable, open the file browser and double-click.
From course: Edit a RAW Photo in 5 Minutes
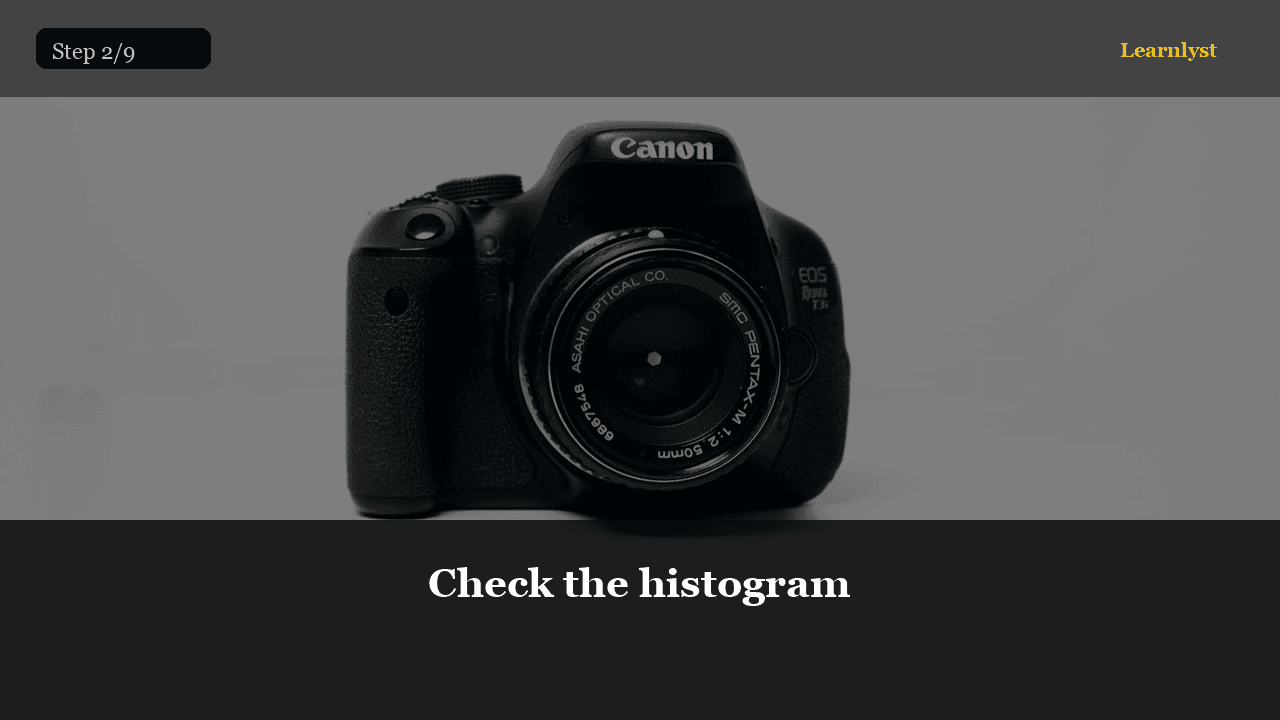
📷 Photography · Step 2/9
Check the histogram
Check the histogram — step 2 of 9 in Edit a RAW Photo in 5 Minutes. The histogram shows the distribution of tones from black (left) to white (right).
From course: Edit a RAW Photo in 5 Minutes
📷 Photography · Step 3/9
Set temperature and tint
Set temperature and tint — step 3 of 9 in Edit a RAW Photo in 5 Minutes. Click the white balance eyedropper and tap something that should be neutral — a gray sidewalk, a white wall, a gray card if you shot one.
From course: Edit a RAW Photo in 5 Minutes

📷 Photography · Step 4/9
Set overall exposure
Set overall exposure — step 4 of 9 in Edit a RAW Photo in 5 Minutes. Move the exposure slider until the midtones (the main subject) look correct.
From course: Edit a RAW Photo in 5 Minutes

📷 Photography · Step 5/9
Recover highlights and open shadows
Recover highlights and open shadows — step 5 of 9 in Edit a RAW Photo in 5 Minutes. Pull the highlights slider left (negative) to recover bright areas — clouds, windows, shiny surfaces.
From course: Edit a RAW Photo in 5 Minutes
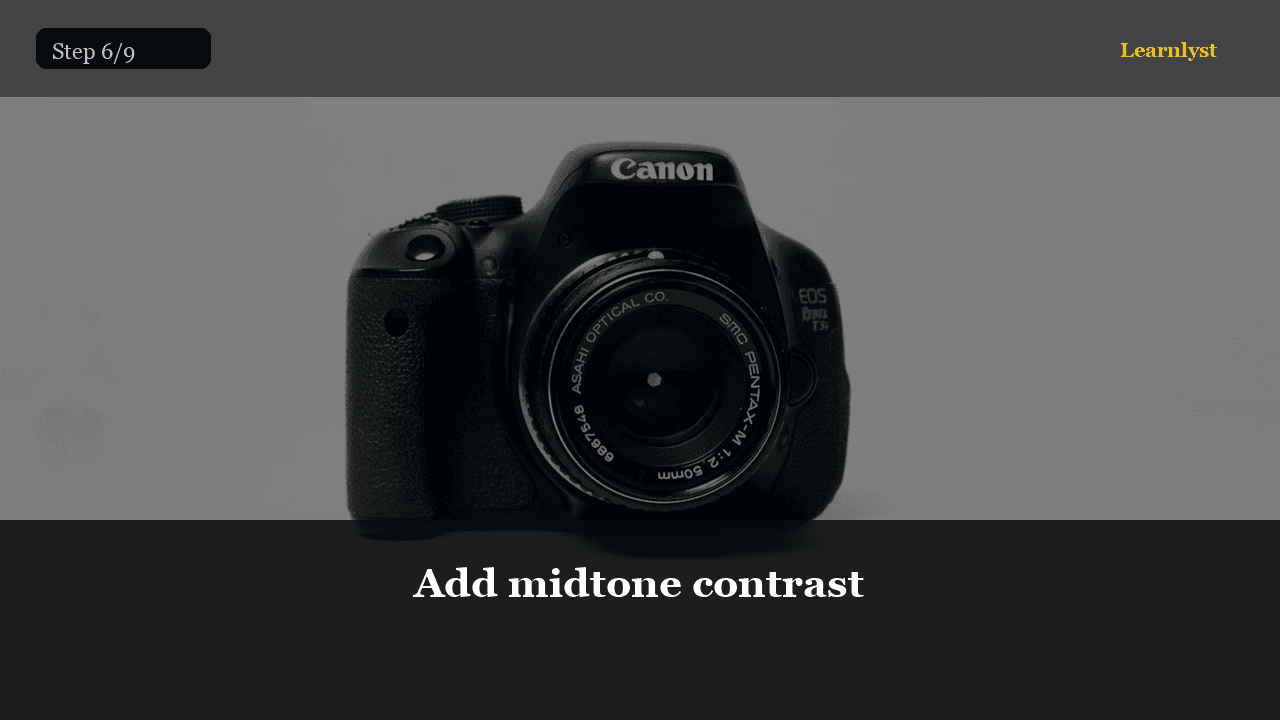
📷 Photography · Step 6/9
Add midtone contrast
Add midtone contrast — step 6 of 9 in Edit a RAW Photo in 5 Minutes. Clarity increases contrast in the midtones specifically, making textures pop and edges feel sharper without affecting highlights or shadows…
From course: Edit a RAW Photo in 5 Minutes

📷 Photography · Step 7/9
Straighten the horizon, then crop for composition
Straighten the horizon, then crop for composition — step 7 of 9 in Edit a RAW Photo in 5 Minutes. Use the crop tool's straighten feature — draw a line along the horizon or any known horizontal/vertical. The image rotates to align.
From course: Edit a RAW Photo in 5 Minutes

📷 Photography · Step 8/9
Choose quality and size
Choose quality and size — step 8 of 9 in Edit a RAW Photo in 5 Minutes. In Lightroom: File → Export. Set format to JPEG, quality 85–92% for web (smaller files, visually lossless) or 95–100% for print.
From course: Edit a RAW Photo in 5 Minutes

📷 Photography · Step 9/9
Name, save, and verify
Name, save, and verify — step 9 of 9 in Edit a RAW Photo in 5 Minutes. Name the export descriptively: location-subject-date.jpg. Save to a dedicated 'Exports' folder separate from your RAW archive.
From course: Edit a RAW Photo in 5 Minutes

🏕️ Outdoor Skills · Step 1/10
Read the legend like a dictionary
Read the legend like a dictionary — step 1 of 10 in Read a Trail Map and Not Get Lost. Every map has a legend box — usually bottom or side margin. It defines every symbol: dashed lines (trails), solid lines (roads), blue lines…
From course: Read a Trail Map and Not Get Lost

🏕️ Outdoor Skills · Step 2/10
Understand scale and distance
Understand scale and distance — step 2 of 10 in Read a Trail Map and Not Get Lost. Scale is printed as a ratio: 1:25,000 means 1 cm on paper = 250 m on the ground.
From course: Read a Trail Map and Not Get Lost

🏕️ Outdoor Skills · Step 3/10
What contour lines tell you
What contour lines tell you — step 3 of 10 in Read a Trail Map and Not Get Lost. Contour lines connect points of equal elevation. The contour interval (printed in the margin, commonly 10 m or 20 m) tells you the height…
From course: Read a Trail Map and Not Get Lost

🏕️ Outdoor Skills · Step 4/10
Parts of a baseplate compass
Parts of a baseplate compass — step 4 of 10 in Read a Trail Map and Not Get Lost. The baseplate compass has: a rectangular clear base with a direction-of-travel arrow, a rotating bezel with degree markings (0–360), a…
From course: Read a Trail Map and Not Get Lost

🏕️ Outdoor Skills · Step 5/10
Orient the map to north
Orient the map to north — step 5 of 10 in Read a Trail Map and Not Get Lost. Lay the map flat on the ground or hold it level. Place the compass on the map with the baseplate edge along a north–south grid line (the…
From course: Read a Trail Map and Not Get Lost
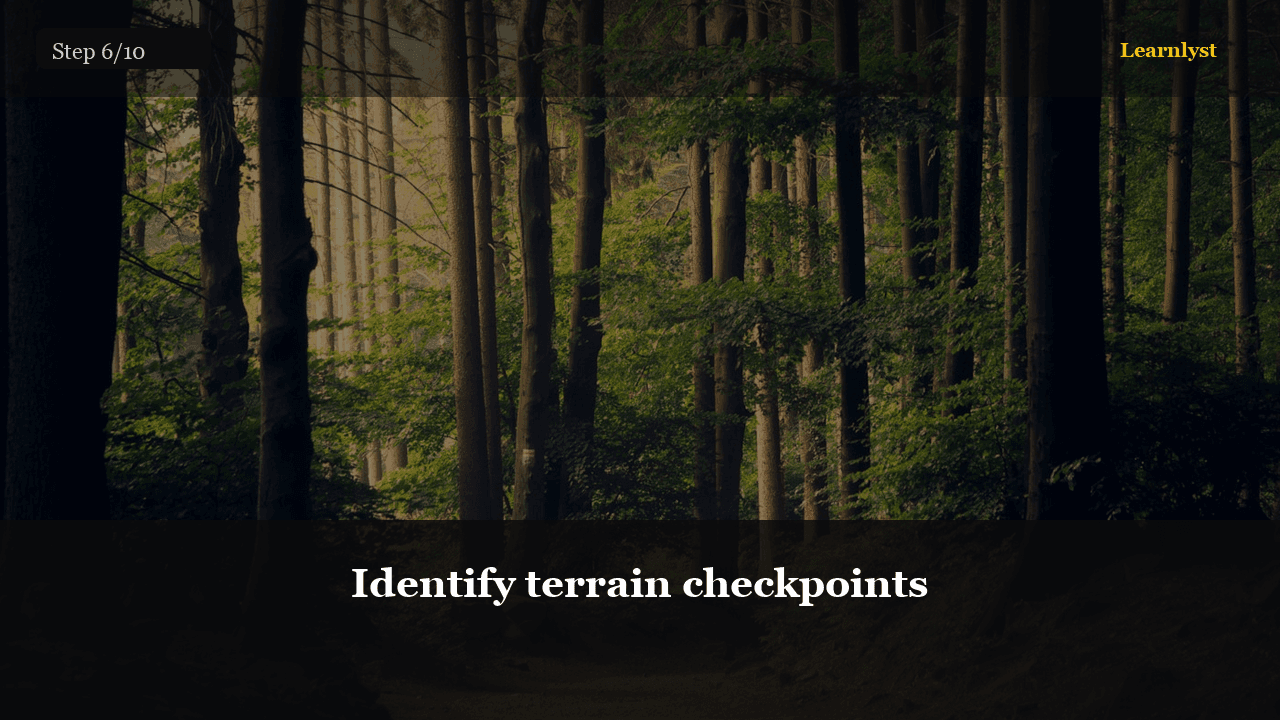
🏕️ Outdoor Skills · Step 6/10
Identify terrain checkpoints
Identify terrain checkpoints — step 6 of 10 in Read a Trail Map and Not Get Lost. Before you walk, identify 3–5 features you will pass: a stream crossing, a junction, a ridge crest, a saddle between two hills.
From course: Read a Trail Map and Not Get Lost

🏕️ Outdoor Skills · Step 7/10
Thumb navigation
Thumb navigation — step 7 of 10 in Read a Trail Map and Not Get Lost. Place your thumb on your current position on the map. As you walk, slide your thumb along the trail to your new position.
From course: Read a Trail Map and Not Get Lost
🏕️ Outdoor Skills · Step 8/10
When to check the phone
When to check the phone — step 8 of 10 in Read a Trail Map and Not Get Lost. Use GPS to confirm your paper-map position at checkpoints — not as a continuous guide.
From course: Read a Trail Map and Not Get Lost

🏕️ Outdoor Skills · Step 9/10
Recognise that you are lost
Recognise that you are lost — step 9 of 10 in Read a Trail Map and Not Get Lost. You are lost when you cannot point to your position on the map within 500 metres.
From course: Read a Trail Map and Not Get Lost

🏕️ Outdoor Skills · Step 10/10
Signal and stay put — pass criteria
Signal and stay put — pass criteria — step 10 of 10 in Read a Trail Map and Not Get Lost. Three whistle blasts, repeated every minute, is the universal hiking distress signal.
From course: Read a Trail Map and Not Get Lost

💻 Tech & Internet · Step 1/6
High, central, not in a cupboard
High, central, not in a cupboard — step 1 of 6 in Home Wi-Fi That Reaches the Bedroom. Radios like air and height. A closet, a TV cabinet, and the floor behind the TV are how you invent dead zones.
From course: Home Wi-Fi That Reaches the Bedroom
💻 Tech & Internet · Step 2/6
Walk the house with a laptop video
Walk the house with a laptop video — step 2 of 6 in Home Wi-Fi That Reaches the Bedroom. Start a 1080p stream. Walk to the bedroom, the yard, the bathroom. Note where it buffers. That map is the product requirement.
From course: Home Wi-Fi That Reaches the Bedroom

💻 Tech & Internet · Step 3/6
Change the admin login and the Wi-Fi passphrase
Change the admin login and the Wi-Fi passphrase — step 3 of 6 in Home Wi-Fi That Reaches the Bedroom. Admin: not admin/admin. A password manager sentence. Wi-Fi: WPA2/WPA3 personal, 15+ characters, not the street number plus the dog.
From course: Home Wi-Fi That Reaches the Bedroom

💻 Tech & Internet · Step 4/6
Guest SSID, isolated
Guest SSID, isolated — step 4 of 6 in Home Wi-Fi That Reaches the Bedroom. Turn on the guest network. Different password. Client isolation if the checkbox exists.
From course: Home Wi-Fi That Reaches the Bedroom

💻 Tech & Internet · Step 5/6
Leave auto on, then check the worst room
Leave auto on, then check the worst room — step 5 of 6 in Home Wi-Fi That Reaches the Bedroom. If the bedroom is still sad after placement, log in and look at 2.4 GHz: channels 1, 6, 11 only. Pick the emptiest.
From course: Home Wi-Fi That Reaches the Bedroom
Free tips today. Full courses when you are ready.
Create a free account for daily tips — or unlock everything for $9/mo.