
Step 5 of 9 · Edit a RAW Photo in 5 Minutes
Recover highlights and open shadows
Recover highlights and open shadows — step 5 of 9 in Edit a RAW Photo in 5 Minutes. Pull the highlights slider left (negative) to recover bright areas — clouds, windows, shiny surfaces.
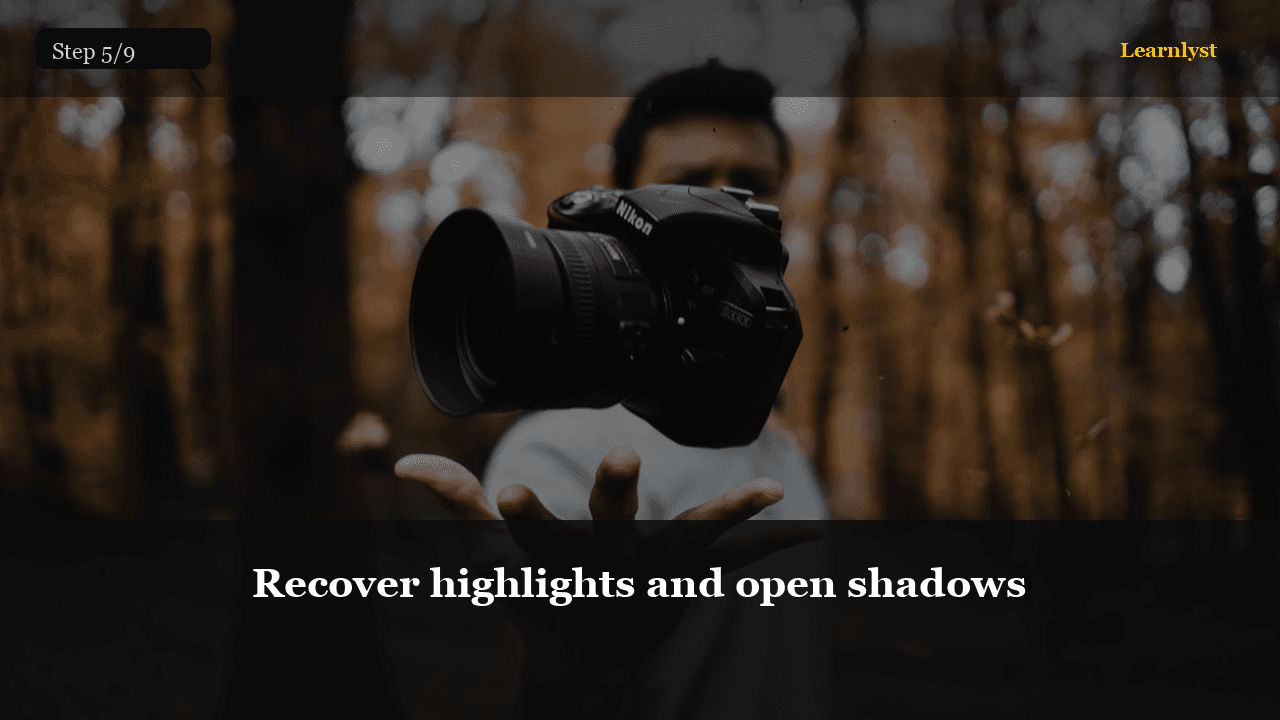
Free photography tip: Recover highlights and open shadows (step 5 of 9 from "Edit a RAW Photo in 5 Minutes").
Pull the highlights slider left (negative) to recover bright areas — clouds, windows, shiny surfaces. This brings back detail that looked blown. Then push the shadows slider right (positive) to reveal detail in dark areas without raising the overall exposure.
Don't max both sliders to ±100. That creates an HDR look that screams 'over-processed.' Pull highlights to –40 to –70 and shadows to +20 to +50 as a starting range, then adjust by eye.
You'll need
- White balance set from neutral reference
- Exposure adjusted for midtones
- Highlights recovered (no clipping)
- Shadows opened (detail visible, not flat)
1 more paragraph in this tip — free with a Learnlyst account.
Create a free account to read the full tip
Unlock “Recover highlights and open shadows” plus daily tips. Guides and course pages stay public for search.
From the full photographed course
Edit a RAW Photo in 5 Minutes →This tip is one step — unlock all 9 steps inside Learnlyst.
More Photography tips


Ready for the full Learnlyst library?
Free account for daily tips · $9/mo or $79/yr for every course.