
Step 6 of 9 · Edit a RAW Photo in 5 Minutes
Add midtone contrast
Add midtone contrast — step 6 of 9 in Edit a RAW Photo in 5 Minutes. Clarity increases contrast in the midtones specifically, making textures pop and edges feel sharper without affecting highlights or shadows…
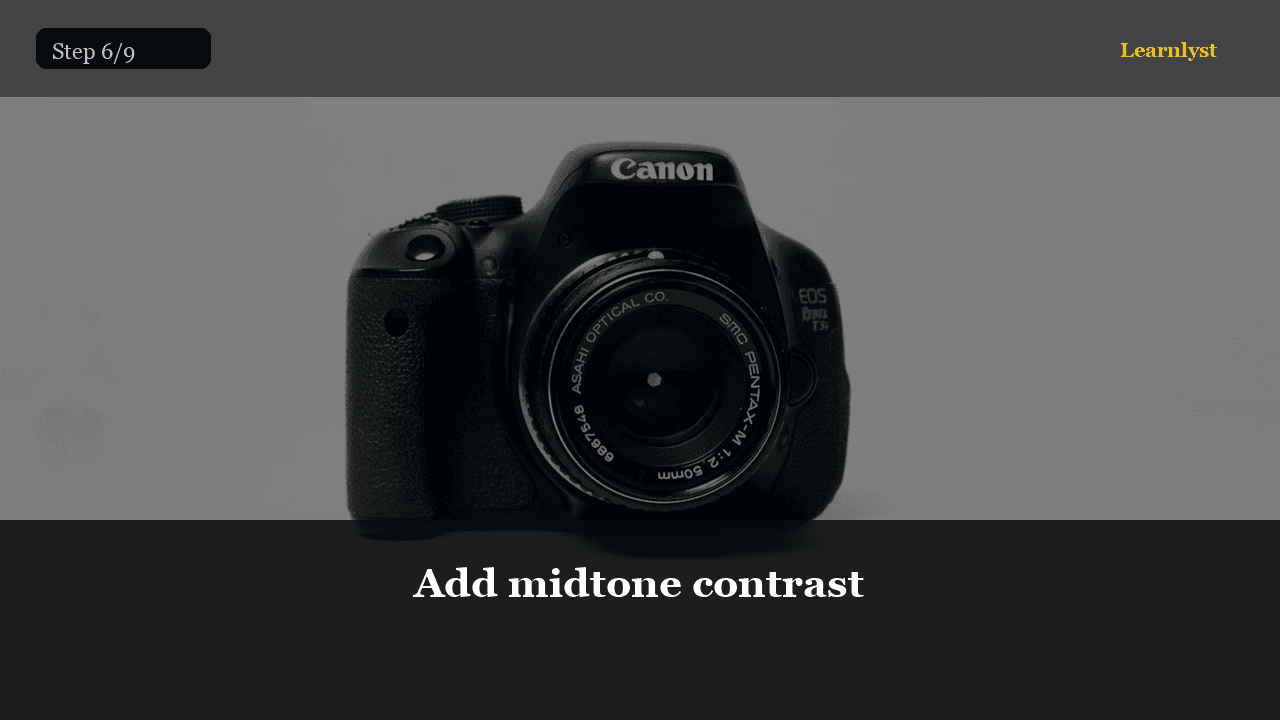
Free photography tip: Add midtone contrast (step 6 of 9 from "Edit a RAW Photo in 5 Minutes").
Clarity increases contrast in the midtones specifically, making textures pop and edges feel sharper without affecting highlights or shadows much. Set it between +15 and +35 for most images.
Above +50, faces look leathery and skies get halos. This is the slider most beginners overdo. If you zoom to 100% and see crunchy halos around edges, you've gone too far. Back it off until it looks punchy but natural.
Pro tip: For portraits, try clarity at 0 or even slightly negative. For landscapes and architecture, +25 to +40 works well.
1 more paragraph in this tip — free with a Learnlyst account.
Create a free account to read the full tip
Unlock “Add midtone contrast” plus daily tips. Guides and course pages stay public for search.
From the full photographed course
Edit a RAW Photo in 5 Minutes →This tip is one step — unlock all 9 steps inside Learnlyst.
More Photography tips

Ready for the full Learnlyst library?
Free account for daily tips · $9/mo or $79/yr for every course.