
Free to browse
Tips & how-to guides
1,874 free skill tips with unique step photos — plus long-form guides with FAQ and trusted sources. Every tip links to a full photographed course.
Browse tips

☀️ Everyday Life · Step 5/9
Transfer products into travel bottles
Transfer products into travel bottles — step 5 of 9 in Pack a Suitcase for a Week in a Carry-On. Airlines allow liquids in containers of 100 ml or less, all fitting inside a single 1-litre clear zip-lock bag.
From course: Pack a Suitcase for a Week in a Carry-On

☀️ Everyday Life · Step 6/9
Build an electronics pouch
Build an electronics pouch — step 6 of 9 in Pack a Suitcase for a Week in a Carry-On. Use a small zippered pouch — roughly the size of a paperback book — for all cables, adapters, and small electronics.
From course: Pack a Suitcase for a Week in a Carry-On
☀️ Everyday Life · Step 7/9
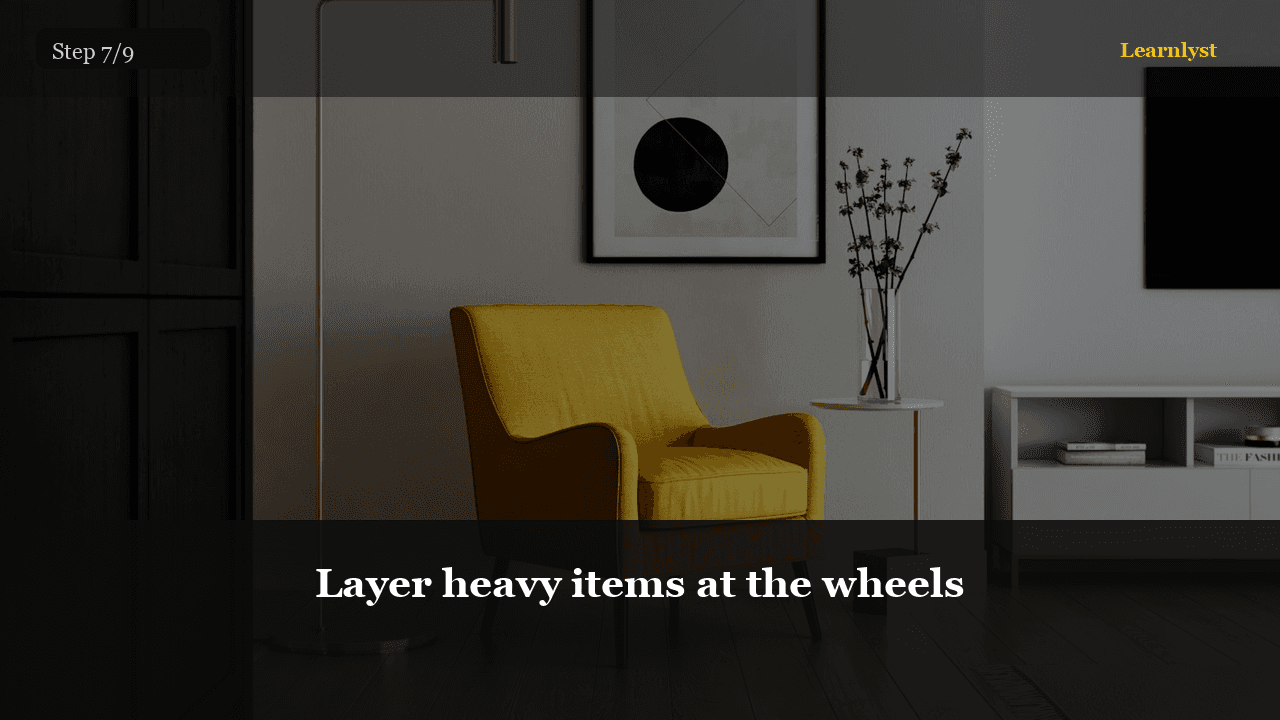
Layer heavy items at the wheels
Layer heavy items at the wheels — step 7 of 9 in Pack a Suitcase for a Week in a Carry-On. Place your suitcase flat on the bed, wheels toward you. Heavy items — shoes (in a shower cap or plastic bag), jeans, toiletry bag — go at…
From course: Pack a Suitcase for a Week in a Carry-On
☀️ Everyday Life · Step 8/9
Weigh the bag before leaving the house
Weigh the bag before leaving the house — step 8 of 9 in Pack a Suitcase for a Week in a Carry-On. Clip a digital luggage scale to the handle and lift the suitcase. Most airlines allow 7–10 kg for carry-on, though some budget carriers cap…
From course: Pack a Suitcase for a Week in a Carry-On

☀️ Everyday Life · Step 9/9
Final walkthrough and pass criteria
Final walkthrough and pass criteria — step 9 of 9 in Pack a Suitcase for a Week in a Carry-On. Before you close the front door, do one final check. Passport or ID: in the bag or on your person? Phone and charger? Wallet?
From course: Pack a Suitcase for a Week in a Carry-On
🏕️ Outdoor Skills · Step 1/4
Water, layer, food, light, blister kit
Water, layer, food, light, blister kit — step 1 of 4 in Pack a Day Hike Without Overpacking. Pack: water, rain/wind layer, snacks with calories, headlamp (even for day hikes), moleskin/bandages.
From course: Pack a Day Hike Without Overpacking

🏕️ Outdoor Skills · Step 2/4
Download offline map + screenshot the route
Download offline map + screenshot the route — step 2 of 4 in Pack a Day Hike Without Overpacking. Download the area in your maps app. Screenshot the trail name and junctions. Optional paper map for longer routes.
From course: Pack a Day Hike Without Overpacking

🏕️ Outdoor Skills · Step 3/4
Heavy close to back, rain layer on top
Heavy close to back, rain layer on top — step 3 of 4 in Pack a Day Hike Without Overpacking. Water and dense items against your back. Rain layer near the top for quick grab. Nothing loose swinging.
From course: Pack a Day Hike Without Overpacking

🏕️ Outdoor Skills · Step 4/4
Buddy knows plan; pack by the door
Buddy knows plan; pack by the door — step 4 of 4 in Pack a Day Hike Without Overpacking. Tell someone where you're going and when you'll be back. Pack sits ready.
From course: Pack a Day Hike Without Overpacking
☕ Coffee & Drinks · Step 1/8
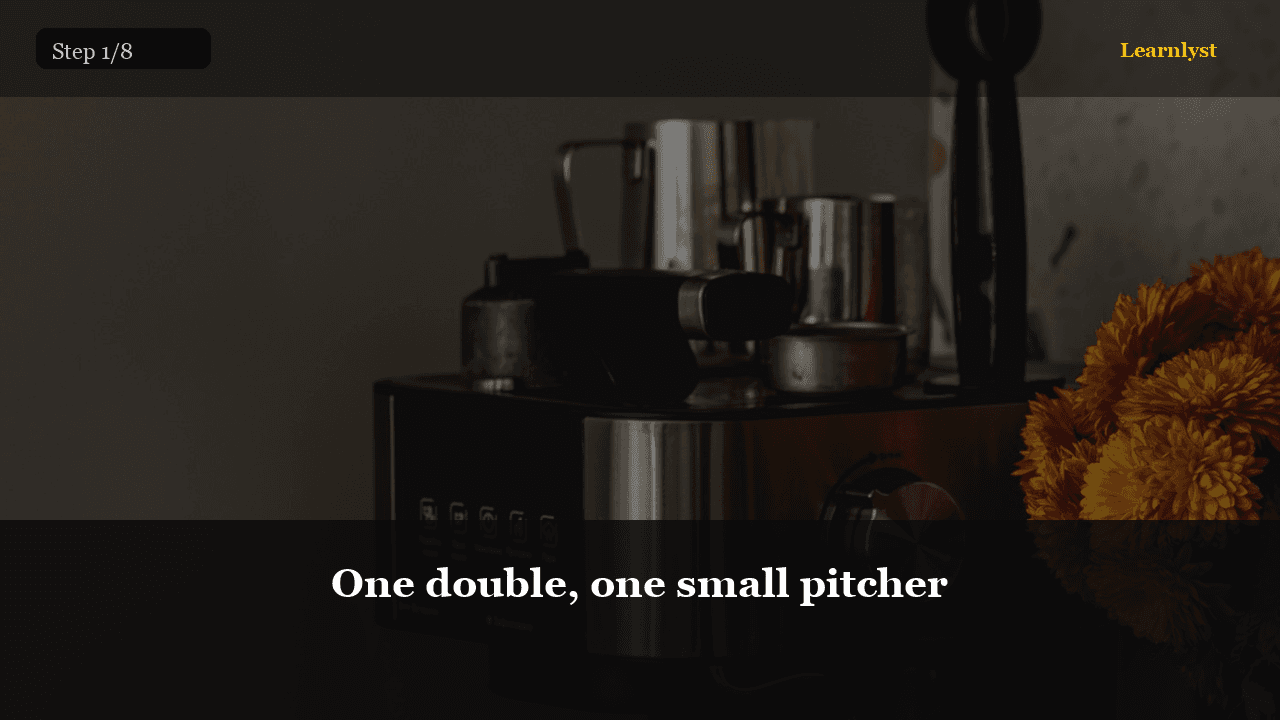
One double, one small pitcher
One double, one small pitcher — step 1 of 8 in Café Latte at Home. Target: 36 g espresso in the cup, then 150–180 ml milk. A 250–300 ml cup is the right size.
From course: Café Latte at Home
☕ Coffee & Drinks · Step 2/8
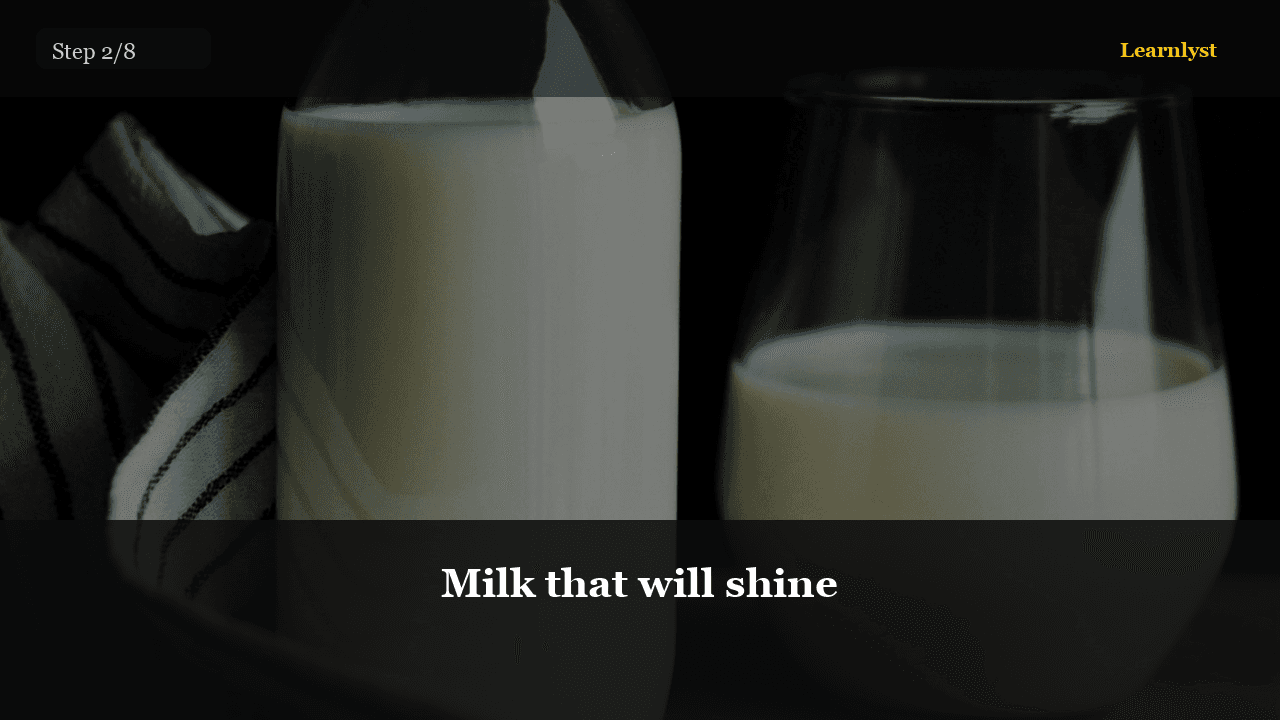
Milk that will shine
Milk that will shine — step 2 of 8 in Café Latte at Home. Whole dairy is the training-wheels milk: fat makes it sweet and the foam holds.
From course: Café Latte at Home
☕ Coffee & Drinks · Step 3/8
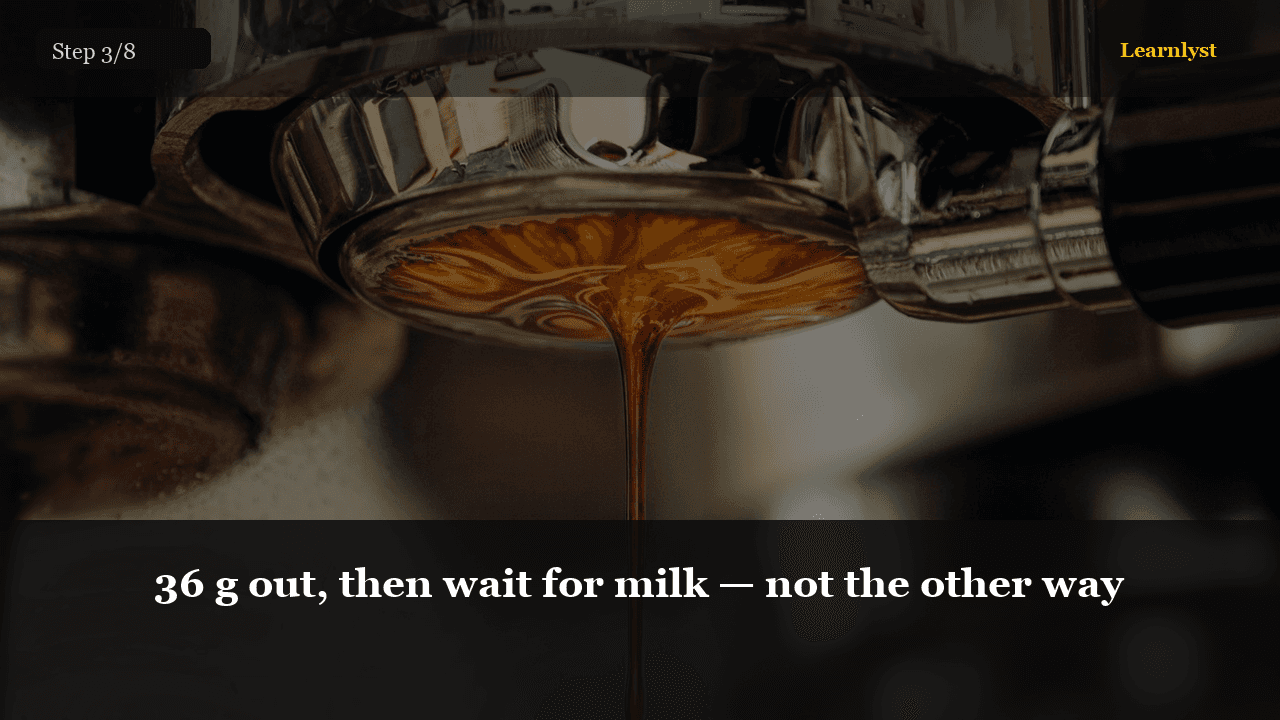
36 g out, then wait for milk — not the other way
36 g out, then wait for milk — not the other way — step 3 of 8 in Café Latte at Home. Dose 18 g, tamp, pull to ~36 g in 25–30 seconds into the serving cup. If the shot gushes or drips, fix grind tomorrow.
From course: Café Latte at Home
☕ Coffee & Drinks · Step 4/8
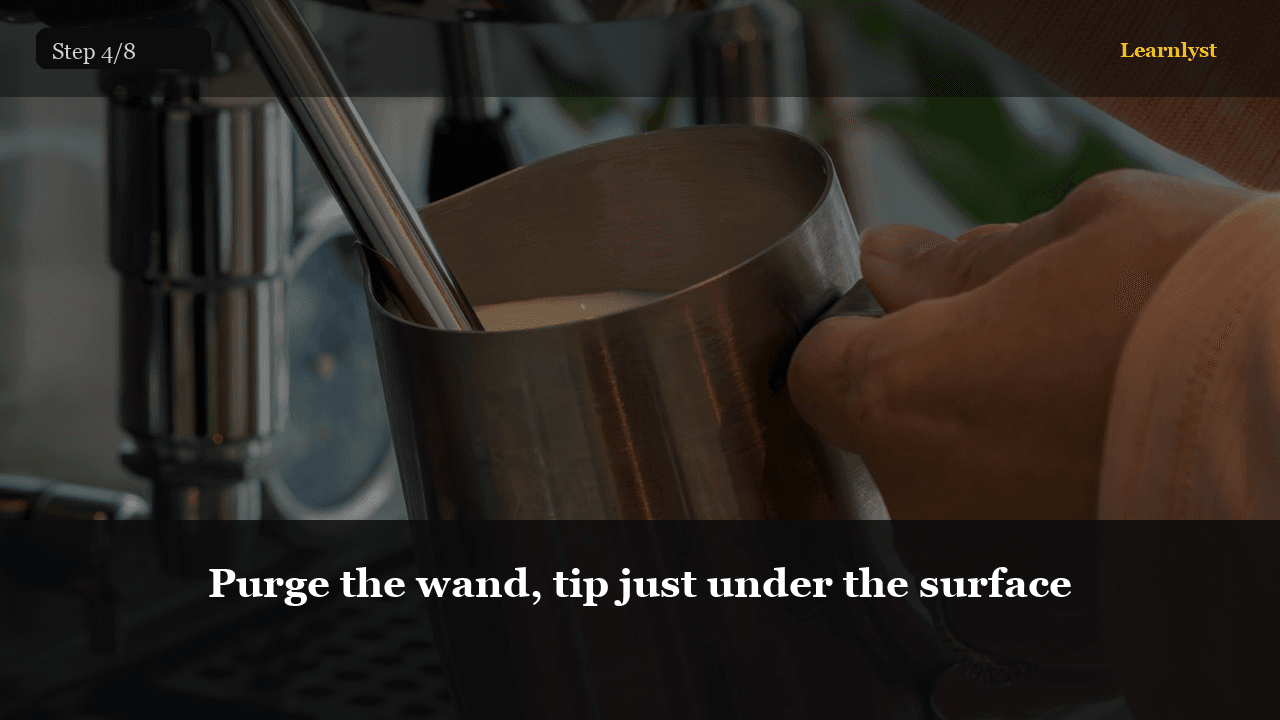
Purge the wand, tip just under the surface
Purge the wand, tip just under the surface — step 4 of 8 in Café Latte at Home. Open the wand into the drip tray for a second so water spits out, not into the milk.
From course: Café Latte at Home
☕ Coffee & Drinks · Step 5/8
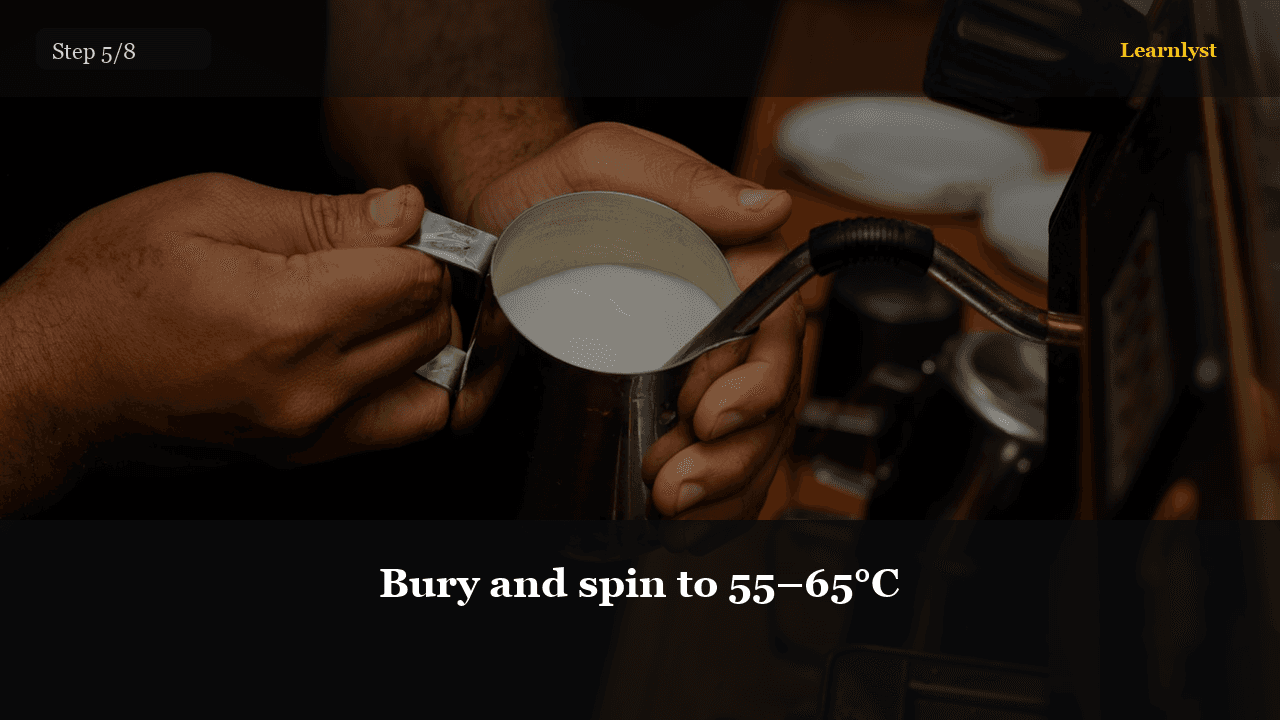
Bury and spin to 55–65°C
Bury and spin to 55–65°C — step 5 of 8 in Café Latte at Home. After the milk has risen about 20–30%, plunge the tip deeper so it stops taking air and starts spinning.
From course: Café Latte at Home
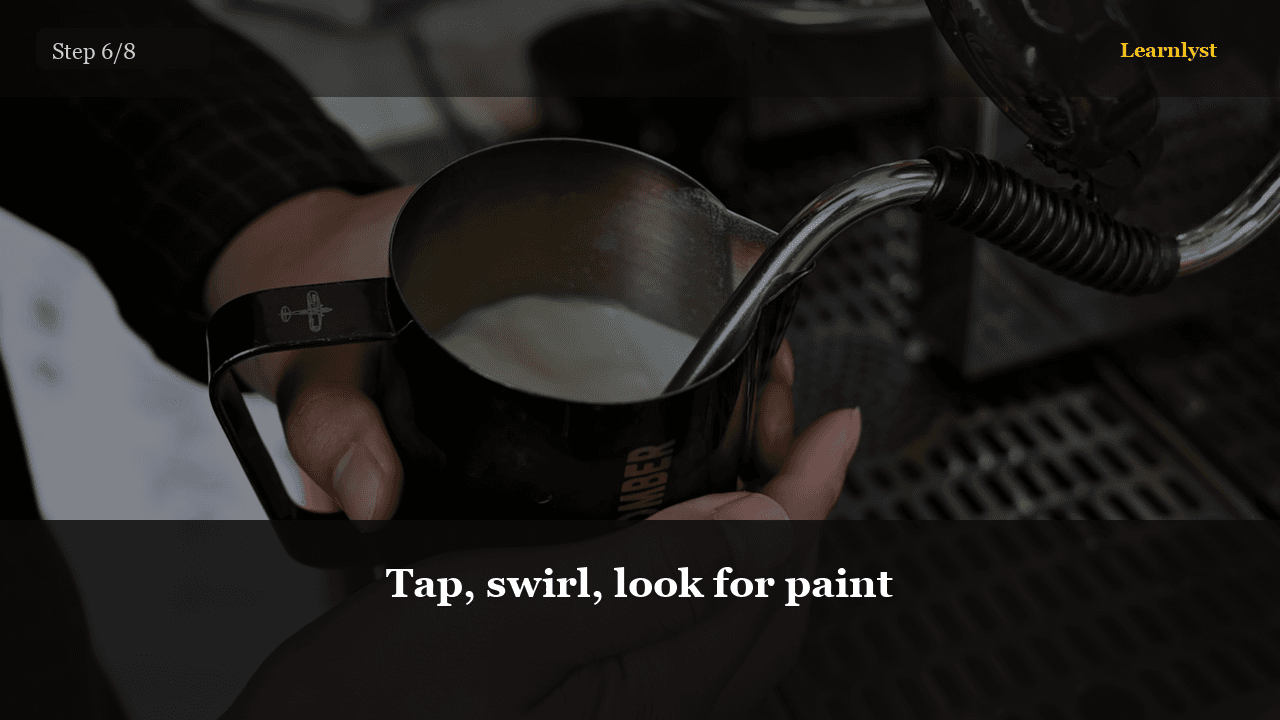
☕ Coffee & Drinks · Step 6/8
Tap, swirl, look for paint
Tap, swirl, look for paint — step 6 of 8 in Café Latte at Home. If you have a few big bubbles, tap the pitcher on the counter once and swirl.
From course: Café Latte at Home

☕ Coffee & Drinks · Step 7/8
High to mix, close to finish
High to mix, close to finish — step 7 of 8 in Café Latte at Home. Tilt the cup. Pour from a few centimeters up so the milk dives under the crema and the drink becomes one color.
From course: Café Latte at Home

☕ Coffee & Drinks · Step 8/8
Taste: sweet milk, espresso still there
Taste: sweet milk, espresso still there — step 8 of 8 in Café Latte at Home. It should taste like coffee and milk, not like hot foam. If it is sour, the shot was under-extracted.
From course: Café Latte at Home

📷 Photography · Step 1/4
White board, product centered, dust gone
White board, product centered, dust gone — step 1 of 4 in Product Photos for Selling Online. Tape white poster board as a seamless curve (backdrop + floor). Clean the product — fingerprints show in listings.
From course: Product Photos for Selling Online
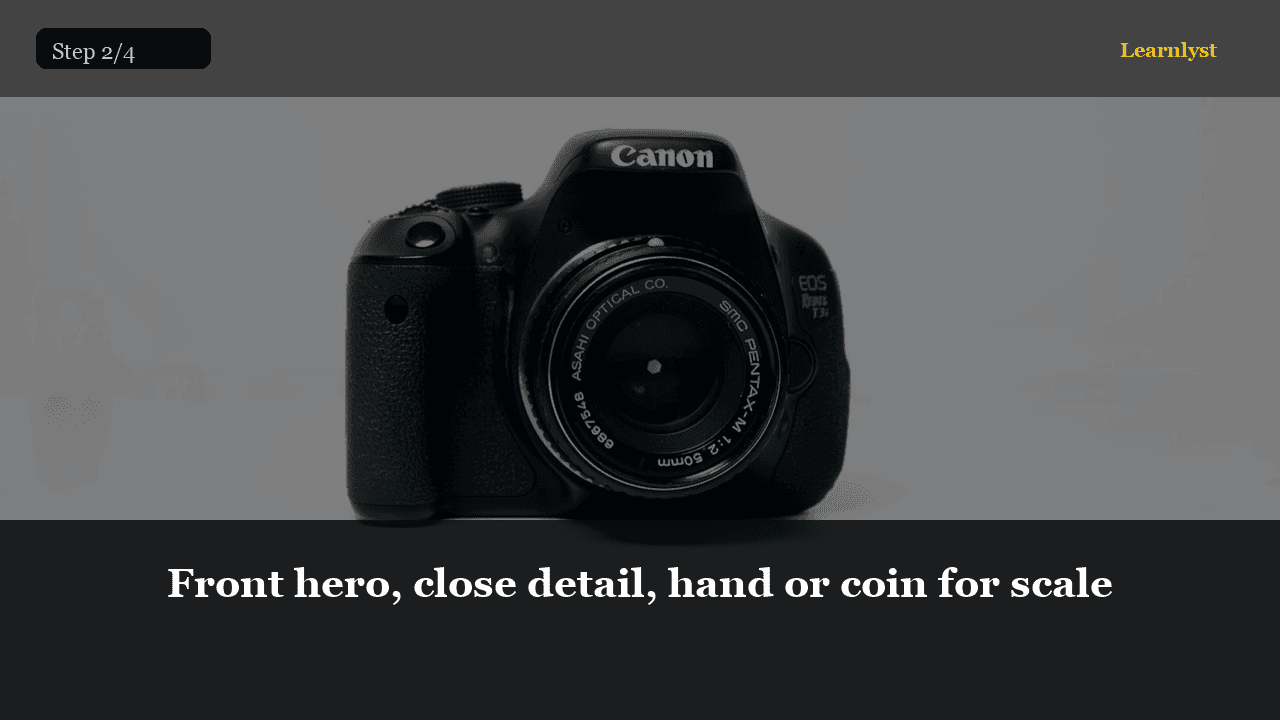
📷 Photography · Step 2/4
Front hero, close detail, hand or coin for scale
Front hero, close detail, hand or coin for scale — step 2 of 4 in Product Photos for Selling Online. Shot 1: straight-on hero. Shot 2: texture/label detail. Shot 3: hand, ruler, or next to a known object for size.
From course: Product Photos for Selling Online

📷 Photography · Step 3/4
Tap product, lower exposure if white blows out
Tap product, lower exposure if white blows out — step 3 of 4 in Product Photos for Selling Online. Tap to focus on the product. If the white board is clipping, drag exposure down. Shoot slightly above eye level for most small goods.
From course: Product Photos for Selling Online

📷 Photography · Step 4/4
Crop, true color, upload three
Crop, true color, upload three — step 4 of 4 in Product Photos for Selling Online. Crop evenly. Match white balance so whites look white. No heavy filters that change the product color.
From course: Product Photos for Selling Online
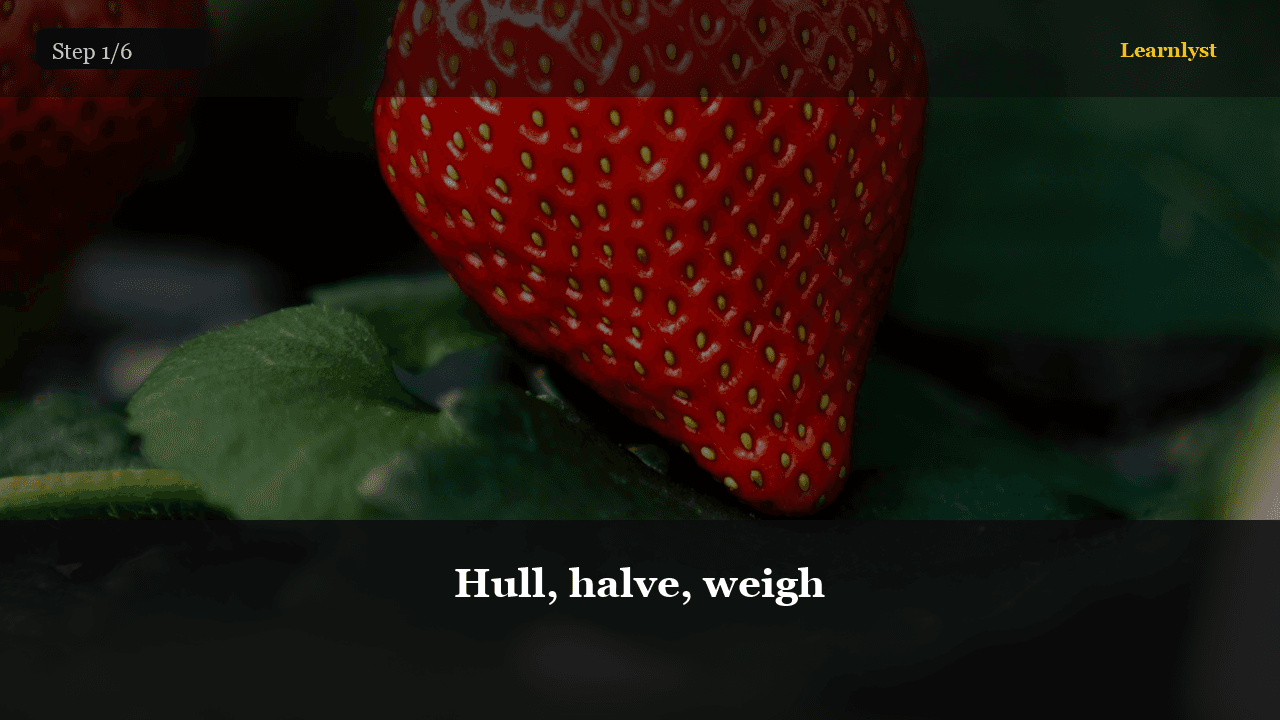
🍳 Food & Cooking · Step 1/6
Hull, halve, weigh
Hull, halve, weigh — step 1 of 6 in Small-Batch Strawberry Jam. 1 kg after hulling. Halve big berries, leave small ones whole. If they smell like nothing, they will jam like nothing — add 50 g extra…
From course: Small-Batch Strawberry Jam
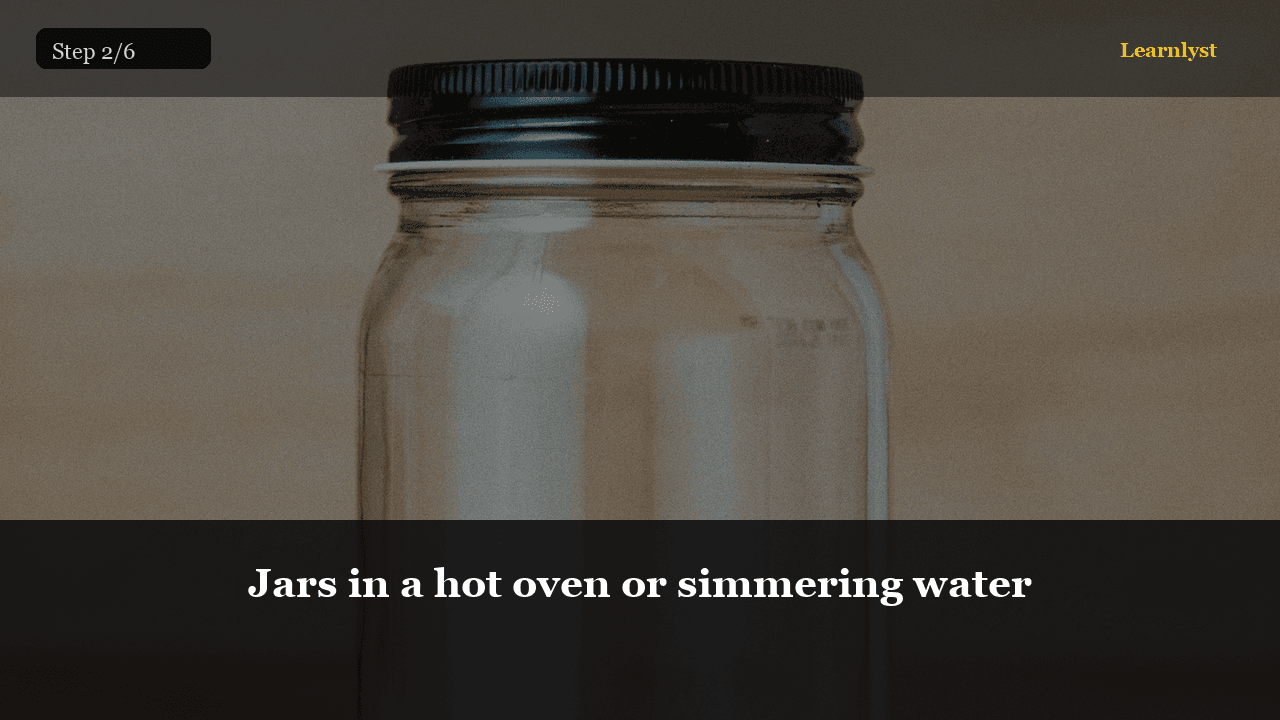
🍳 Food & Cooking · Step 2/6
Jars in a hot oven or simmering water
Jars in a hot oven or simmering water — step 2 of 6 in Small-Batch Strawberry Jam. Wash jars. Keep them hot so hot jam doesn't crack glass. Lids per the manufacturer — most modern lids are simmered, not boiled to death.
From course: Small-Batch Strawberry Jam
🍳 Food & Cooking · Step 3/6
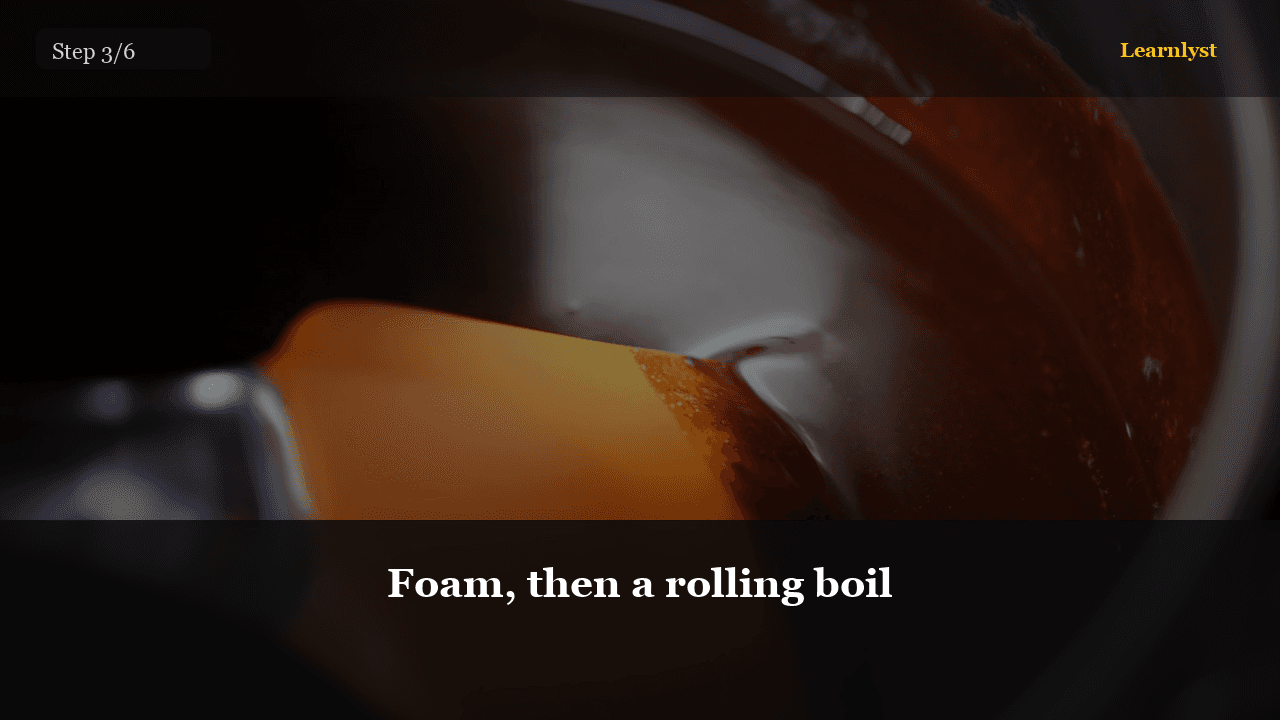
Foam, then a rolling boil
Foam, then a rolling boil — step 3 of 6 in Small-Batch Strawberry Jam. Medium-high. Stir so the bottom doesn't catch. Skim the worst foam if you want a clearer jar — optional.
From course: Small-Batch Strawberry Jam
Free tips today. Full courses when you are ready.
Create a free account for daily tips — or unlock everything for $9/mo.