
Free to browse
Tips & how-to guides
1,874 free skill tips with unique step photos — plus long-form guides with FAQ and trusted sources. Every tip links to a full photographed course.
Browse tips
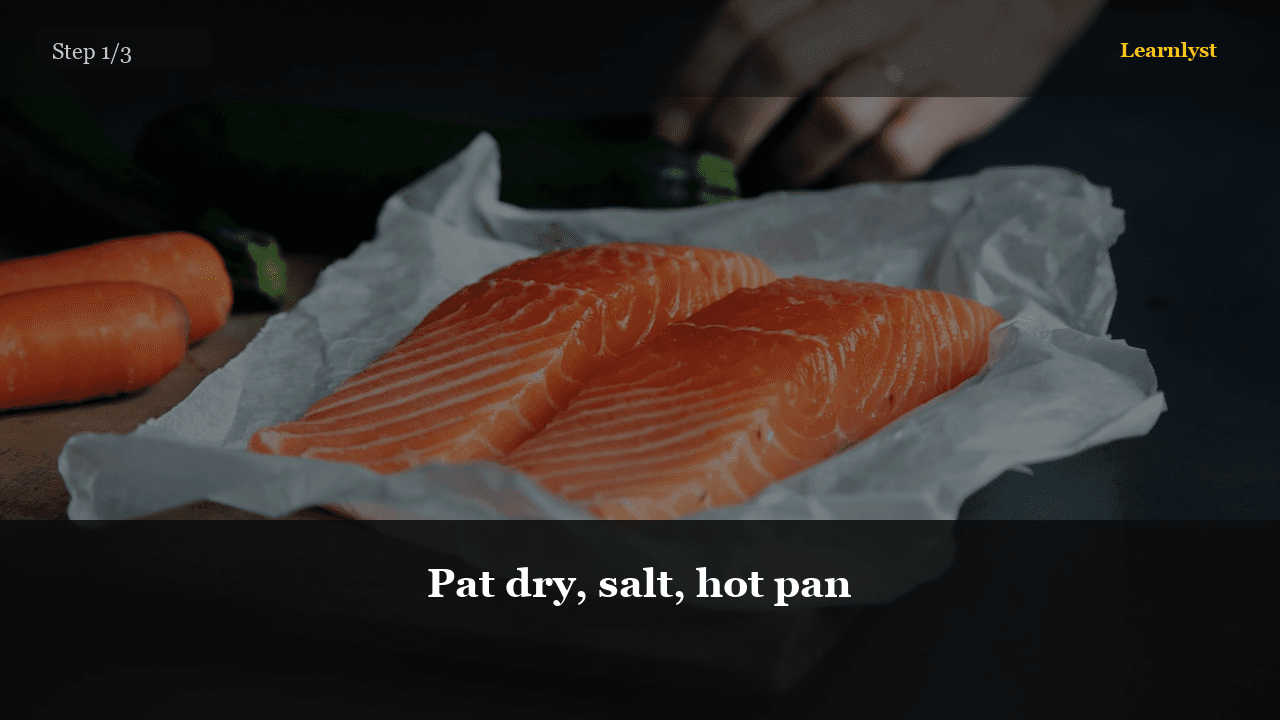
🍳 Food & Cooking · Step 1/3
Pat dry, salt, hot pan
Pat dry, salt, hot pan — step 1 of 3 in Pan-Seared Salmon in 15 Minutes. Paper-towel dry thoroughly especially skin. Salt both sides. Oil pan, heat until shimmering almost smoking.
From course: Pan-Seared Salmon in 15 Minutes
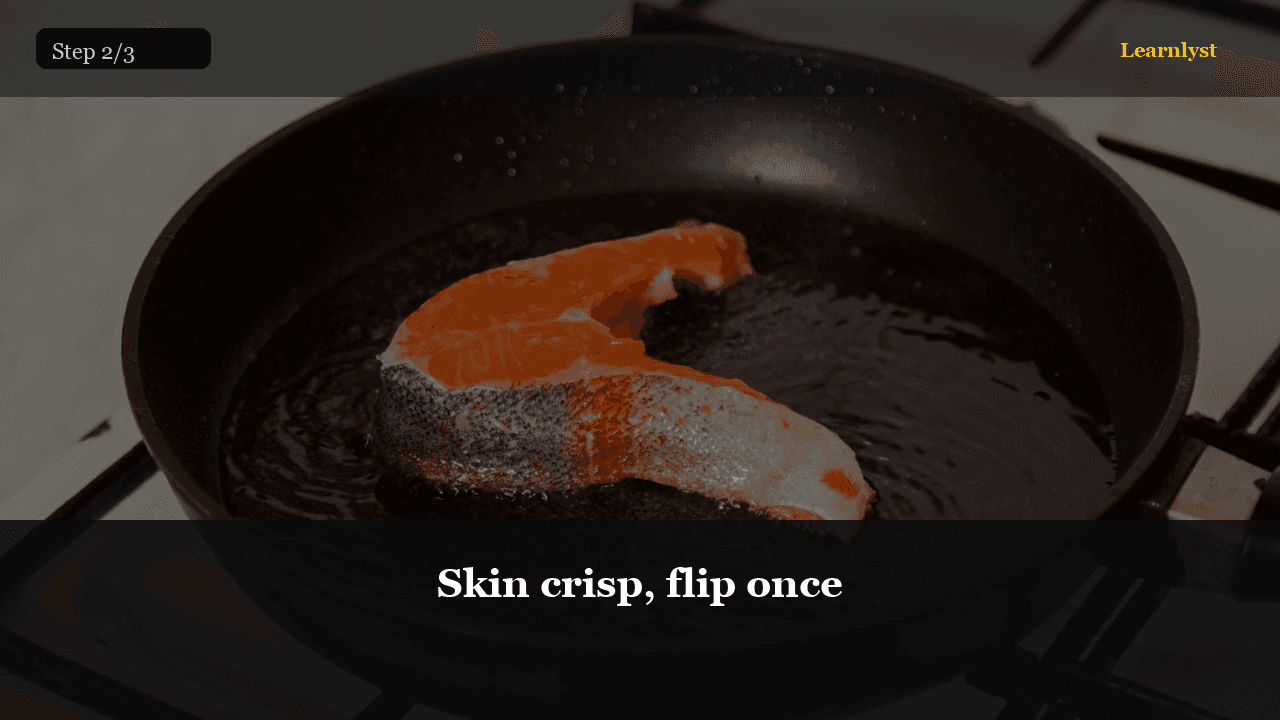
🍳 Food & Cooking · Step 2/3
Skin crisp, flip once
Skin crisp, flip once — step 2 of 3 in Pan-Seared Salmon in 15 Minutes. Cook skin-side ~70% of total time until flesh turns opaque two-thirds up. Flip once. Optional butter-garlic baste 30–60 seconds.
From course: Pan-Seared Salmon in 15 Minutes

🍳 Food & Cooking · Step 3/3
Pass criteria: crispy skin salmon
Pass criteria: crispy skin salmon — step 3 of 3 in Pan-Seared Salmon in 15 Minutes. You pass when skin shatters lightly under a fork, center is moist not chalky, and lemon hits the plate.
From course: Pan-Seared Salmon in 15 Minutes

🍳 Food & Cooking · Step 1/11
Identify the problem
Identify the problem — step 1 of 11 in Cast Iron Seasoning and Rescue. Rusty orange = metal exposed, needs scrub + reseason. Black but sticky = too much oil, needs strip of the gummy layer.
From course: Cast Iron Seasoning and Rescue

🍳 Food & Cooking · Step 2/11
Gather rescue tools
Gather rescue tools — step 2 of 11 in Cast Iron Seasoning and Rescue. Steel wool or chainmail, salt, mild soap, oil, oven. Clear the sink. Open a window.
From course: Cast Iron Seasoning and Rescue
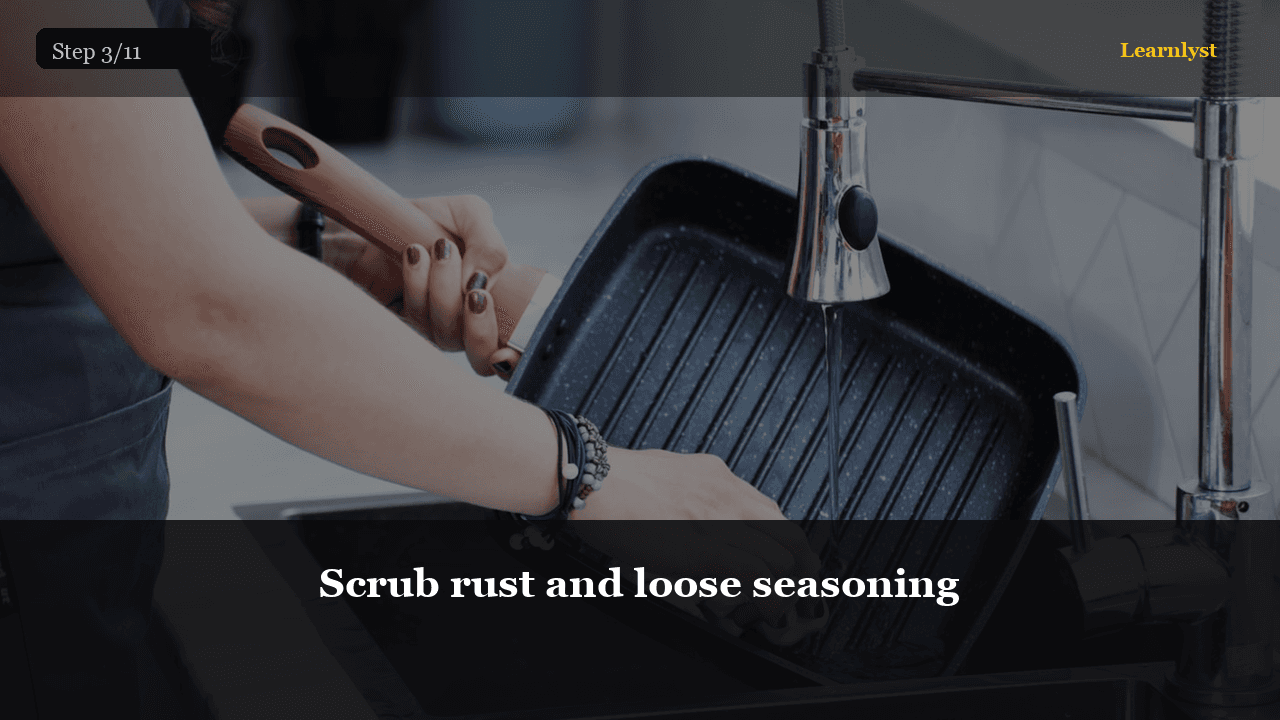
🍳 Food & Cooking · Step 3/11
Scrub rust and loose seasoning
Scrub rust and loose seasoning — step 3 of 11 in Cast Iron Seasoning and Rescue. Warm water + drop of soap + steel wool. Scrub until orange rust is gone and surface feels evenly rough-smooth, not flaky.
From course: Cast Iron Seasoning and Rescue
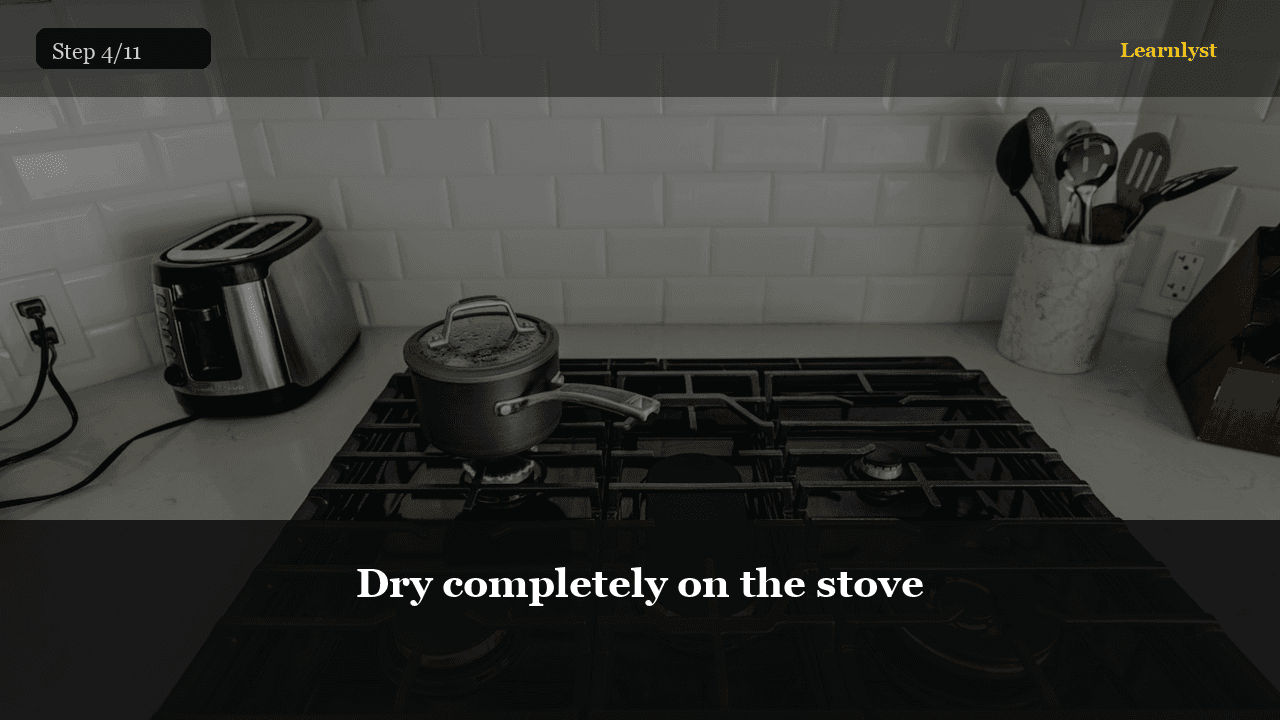
🍳 Food & Cooking · Step 4/11
Dry completely on the stove
Dry completely on the stove — step 4 of 11 in Cast Iron Seasoning and Rescue. Towel dry, then set on low heat 3–5 minutes until every water spot is gone. Water left behind = flash rust in hours.
From course: Cast Iron Seasoning and Rescue

🍳 Food & Cooking · Step 5/11
Optional full strip for sticky disasters
Optional full strip for sticky disasters — step 5 of 11 in Cast Iron Seasoning and Rescue. If the pan is gummed with thick sticky oil, a self-cleaning oven cycle or yellow-cap oven cleaner in a bag (outdoors, gloves, follow…
From course: Cast Iron Seasoning and Rescue
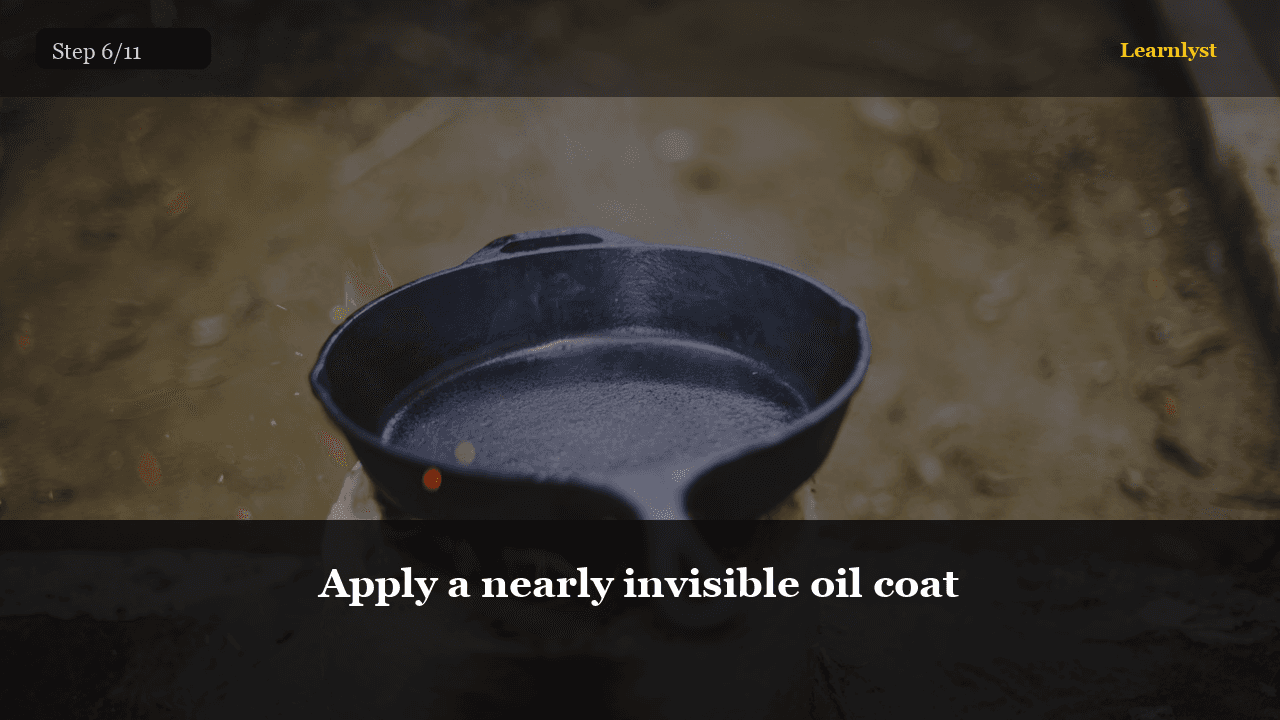
🍳 Food & Cooking · Step 6/11
Apply a nearly invisible oil coat
Apply a nearly invisible oil coat — step 6 of 11 in Cast Iron Seasoning and Rescue. Put ½ tsp oil in the warm pan. Wipe with paper towel as if you are trying to remove all of it. What remains is enough.
From course: Cast Iron Seasoning and Rescue
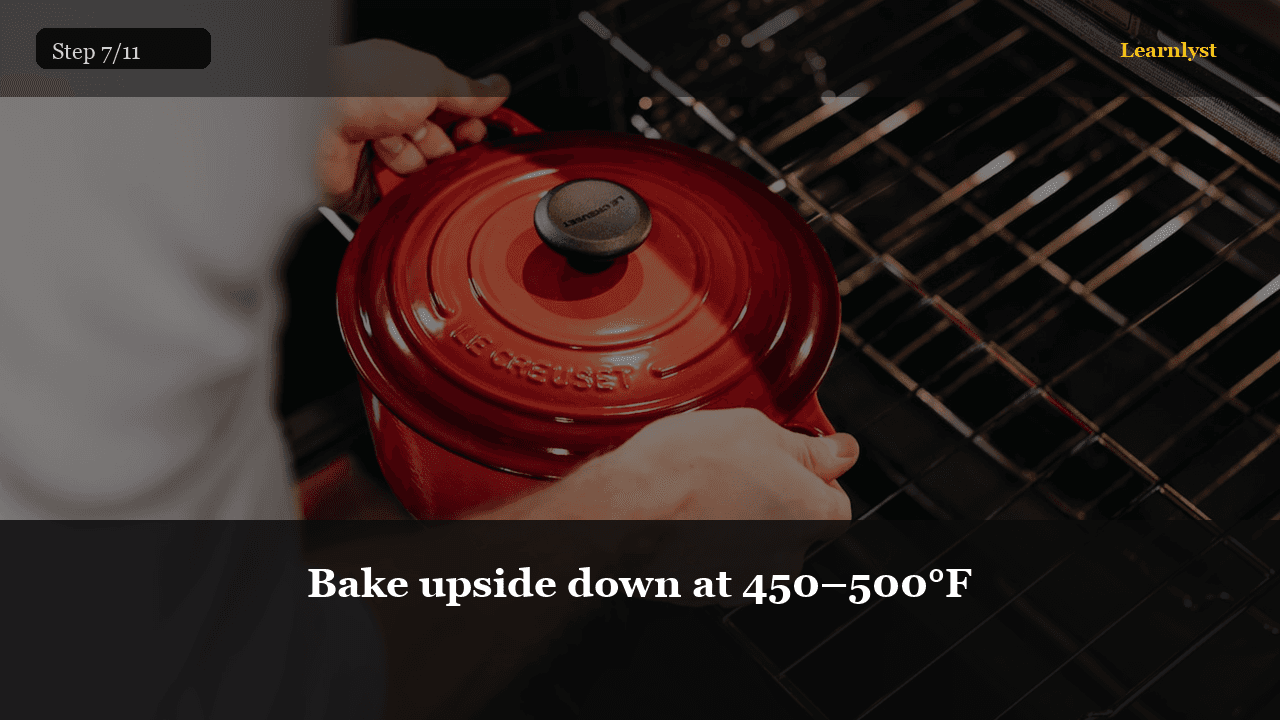
🍳 Food & Cooking · Step 7/11
Bake upside down at 450–500°F
Bake upside down at 450–500°F — step 7 of 11 in Cast Iron Seasoning and Rescue. Place pan upside down on middle rack. Foil on lower rack for drips. Bake 1 hour. Then oven off, cool inside oven. Smoke is normal.
From course: Cast Iron Seasoning and Rescue
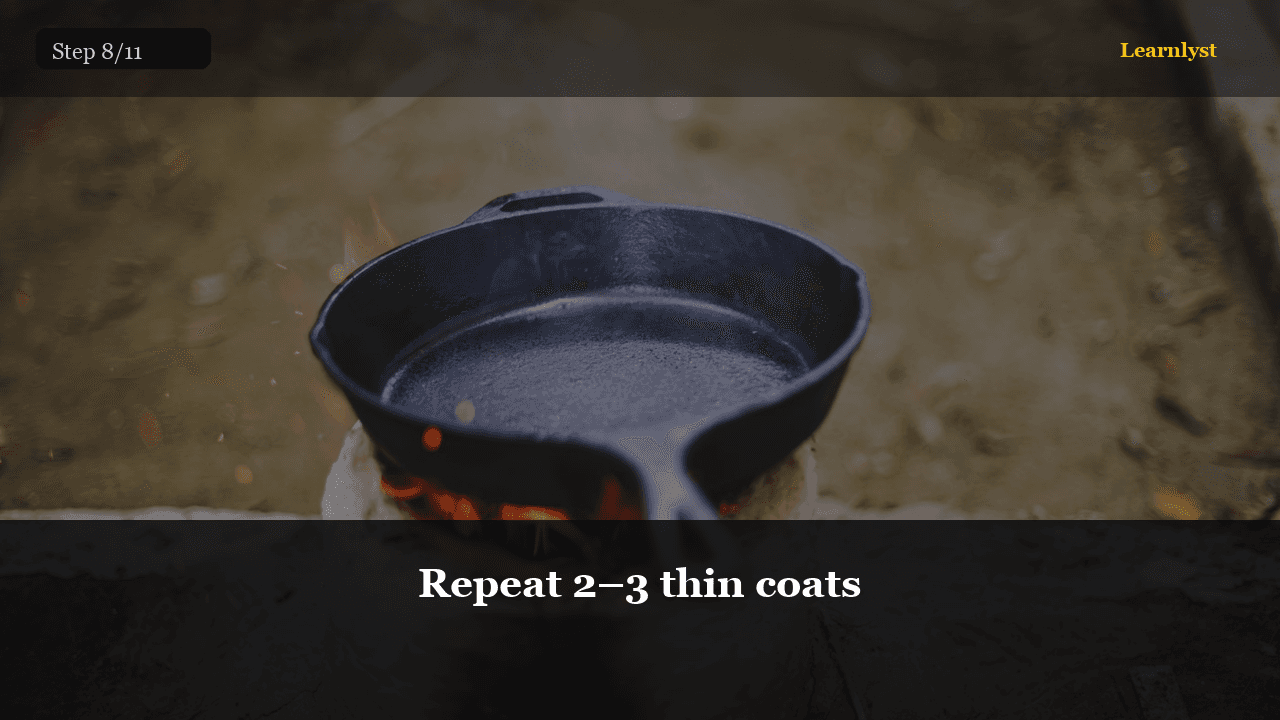
🍳 Food & Cooking · Step 8/11
Repeat 2–3 thin coats
Repeat 2–3 thin coats — step 8 of 11 in Cast Iron Seasoning and Rescue. When cool enough to handle, another wipe-thin coat, another hour bake. Two to three rounds builds a usable base.
From course: Cast Iron Seasoning and Rescue

🍳 Food & Cooking · Step 9/11
Cook fatty foods first
Cook fatty foods first — step 9 of 11 in Cast Iron Seasoning and Rescue. Bacon, smash burgers, or fried eggs with enough oil. Avoid long tomato simmer or wine braise for the first few cooks — acid can thin new…
From course: Cast Iron Seasoning and Rescue
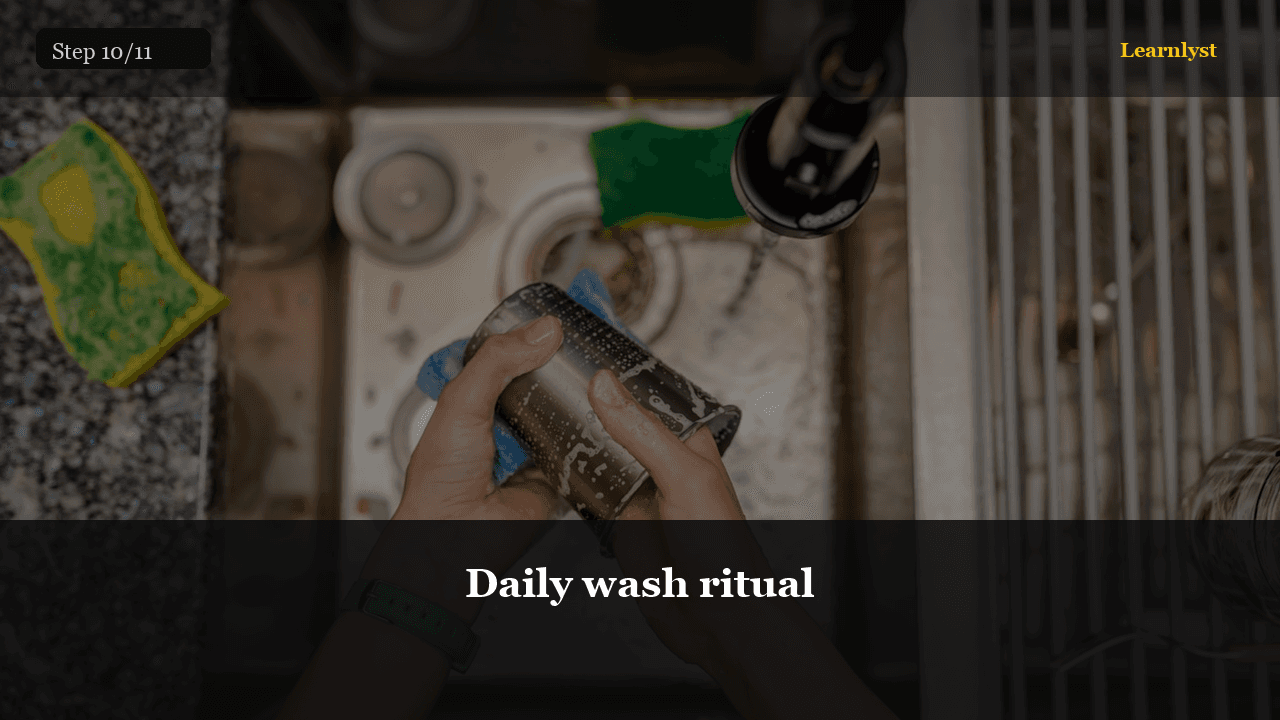
🍳 Food & Cooking · Step 10/11
Daily wash ritual
Daily wash ritual — step 10 of 11 in Cast Iron Seasoning and Rescue. While warm: scrape, hot water, drop of soap if needed, scrub, rinse, dry on heat, wipe a drop of oil. Store dry. No dishwasher.
From course: Cast Iron Seasoning and Rescue

🍳 Food & Cooking · Step 11/11
Pass criteria
Pass criteria — step 11 of 11 in Cast Iron Seasoning and Rescue. You pass when rust is gone, the pan is not sticky, you have completed at least two oven seasoning cycles, and one recovery meal released…
From course: Cast Iron Seasoning and Rescue

🏠 Home & DIY · Step 1/11
Measure window and mark rod height
Measure window and mark rod height — step 1 of 11 in Hang Curtains So They Look Custom. Higher than the frame elongates the wall. Mark lightly with pencil on both sides.
From course: Hang Curtains So They Look Custom

🏠 Home & DIY · Step 2/11
Mark bracket width past the frame
Mark bracket width past the frame — step 2 of 11 in Hang Curtains So They Look Custom. Extend beyond the window so stacked panels do not block light when open.
From course: Hang Curtains So They Look Custom

🏠 Home & DIY · Step 3/11
Choose panel length and fullness
Choose panel length and fullness — step 3 of 11 in Hang Curtains So They Look Custom. Width: about 1.5–2x the rod span for fullness. Length: floor-kiss preferred for custom look.
From course: Hang Curtains So They Look Custom

🏠 Home & DIY · Step 4/11
Find studs or use rated anchors
Find studs or use rated anchors — step 4 of 11 in Hang Curtains So They Look Custom. Heavy drapes need secure fixing. Level the marks before drilling.
From course: Hang Curtains So They Look Custom

🏠 Home & DIY · Step 5/11
Install brackets then seat the rod
Install brackets then seat the rod — step 5 of 11 in Hang Curtains So They Look Custom. Tighten firmly. Center decorative finials. Confirm level across the span.
From course: Hang Curtains So They Look Custom

🏠 Home & DIY · Step 6/11
Test weight with a gentle tug
Test weight with a gentle tug — step 6 of 11 in Hang Curtains So They Look Custom. Fix wobble now — not after panels are hung. Add a center support on wide windows.
From course: Hang Curtains So They Look Custom
🏠 Home & DIY · Step 7/11
Slide panels on in the correct order
Slide panels on in the correct order — step 7 of 11 in Hang Curtains So They Look Custom. Facing and hooks or rings per panel type. Keep seams and hems even.
From course: Hang Curtains So They Look Custom

🏠 Home & DIY · Step 8/11
Space folds evenly across the rod
Space folds evenly across the rod — step 8 of 11 in Hang Curtains So They Look Custom. Hand-train pleats. Open and close once to settle hardware.
From course: Hang Curtains So They Look Custom

🏠 Home & DIY · Step 9/11
Steam or iron wrinkles from top to hem
Steam or iron wrinkles from top to hem — step 9 of 11 in Hang Curtains So They Look Custom. Steam while hanging if possible. Wrinkle-free panels sell the custom look.
From course: Hang Curtains So They Look Custom

🏠 Home & DIY · Step 10/11
Step back and adjust length illusion
Step back and adjust length illusion — step 10 of 11 in Hang Curtains So They Look Custom. Break vs kiss vs slight puddle — pick one and match both sides.
From course: Hang Curtains So They Look Custom
Free tips today. Full courses when you are ready.
Create a free account for daily tips — or unlock everything for $9/mo.