
Free to browse
Tips & how-to guides
1,874 free skill tips with unique step photos — plus long-form guides with FAQ and trusted sources. Every tip links to a full photographed course.
Browse tips

🍳 Food & Cooking · Step 1/5
Cut butter into flour, add ice water a spoon at a time
Cut butter into flour, add ice water a spoon at a time — step 1 of 5 in Apple Pie That Isn't Soup. 320 g flour, salt, sugar, 225 g cold cubes. Rub or pulse until pea-sized bits remain — those steam into flakes.
From course: Apple Pie That Isn't Soup
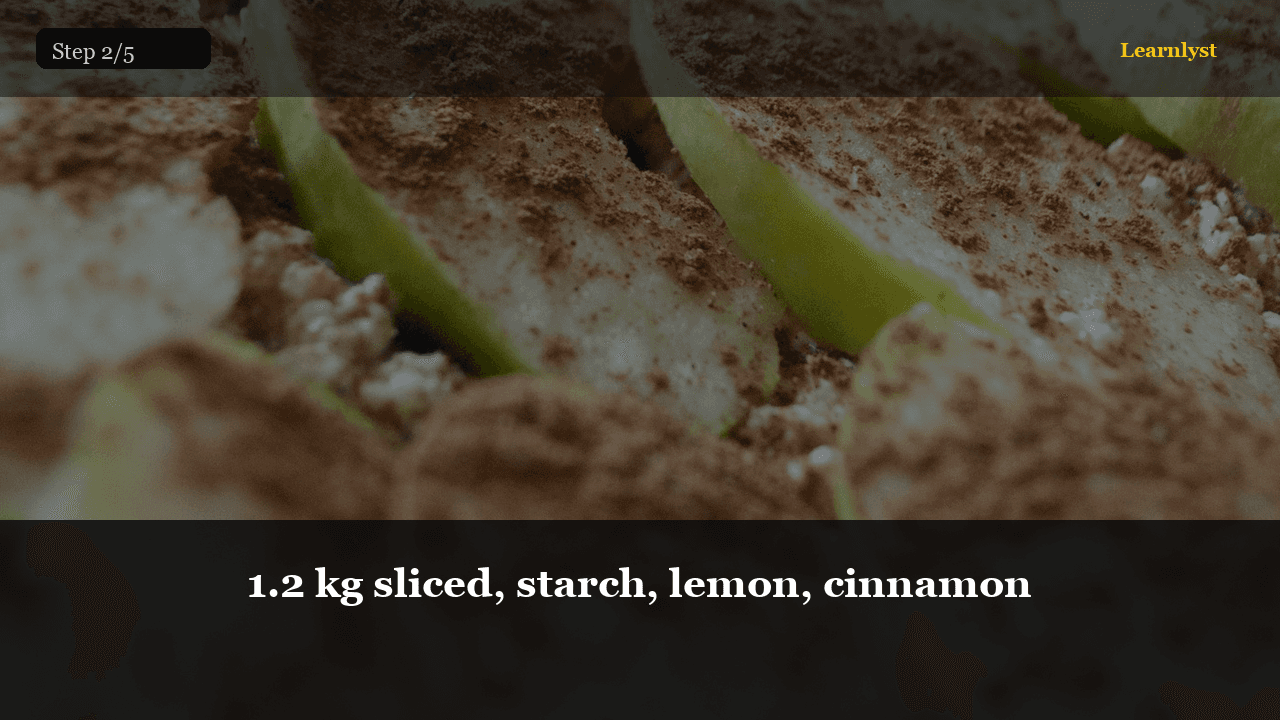
🍳 Food & Cooking · Step 2/5
1.2 kg sliced, starch, lemon, cinnamon
1.2 kg sliced, starch, lemon, cinnamon — step 2 of 5 in Apple Pie That Isn't Soup. Peel if you hate peels. Slice even so they cook even. Toss with sugar, lemon, cinnamon, salt, 2–3 Tbsp cornstarch.
From course: Apple Pie That Isn't Soup

🍳 Food & Cooking · Step 3/5
Lid on, vents, egg wash
Lid on, vents, egg wash — step 3 of 5 in Apple Pie That Isn't Soup. Top crust, trim, crimp. Three slits so steam leaves. Egg wash, coarse sugar. Foil strips ready for the rim. Sheet pan on the rack below.
From course: Apple Pie That Isn't Soup

🍳 Food & Cooking · Step 4/5
Bubble in the middle, then cool 3–4 hours
Bubble in the middle, then cool 3–4 hours — step 4 of 5 in Apple Pie That Isn't Soup. If the rim is dark at 40 minutes, foil it. If the center is quiet at 50, keep going. Starch sets when it boils.
From course: Apple Pie That Isn't Soup

🍳 Food & Cooking · Step 5/5
A sharp knife, wipe between cuts
A sharp knife, wipe between cuts — step 5 of 5 in Apple Pie That Isn't Soup. If the first slice collapses, you were early. Wait 30 more minutes. Leftovers covered in the fridge, 3 days.
From course: Apple Pie That Isn't Soup
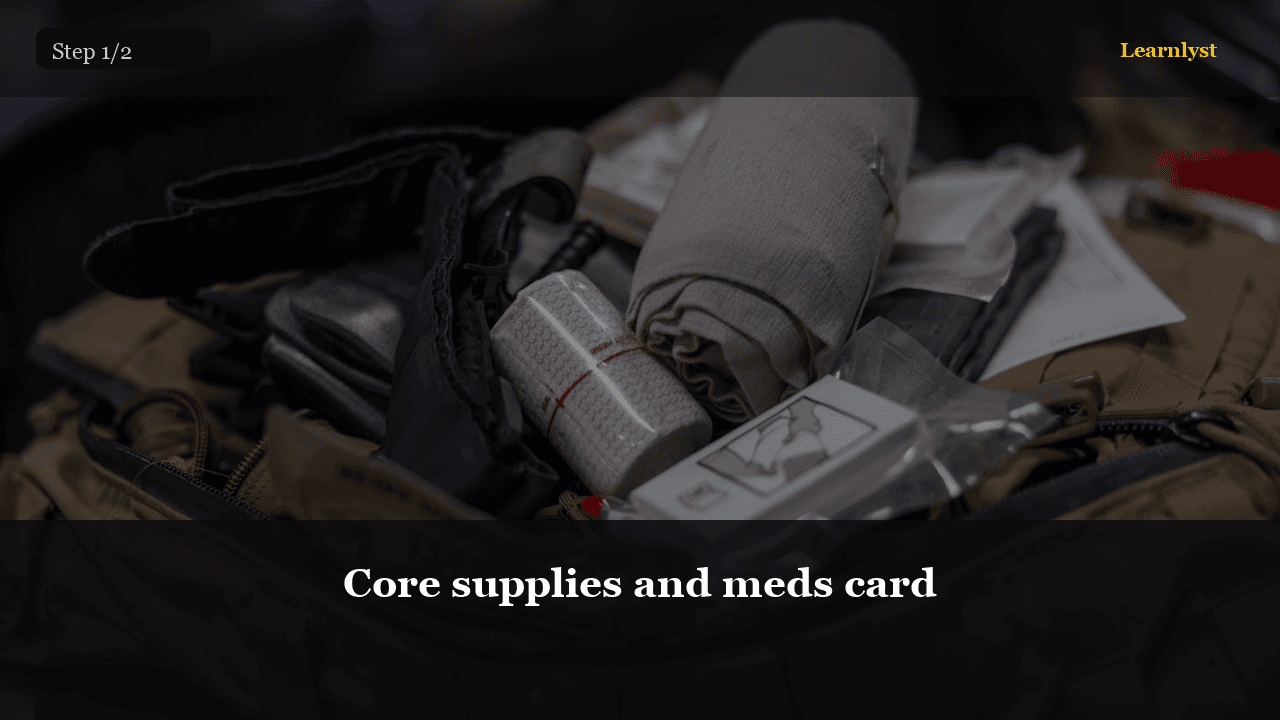
💪 Health & Fitness · Step 1/2
Core supplies and meds card
Core supplies and meds card — step 1 of 2 in Build a Home First Aid Kit That Works. Assemble list above. Write emergency numbers + household allergies + med doses on a card in the lid.
From course: Build a Home First Aid Kit That Works
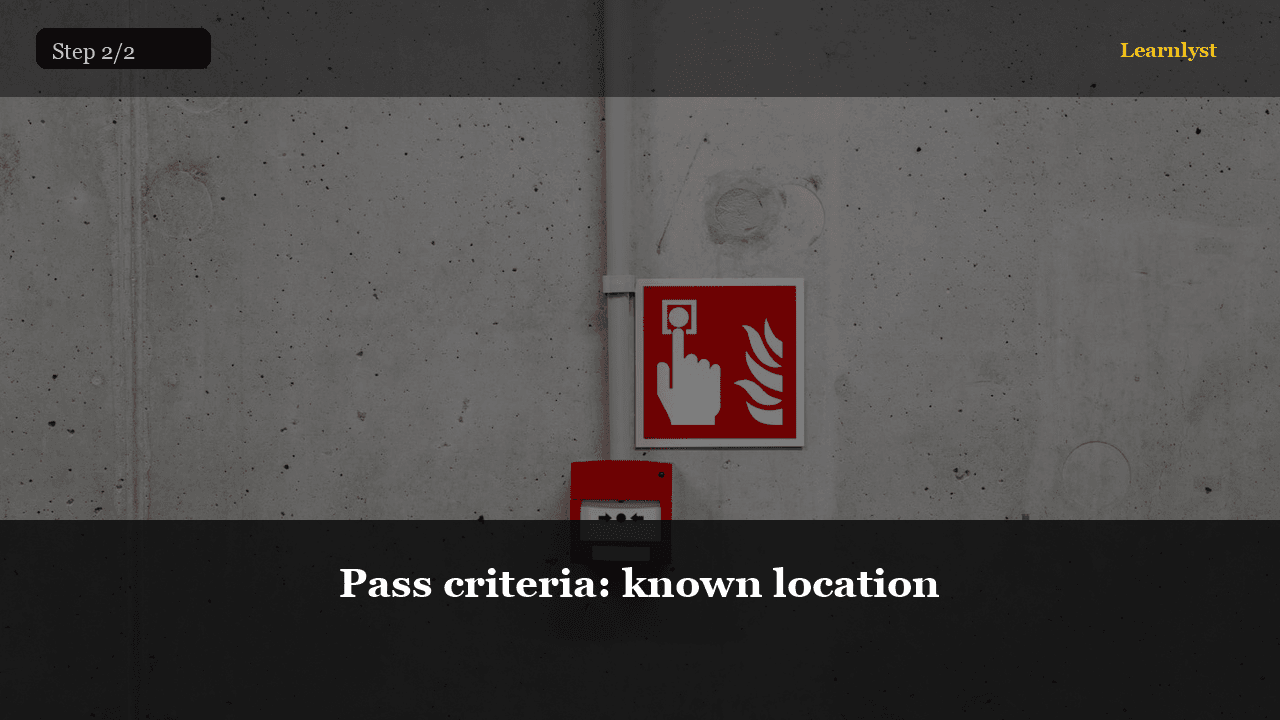
💪 Health & Fitness · Step 2/2
Pass criteria: known location
Pass criteria: known location — step 2 of 2 in Build a Home First Aid Kit That Works. Put kit in one labeled spot. Show every adult/teen where. Calendar reminder every 6 months to check dates.
From course: Build a Home First Aid Kit That Works
🏠 Home & DIY · Step 1/5
Which drain, which clog
Which drain, which clog — step 1 of 5 in Unclog a Sink or Shower Drain Yourself. One fixture slow = local clog. All fixtures slow + gurgle = main line — stop DIY. Kitchen: grease + food. Bathroom: hair + soap.
From course: Unclog a Sink or Shower Drain Yourself

🏠 Home & DIY · Step 2/5
Cup plunger technique
Cup plunger technique — step 2 of 5 in Unclog a Sink or Shower Drain Yourself. Seal plunger over drain — wet rim. Cover sink overflow with wet rag (critical). Pump 15 vigorous strokes, check drain.
From course: Unclog a Sink or Shower Drain Yourself

🏠 Home & DIY · Step 3/5
Remove and clean P-trap
Remove and clean P-trap — step 3 of 5 in Unclog a Sink or Shower Drain Yourself. Bucket under trap. Loosen slip nuts by hand then wrench — plastic nuts crack if you gorilla. Trap drops — water and clog land in bucket.
From course: Unclog a Sink or Shower Drain Yourself

🏠 Home & DIY · Step 4/5
Hand snake into wall pipe
Hand snake into wall pipe — step 4 of 5 in Unclog a Sink or Shower Drain Yourself. Feed snake into drain line, crank clockwise when resistance — hook clog, pull out. Gloves. Gross but satisfying. Run hot water 2 minutes.
From course: Unclog a Sink or Shower Drain Yourself

🏠 Home & DIY · Step 5/5
Pass criteria: full flow
Pass criteria: full flow — step 5 of 5 in Unclog a Sink or Shower Drain Yourself. You pass when water drains at full speed 30 sec, no leak at trap nuts, tools cleaned.
From course: Unclog a Sink or Shower Drain Yourself

🔧 Auto & Mechanics · Step 1/3
Tape and sand ladder
Tape and sand ladder — step 1 of 3 in Restore Foggy Car Headlights DIY. Wash lens. Tape paint, rubber, trim tight. Wet-sand 800 grit in even strokes until yellow layer dulls uniformly. Keep surface wet.
From course: Restore Foggy Car Headlights DIY

🔧 Auto & Mechanics · Step 2/3
Polish then UV coat
Polish then UV coat — step 2 of 3 in Restore Foggy Car Headlights DIY. Polish with compound until clear. Wipe residue. Apply UV clear per can — thin even coats, flash time between. No water 24 hours.
From course: Restore Foggy Car Headlights DIY

🔧 Auto & Mechanics · Step 3/3
Pass criteria: clear and sealed
Pass criteria: clear and sealed — step 3 of 3 in Restore Foggy Car Headlights DIY. You pass when both lenses look clear in daylight, tape residue gone, UV coat applied, and you can see beam improvement at night.
From course: Restore Foggy Car Headlights DIY

📷 Photography · Step 1/14
Turn on the grid
Turn on the grid — step 1 of 14 in Phone Photography That Looks Intentional. Open your camera settings and enable the 3×3 grid overlay. This grid divides the frame into nine equal rectangles.
From course: Phone Photography That Looks Intentional

📷 Photography · Step 2/14
Place the subject on an intersection
Place the subject on an intersection — step 2 of 14 in Phone Photography That Looks Intentional. Take your phone outside and photograph a single object — a post, a person, a tree.
From course: Phone Photography That Looks Intentional

📷 Photography · Step 3/14
Find lines that pull the eye
Find lines that pull the eye — step 3 of 14 in Phone Photography That Looks Intentional. Leading lines are real-world lines — sidewalks, fences, shadows, railings — that guide the viewer's eye into or through the frame.
From course: Phone Photography That Looks Intentional

📷 Photography · Step 4/14
Combine lines with the grid
Combine lines with the grid — step 4 of 14 in Phone Photography That Looks Intentional. Place your subject on a thirds intersection and let a leading line run toward it.
From course: Phone Photography That Looks Intentional

📷 Photography · Step 5/14
Why the first and last hour matter
Why the first and last hour matter — step 5 of 14 in Phone Photography That Looks Intentional. Golden hour is the 60 minutes after sunrise and before sunset. The sun is low, light wraps around subjects with warm color and soft…
From course: Phone Photography That Looks Intentional

📷 Photography · Step 6/14
Position relative to the sun
Position relative to the sun — step 6 of 14 in Phone Photography That Looks Intentional. Front light (sun behind you) is safe and flat. Side light (sun at 90°) adds depth and texture.
From course: Phone Photography That Looks Intentional

📷 Photography · Step 7/14
Use one window as your light source
Use one window as your light source — step 7 of 14 in Phone Photography That Looks Intentional. Place your subject next to a window with no direct sun blasting through. The window becomes a large, soft light source.
From course: Phone Photography That Looks Intentional

📷 Photography · Step 8/14
Fix the horizon first
Fix the horizon first — step 8 of 14 in Phone Photography That Looks Intentional. Open your photo in Snapseed (or your default editor). Use the rotate/straighten tool.
From course: Phone Photography That Looks Intentional

📷 Photography · Step 9/14
Pull exposure to match what your eye saw
Pull exposure to match what your eye saw — step 9 of 14 in Phone Photography That Looks Intentional. Your phone exposes for the average brightness of the frame, which often means the subject is slightly too dark or the sky is blown.
From course: Phone Photography That Looks Intentional
Free tips today. Full courses when you are ready.
Create a free account for daily tips — or unlock everything for $9/mo.