
Free to browse
Tips & how-to guides
1,874 free skill tips with unique step photos — plus long-form guides with FAQ and trusted sources. Every tip links to a full photographed course.
Browse tips

🧹 Cleaning & Laundry · Step 5/10
Dwell 10–15 minutes
Dwell 10–15 minutes — step 5 of 10 in Clean Tile Grout Naturally. Re-mist if drying out.
From course: Clean Tile Grout Naturally
🧹 Cleaning & Laundry · Step 6/10
Nylon brush short strokes
Nylon brush short strokes — step 6 of 10 in Clean Tile Grout Naturally. Rinse cloth often.
From course: Clean Tile Grout Naturally
🧹 Cleaning & Laundry · Step 7/10
Second pass on stubborn lines
Second pass on stubborn lines — step 7 of 10 in Clean Tile Grout Naturally. Do not grind grit into tile.
From course: Clean Tile Grout Naturally
🧹 Cleaning & Laundry · Step 8/10
Rinse and dry fully
Rinse and dry fully — step 8 of 10 in Clean Tile Grout Naturally. Inspect haze.
From course: Clean Tile Grout Naturally

🧹 Cleaning & Laundry · Step 9/10
Optional sealer next day
Optional sealer next day — step 9 of 10 in Clean Tile Grout Naturally. Only on fully dry grout.
From course: Clean Tile Grout Naturally
🧹 Cleaning & Laundry · Step 10/10
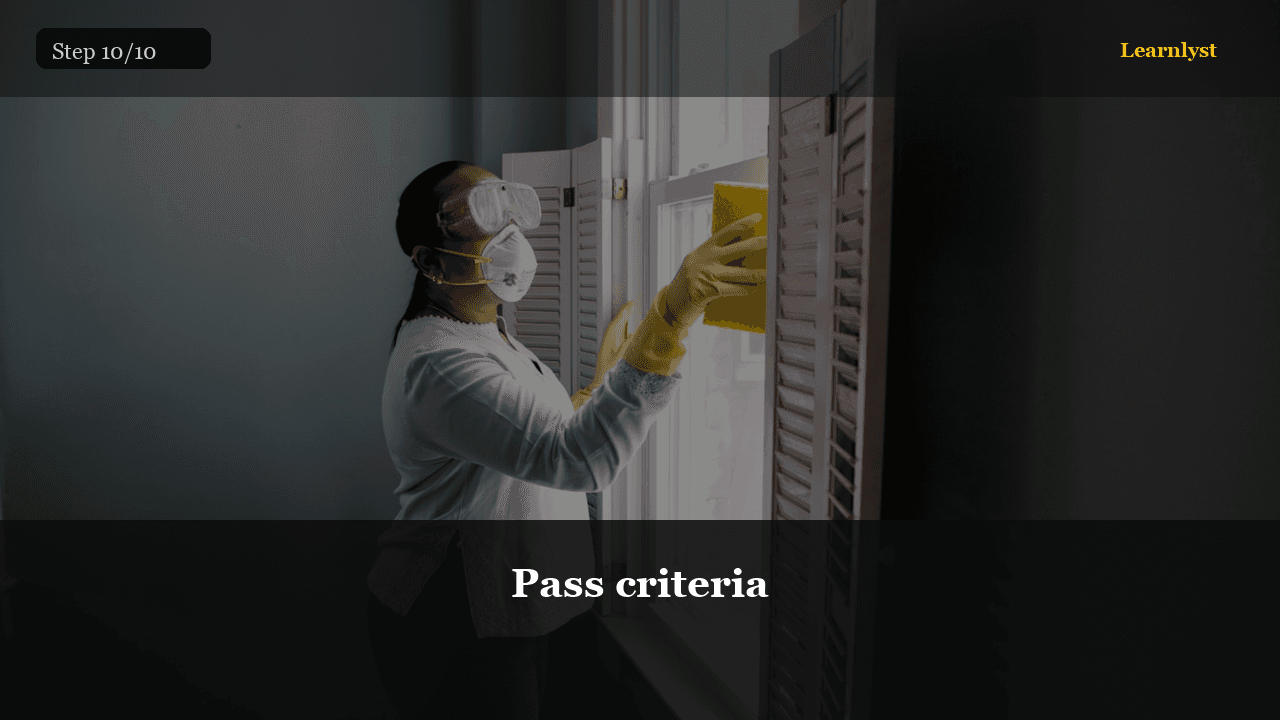
Pass criteria
Pass criteria — step 10 of 10 in Clean Tile Grout Naturally. Review your result against this course checklist and note what you finished.
From course: Clean Tile Grout Naturally

🏠 Home & DIY · Step 1/4
Handle, chain, flapper
Handle, chain, flapper — step 1 of 4 in How a Toilet Actually Works. Handle is a lever. Chain lifts the flapper off the flush valve seat. Tank water falls into the bowl through the rim and jet.
From course: How a Toilet Actually Works

🏠 Home & DIY · Step 2/4
Fill valve and float
Fill valve and float — step 2 of 4 in How a Toilet Actually Works. After the flush, fill valve opens — refills tank and sends a refill tube trickle into the overflow pipe to restore the bowl seal.
From course: How a Toilet Actually Works

🏠 Home & DIY · Step 3/4
Siphon action and water seal
Siphon action and water seal — step 3 of 4 in How a Toilet Actually Works. Bowl + trapway are shaped so a big rush starts a siphon that pulls contents over the bend into the drain.
From course: How a Toilet Actually Works
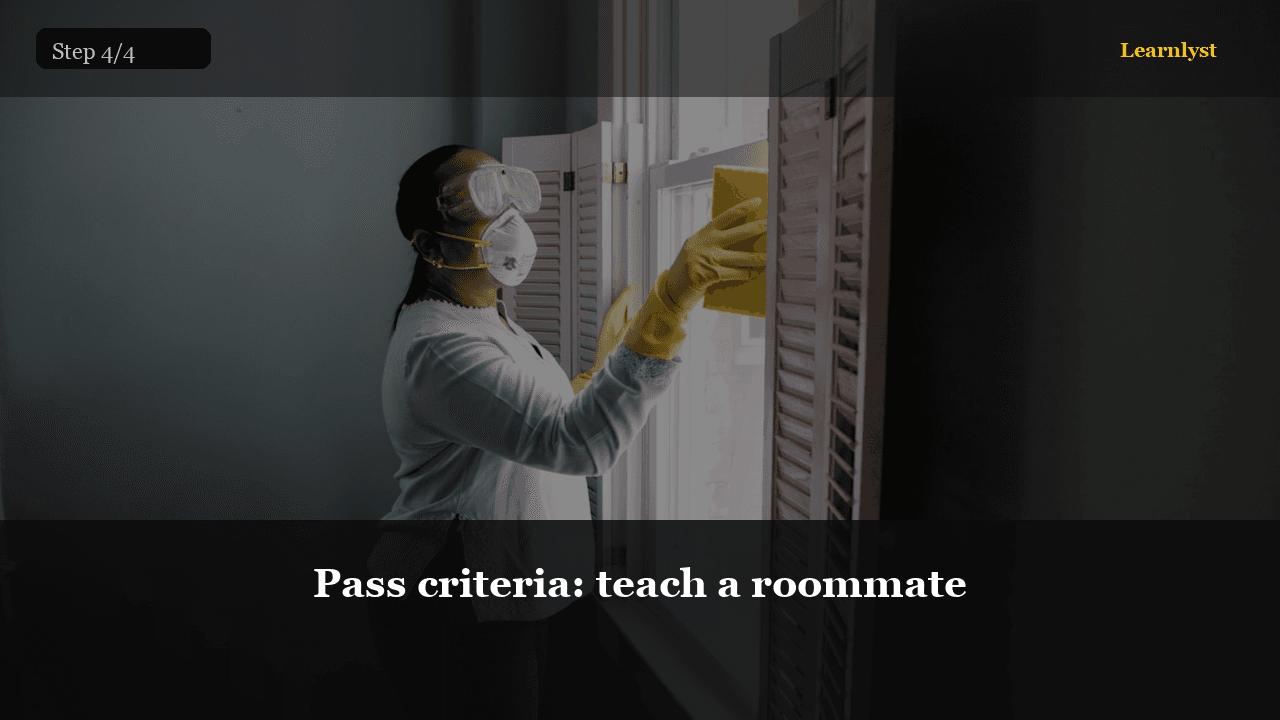
🏠 Home & DIY · Step 4/4
Pass criteria: teach a roommate
Pass criteria: teach a roommate — step 4 of 4 in How a Toilet Actually Works. You pass when you can explain flush → siphon → refill → seal in under a minute with the lid off, and you've run the dye leak test once.
From course: How a Toilet Actually Works
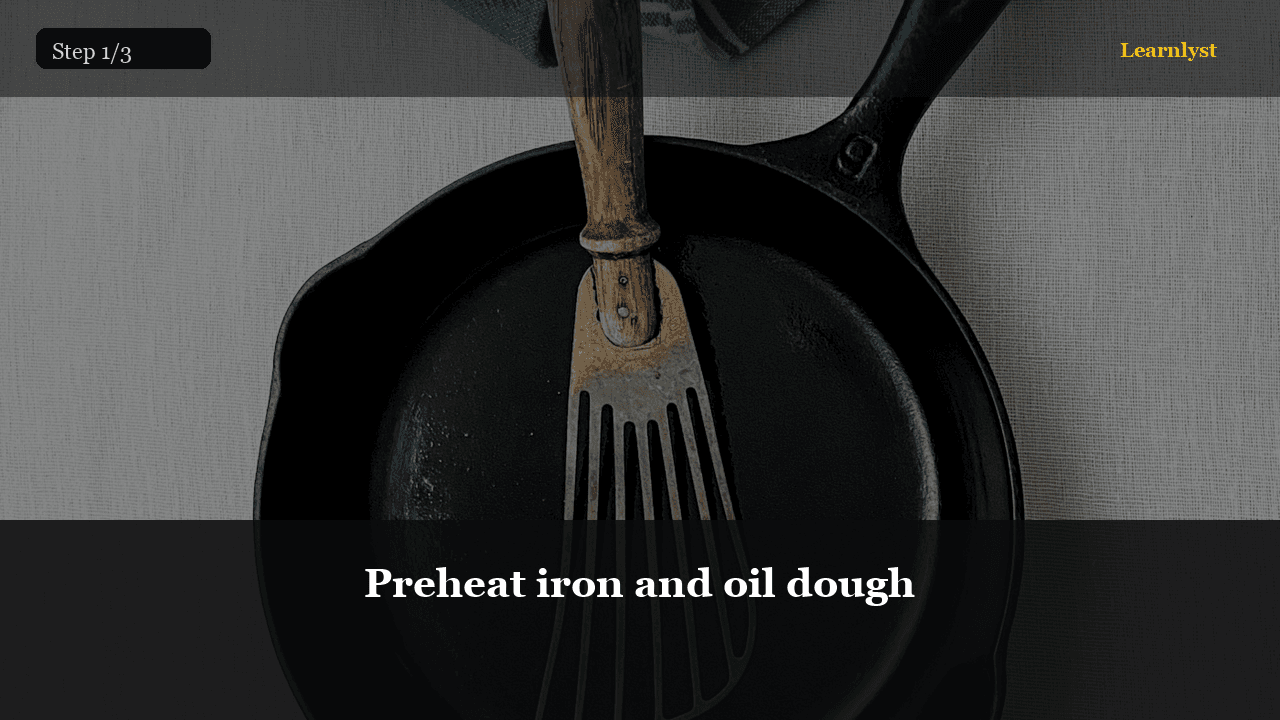
🍳 Food & Cooking · Step 1/3
Preheat iron and oil dough
Preheat iron and oil dough — step 1 of 3 in Weeknight Cast-Iron Pizza. Oven 245°C / 475°F with empty cast iron inside 10–15 min. Carefully remove. Oil pan lightly. Press room-temp dough to edges — thick rim OK.
From course: Weeknight Cast-Iron Pizza
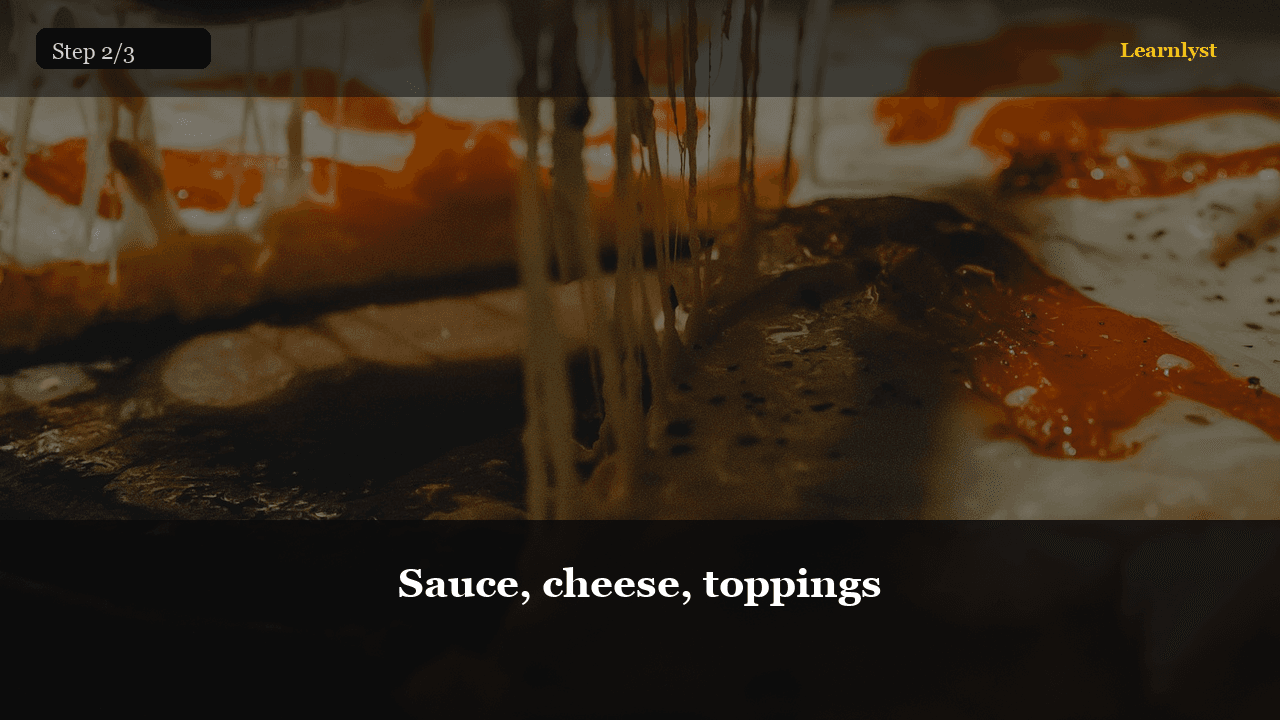
🍳 Food & Cooking · Step 2/3
Sauce, cheese, toppings
Sauce, cheese, toppings — step 2 of 3 in Weeknight Cast-Iron Pizza. Thin sauce layer — leave a rim. Tear mozzarella evenly. Toppings sparse so steam escapes.
From course: Weeknight Cast-Iron Pizza

🍳 Food & Cooking · Step 3/3
Pass criteria: crispy bottom pizza
Pass criteria: crispy bottom pizza — step 3 of 3 in Weeknight Cast-Iron Pizza. Rest 2 min in pan. Slide to board. You pass when underside is golden-crisp, cheese set, and nobody waits on delivery next time.
From course: Weeknight Cast-Iron Pizza
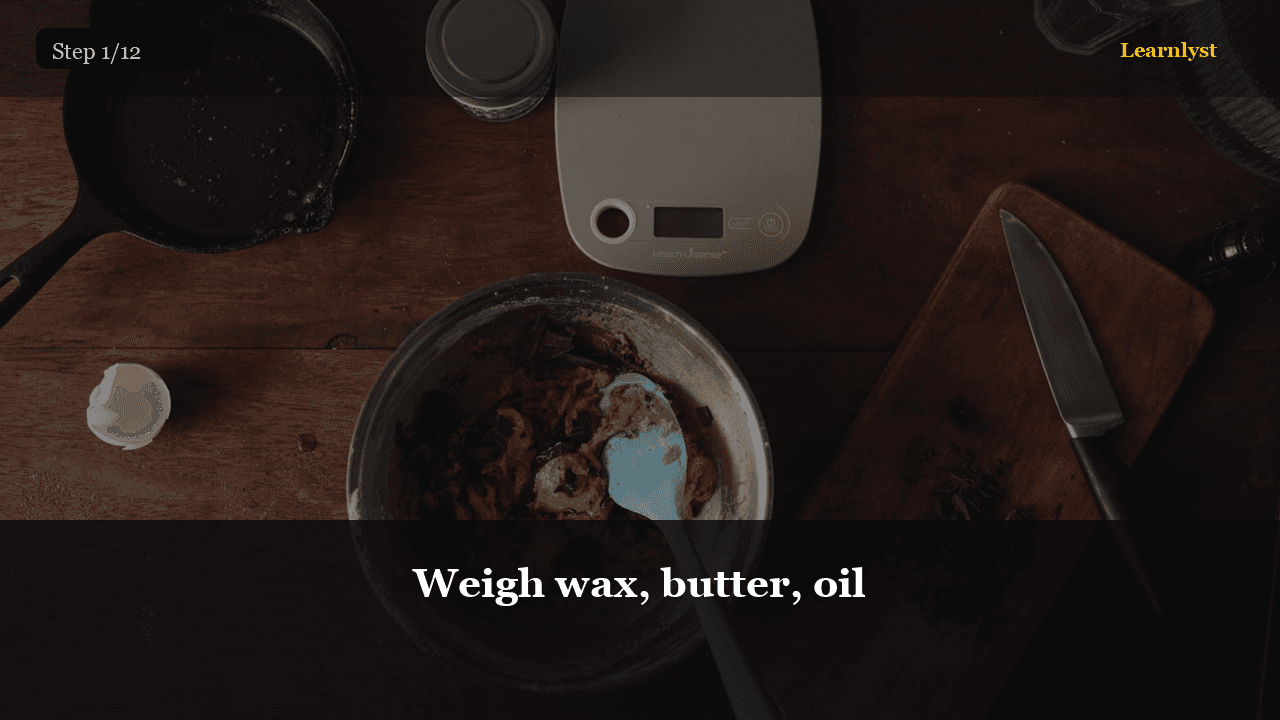
✨ Beauty & Grooming · Step 1/12
Weigh wax, butter, oil
Weigh wax, butter, oil — step 1 of 12 in DIY Lip Balm and Tinted Balms. 12 g beeswax, 12 g shea, 24 g almond oil — scales to ~50 g batch, fills ~10 tubes. Wipe tubes with alcohol inside cap area.
From course: DIY Lip Balm and Tinted Balms
✨ Beauty & Grooming · Step 2/12
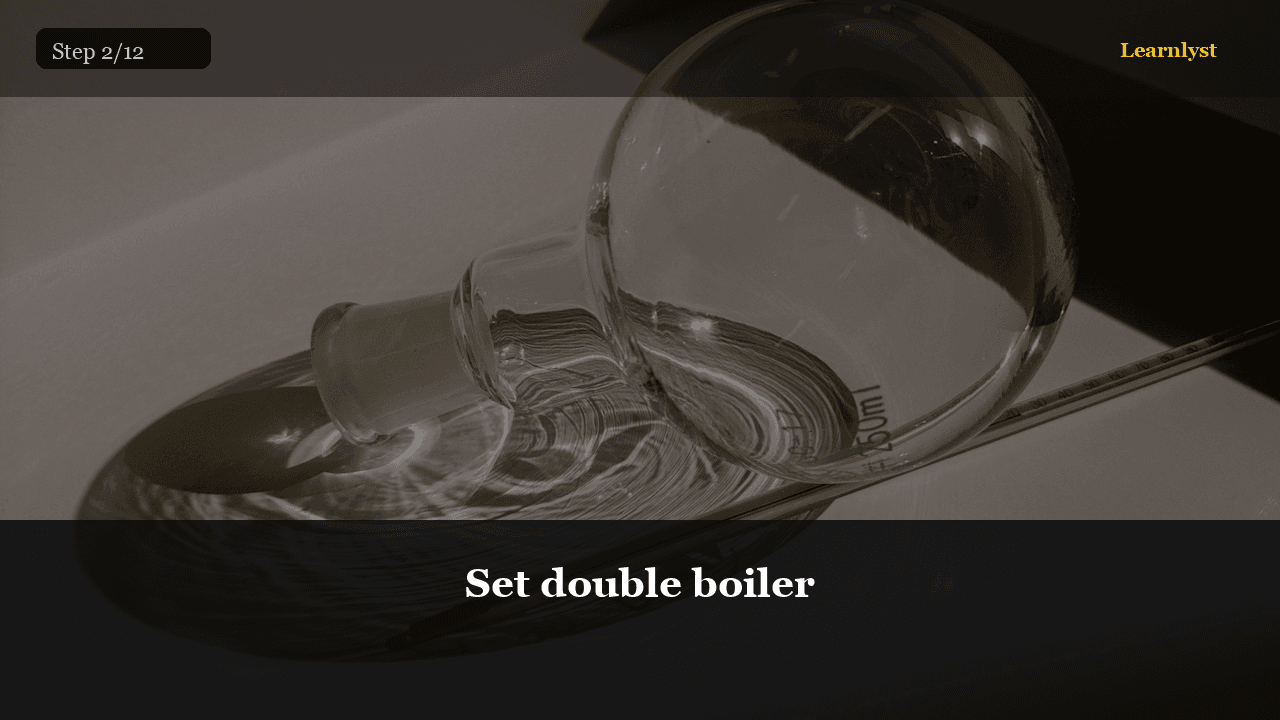
Set double boiler
Set double boiler — step 2 of 12 in DIY Lip Balm and Tinted Balms. Water simmering, jar or pitcher not touching bottom. Thermometer ready. Water in balm = spoilage.
From course: DIY Lip Balm and Tinted Balms
✨ Beauty & Grooming · Step 3/12
Melt wax first, then butter, then oil
Melt wax first, then butter, then oil — step 3 of 12 in DIY Lip Balm and Tinted Balms. Beeswax melts ~63°C. Add shea, then oil off heat. Stir until clear. Overheat = cooked smell.
From course: DIY Lip Balm and Tinted Balms
✨ Beauty & Grooming · Step 4/12
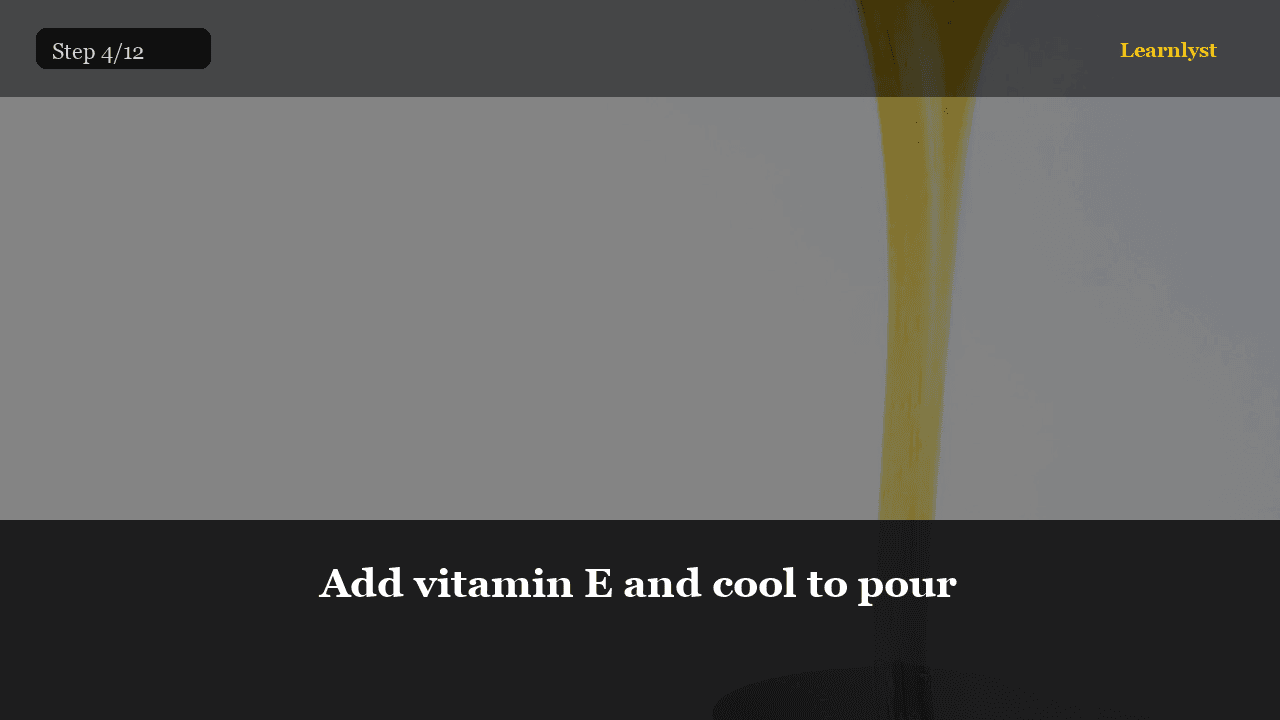
Add vitamin E and cool to pour
Add vitamin E and cool to pour — step 4 of 12 in DIY Lip Balm and Tinted Balms. Off heat: 6 drops vitamin E, 2 drops peppermint max. Cool to 65°C — pour immediately. Too hot = tubes leak; too cool = lumpy pour.
From course: DIY Lip Balm and Tinted Balms
✨ Beauty & Grooming · Step 5/12
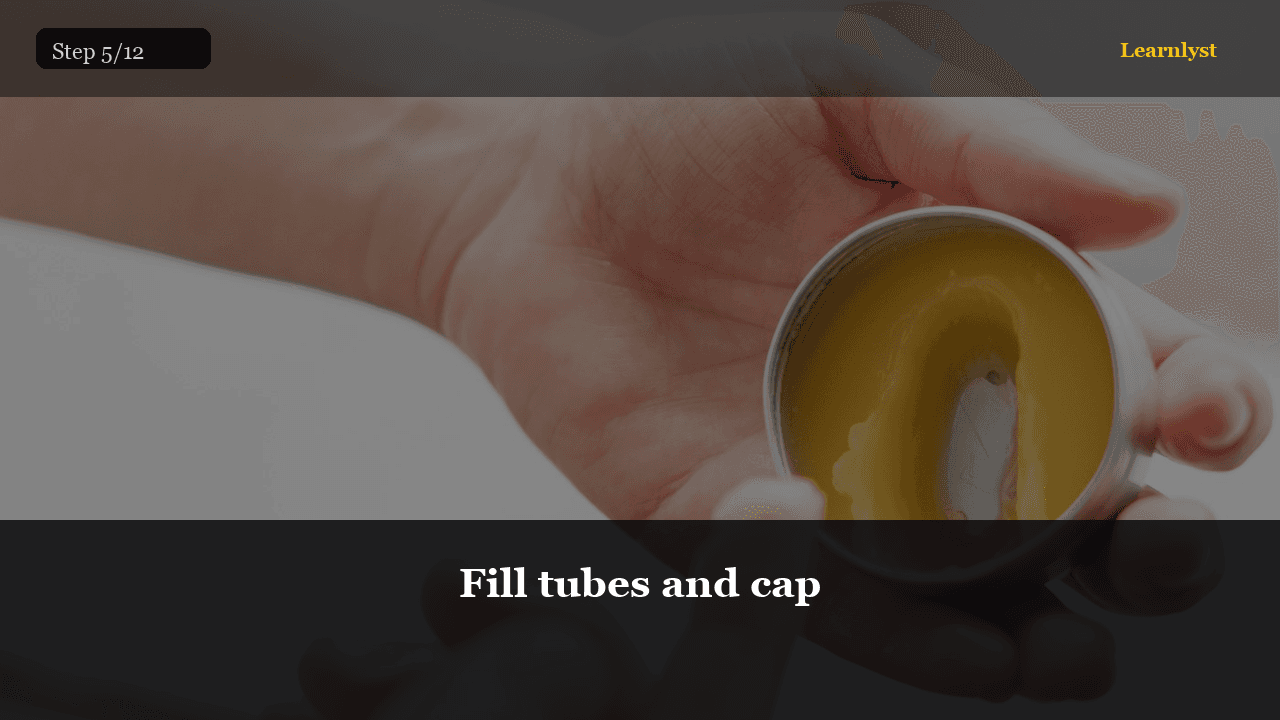
Fill tubes and cap
Fill tubes and cap — step 5 of 12 in DIY Lip Balm and Tinted Balms. Pipette or pour jug. Stand upright in cup, cap when surface matte. Wipe rims before capping.
From course: DIY Lip Balm and Tinted Balms
✨ Beauty & Grooming · Step 6/12
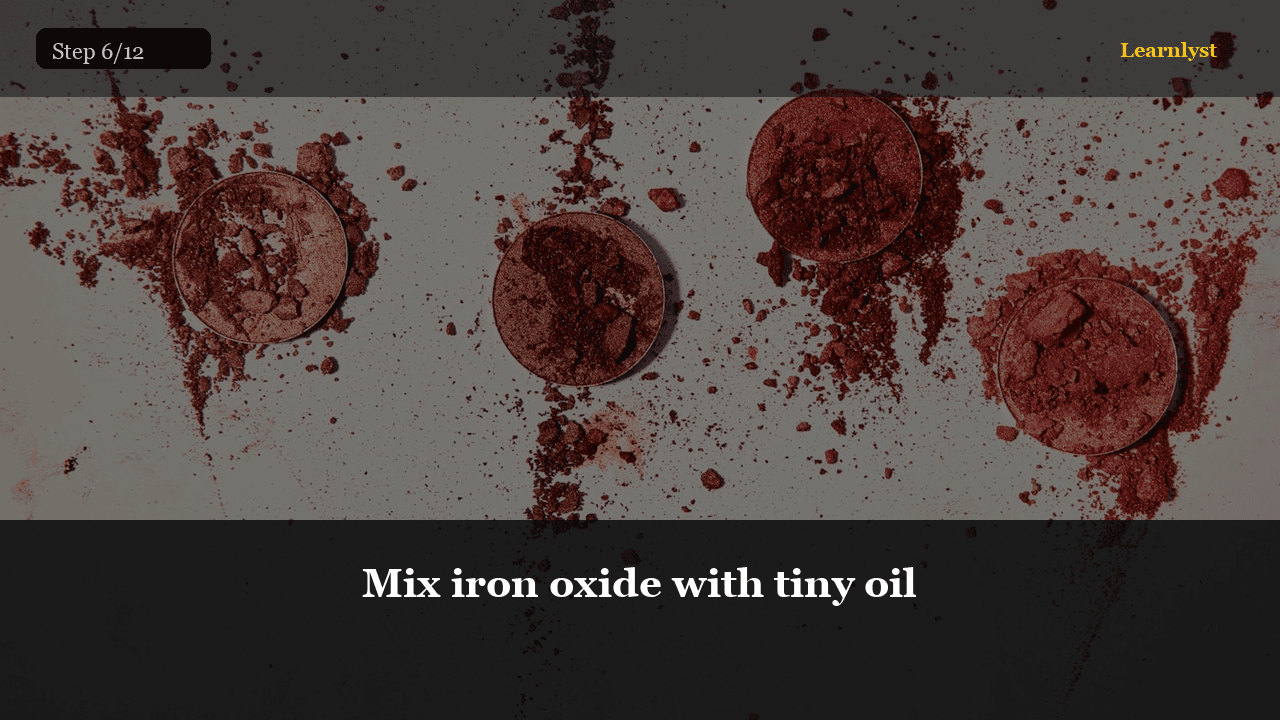
Mix iron oxide with tiny oil
Mix iron oxide with tiny oil — step 6 of 12 in DIY Lip Balm and Tinted Balms. Pinch cosmetic red/brown oxide into 1 ml oil paste — no clumps. Stir into separate 15 g clear batch.
From course: DIY Lip Balm and Tinted Balms
✨ Beauty & Grooming · Step 7/12
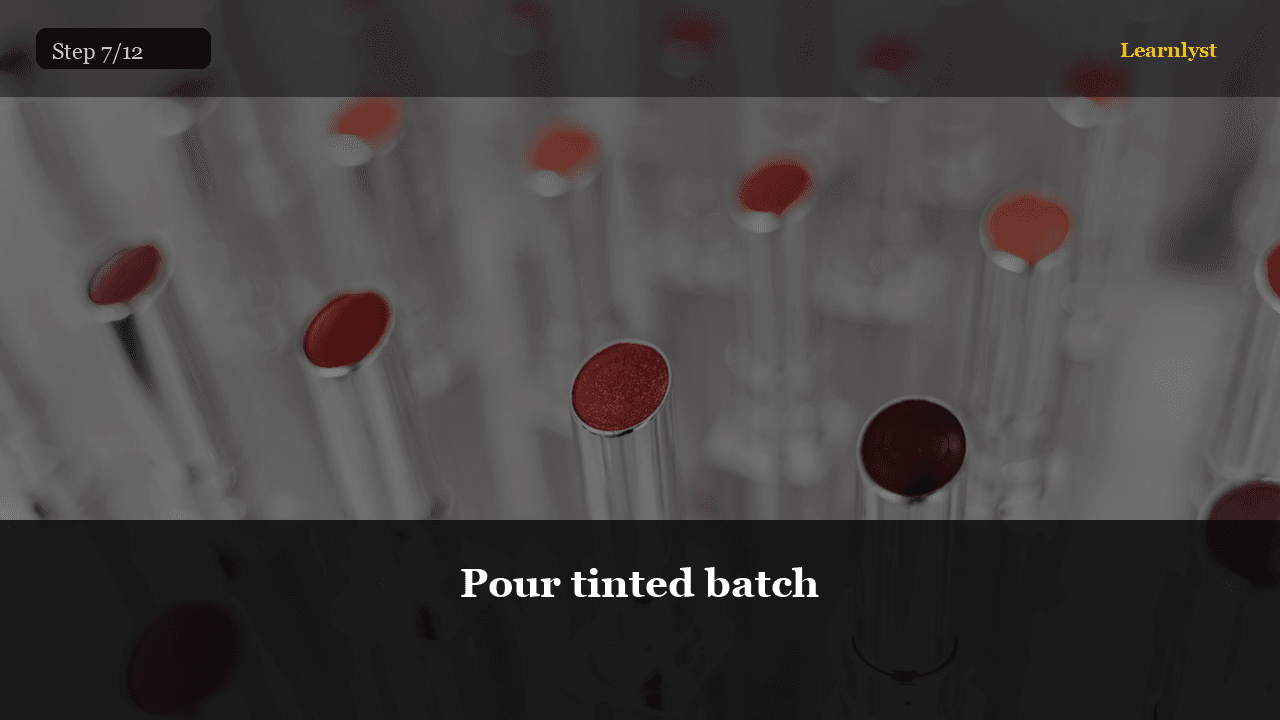
Pour tinted batch
Pour tinted batch — step 7 of 12 in DIY Lip Balm and Tinted Balms. Three tubes tinted, label separately. Sheer berry tint when layered on lips.
From course: DIY Lip Balm and Tinted Balms
✨ Beauty & Grooming · Step 8/12
Chill test and label
Chill test and label — step 8 of 12 in DIY Lip Balm and Tinted Balms. Fridge 10 min — should set smooth. Label ingredients, date. You pass with 10+ labeled balms and written ratio.
From course: DIY Lip Balm and Tinted Balms
✨ Beauty & Grooming · Step 9/12
Re-melt grainy tubes
Re-melt grainy tubes — step 9 of 12 in DIY Lip Balm and Tinted Balms. Grainy? Heat jar in double boiler until clear, repour — usually cooling too slow. Note fix on label.
From course: DIY Lip Balm and Tinted Balms
✨ Beauty & Grooming · Step 10/12
Double batch for gifts
Double batch for gifts — step 10 of 12 in DIY Lip Balm and Tinted Balms. 100 g batch = 20 tubes. Same ratio, larger double boiler. Pour in two waves if tubes run out.
From course: DIY Lip Balm and Tinted Balms
✨ Beauty & Grooming · Step 11/12
Write ingredient list INCI-style
Write ingredient list INCI-style — step 11 of 12 in DIY Lip Balm and Tinted Balms. Beeswax, Butyrospermum Parkii (Shea) Butter, Prunus Amygdalus Dulcis Oil, Tocopherol. Google INCI names — looks pro.
From course: DIY Lip Balm and Tinted Balms
Free tips today. Full courses when you are ready.
Create a free account for daily tips — or unlock everything for $9/mo.