
Free to browse
Home & DIY tips
99 free skill tips with unique step photos — plus long-form guides with FAQ and trusted sources. Every tip links to a full photographed course.
Home & DIY tips
🏠 Home & DIY · Step 9/10
Reinstall plates and wash tools
Reinstall plates and wash tools — step 9 of 10 in Paint a Room in One Weekend. Per paint type.
From course: Paint a Room in One Weekend
🏠 Home & DIY · Step 10/10
Pass criteria
Pass criteria — step 10 of 10 in Paint a Room in One Weekend. Review your result against this course checklist and note what you finished.
From course: Paint a Room in One Weekend
🏠 Home & DIY · Step 1/4
Handle, chain, flapper
Handle, chain, flapper — step 1 of 4 in How a Toilet Actually Works. Handle is a lever. Chain lifts the flapper off the flush valve seat. Tank water falls into the bowl through the rim and jet.
From course: How a Toilet Actually Works
🏠 Home & DIY · Step 2/4
Fill valve and float
Fill valve and float — step 2 of 4 in How a Toilet Actually Works. After the flush, fill valve opens — refills tank and sends a refill tube trickle into the overflow pipe to restore the bowl seal.
From course: How a Toilet Actually Works
🏠 Home & DIY · Step 3/4
Siphon action and water seal
Siphon action and water seal — step 3 of 4 in How a Toilet Actually Works. Bowl + trapway are shaped so a big rush starts a siphon that pulls contents over the bend into the drain.
From course: How a Toilet Actually Works
🏠 Home & DIY · Step 4/4
Pass criteria: teach a roommate
Pass criteria: teach a roommate — step 4 of 4 in How a Toilet Actually Works. You pass when you can explain flush → siphon → refill → seal in under a minute with the lid off, and you've run the dye leak test once.
From course: How a Toilet Actually Works
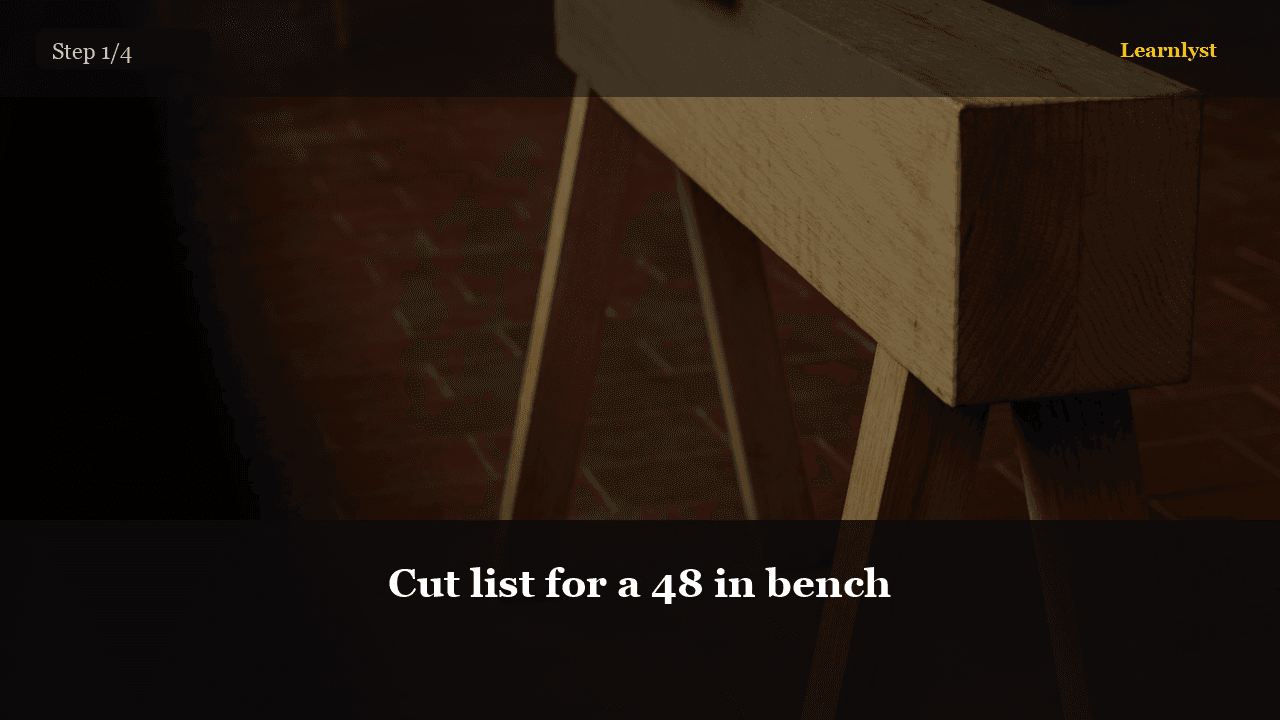
🏠 Home & DIY · Step 1/4
Cut list for a 48 in bench
Cut list for a 48 in bench — step 1 of 4 in Build a Simple Outdoor Bench. Seat: three 2x6 × 48 in (or two 2x8). Legs: four 2x4 × ~16.5 in (adjust for seat thickness to hit ~17.5 in total height).
From course: Build a Simple Outdoor Bench
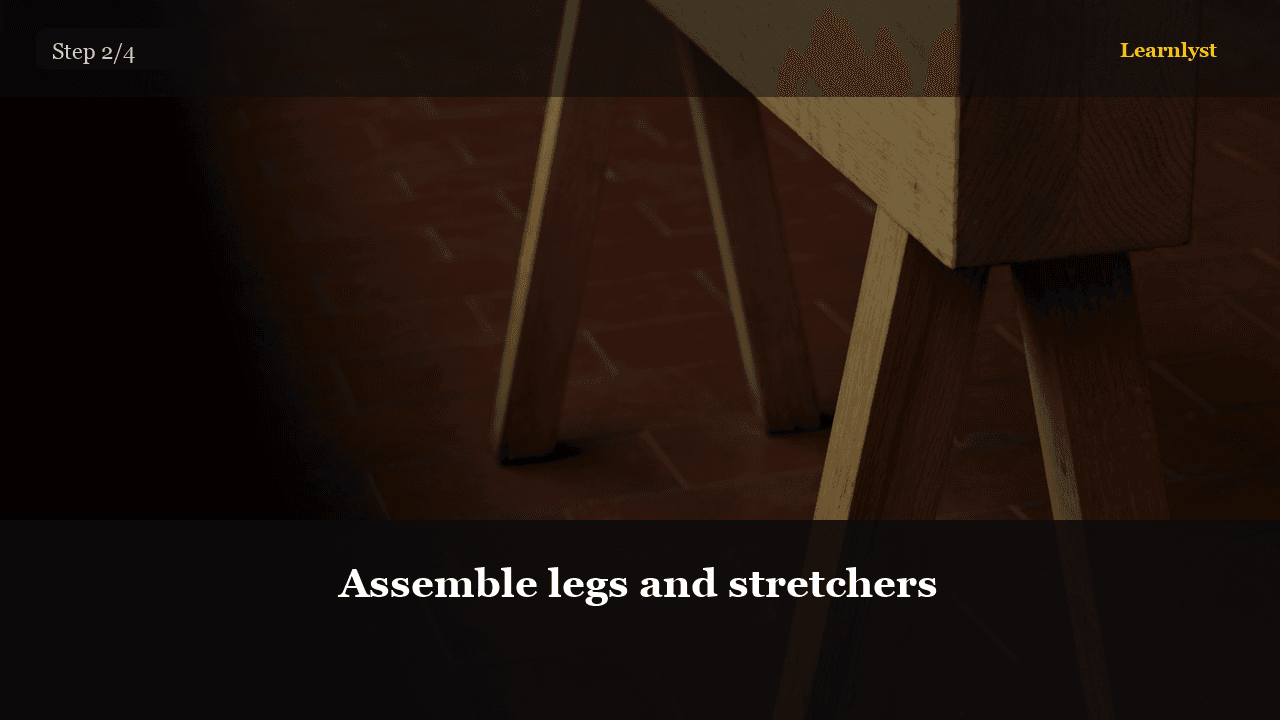
🏠 Home & DIY · Step 2/4
Assemble legs and stretchers
Assemble legs and stretchers — step 2 of 4 in Build a Simple Outdoor Bench. Build two leg pairs with a horizontal stretcher near the ground and one under the seat. Keep corners square with a clamp and square.
From course: Build a Simple Outdoor Bench
🏠 Home & DIY · Step 3/4
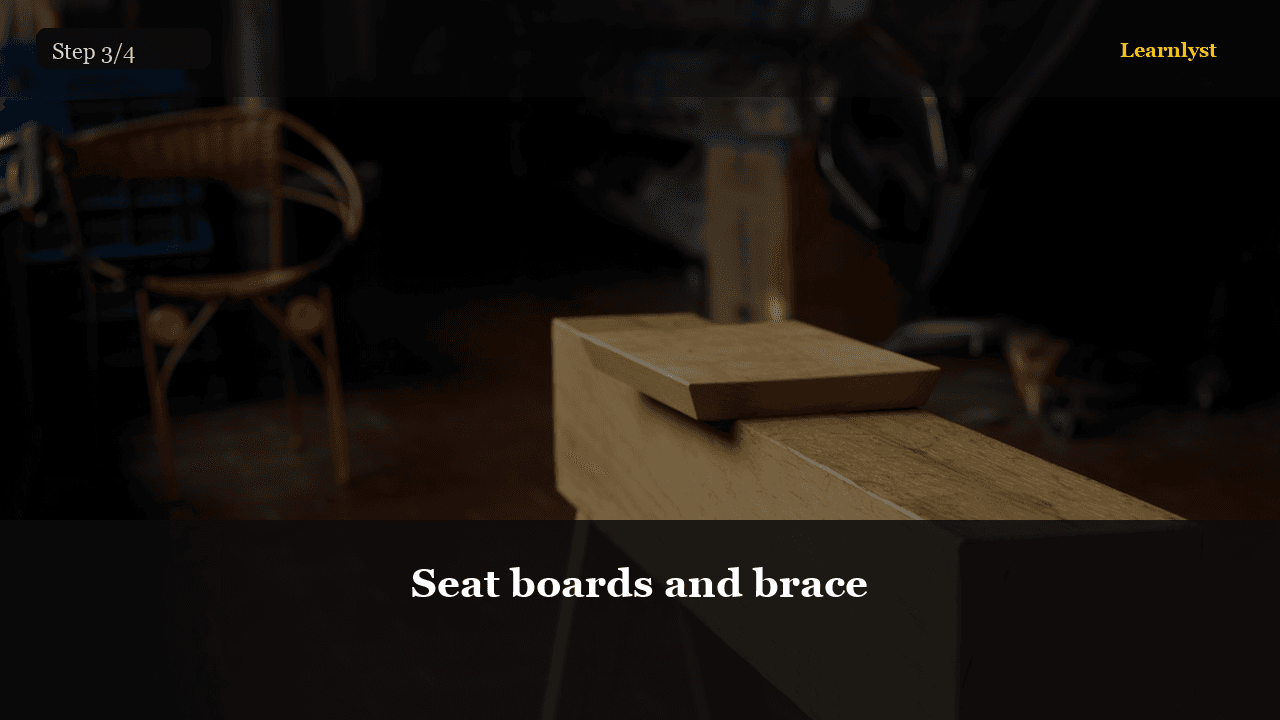
Seat boards and brace
Seat boards and brace — step 3 of 4 in Build a Simple Outdoor Bench. Screw seat boards to the top stretchers with even gaps (~1/4 in) for rain drainage. Add a center brace under the seat if it flexes.
From course: Build a Simple Outdoor Bench
🏠 Home & DIY · Step 4/4
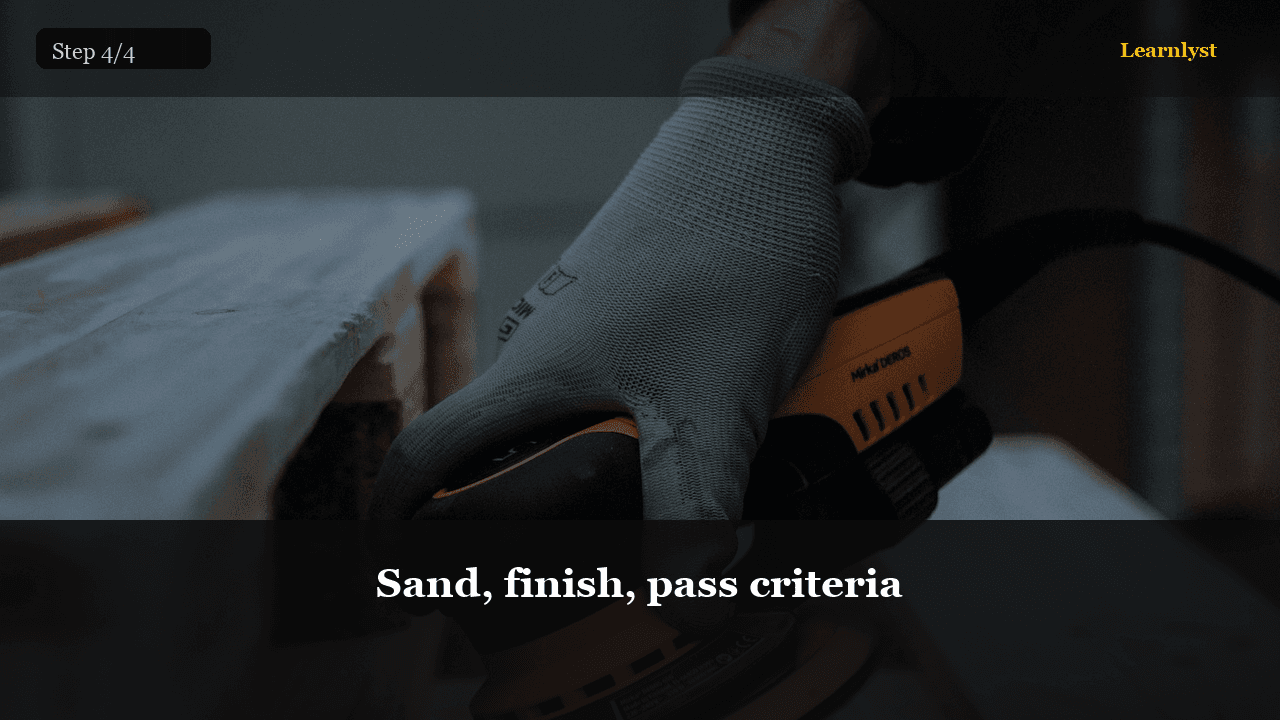
Sand, finish, pass criteria
Sand, finish, pass criteria — step 4 of 4 in Build a Simple Outdoor Bench. Sand splinters, ease sharp edges. Stain/seal every face including undersides. Dry per can time.
From course: Build a Simple Outdoor Bench
🏠 Home & DIY · Step 1/4
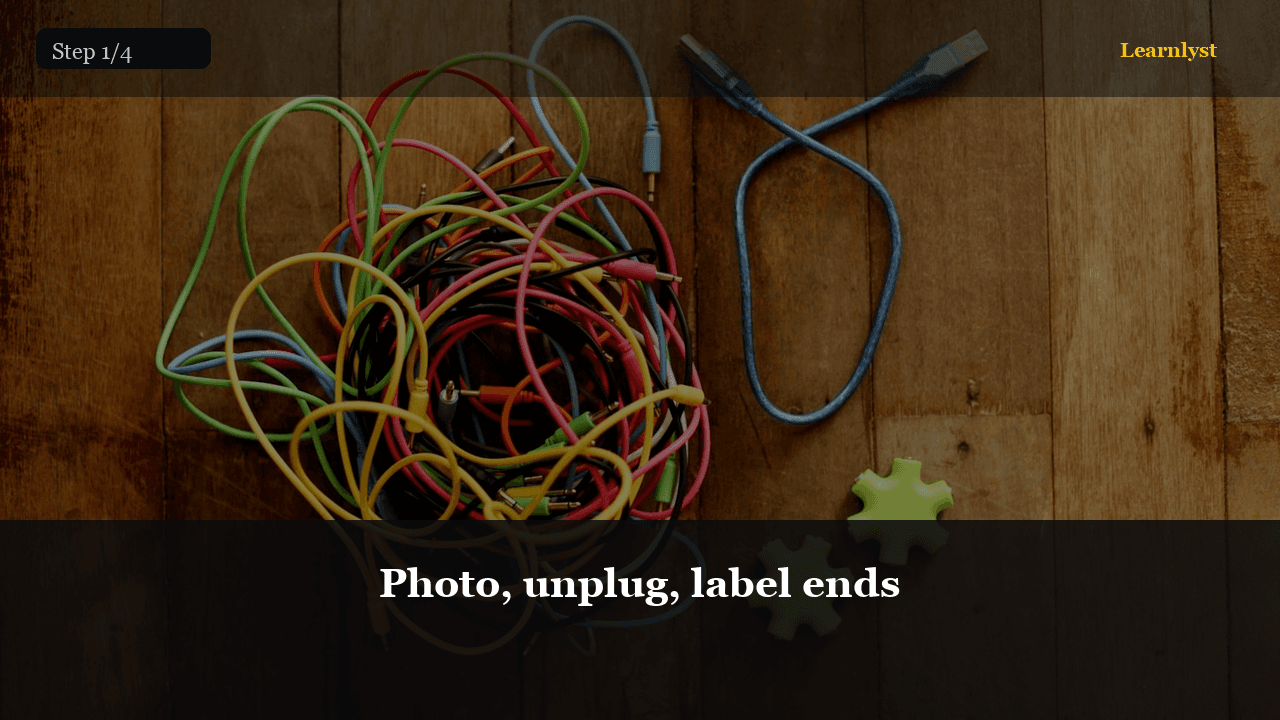
Photo, unplug, label ends
Photo, unplug, label ends — step 1 of 4 in Tame Cable Chaos: Desk and TV. Photo the mess and each port. Unplug. Label both ends of every cord: Monitor, Speakers, Console, Router.
From course: Tame Cable Chaos: Desk and TV
🏠 Home & DIY · Step 2/4
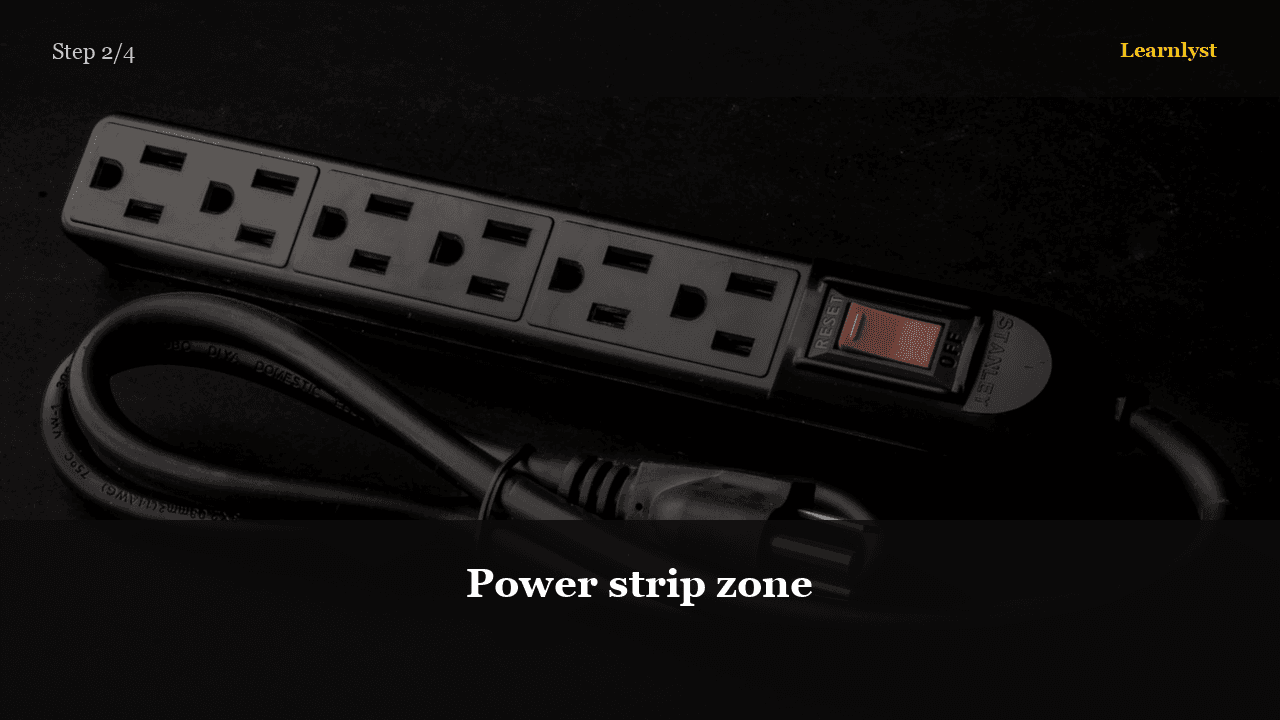
Power strip zone
Power strip zone — step 2 of 4 in Tame Cable Chaos: Desk and TV. Pick one place for the strip — under desk or behind TV stand. Plug bricks there only. Route device cords to that zone.
From course: Tame Cable Chaos: Desk and TV
🏠 Home & DIY · Step 3/4
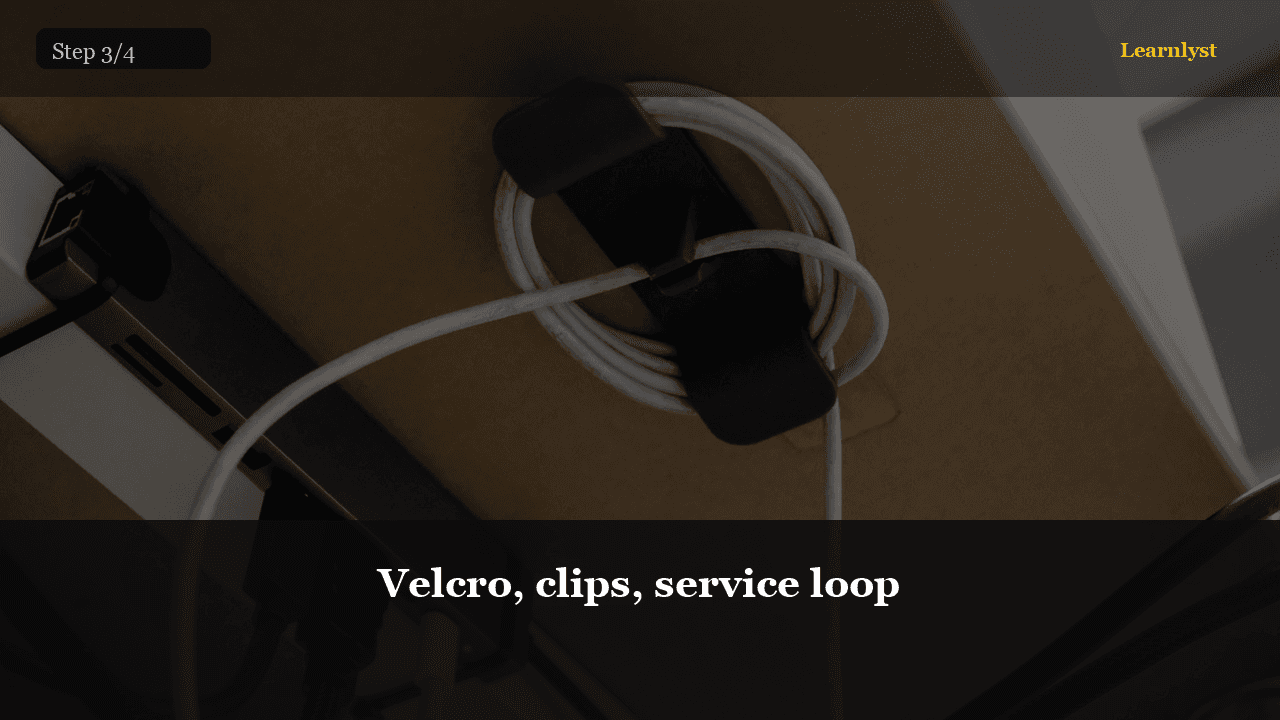
Velcro, clips, service loop
Velcro, clips, service loop — step 3 of 4 in Tame Cable Chaos: Desk and TV. Bundle parallel cords with Velcro every 8–12 inches. Clip along desk leg or TV edge.
From course: Tame Cable Chaos: Desk and TV
🏠 Home & DIY · Step 4/4
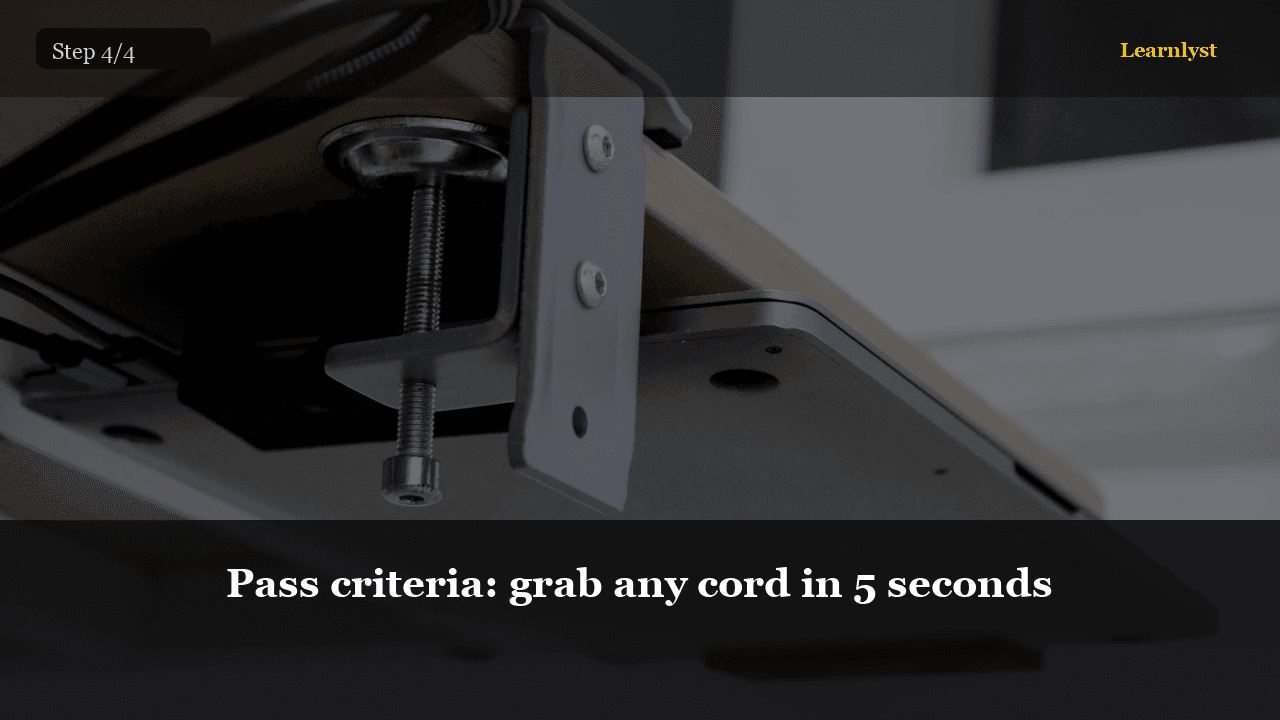
Pass criteria: grab any cord in 5 seconds
Pass criteria: grab any cord in 5 seconds — step 4 of 4 in Tame Cable Chaos: Desk and TV. You pass when labels are readable, floor is clear of snakes, power is one zone, and you can unplug one device without the nest collapsing.
From course: Tame Cable Chaos: Desk and TV
🏠 Home & DIY · Step 1/5
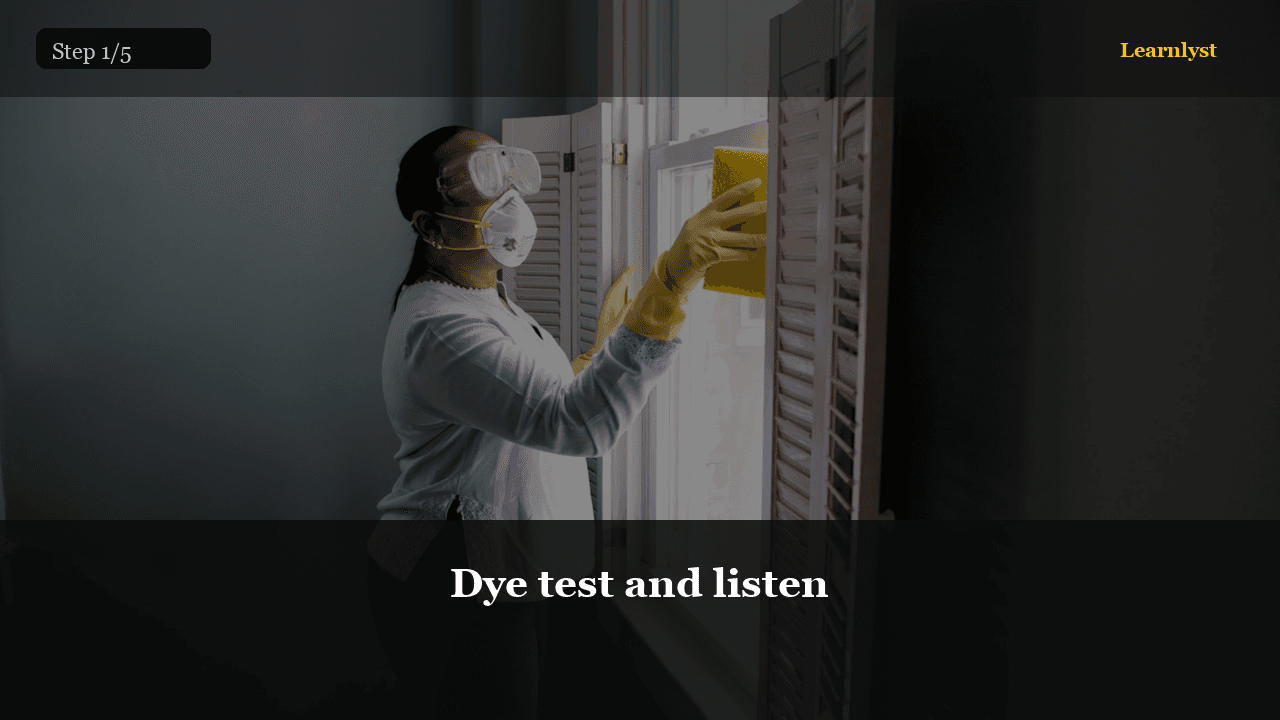
Dye test and listen
Dye test and listen — step 1 of 5 in Fix a Running Toilet in 30 Minutes. Remove tank lid. Add food coloring to tank water. Wait 15 min without flushing. Color in bowl = flapper leak.
From course: Fix a Running Toilet in 30 Minutes
🏠 Home & DIY · Step 2/5
Shut off and flush empty
Shut off and flush empty — step 2 of 5 in Fix a Running Toilet in 30 Minutes. Turn valve behind toilet clockwise. Flush to empty tank. Sponge remaining water — dry work area.
From course: Fix a Running Toilet in 30 Minutes
🏠 Home & DIY · Step 3/5
Replace flapper
Replace flapper — step 3 of 5 in Fix a Running Toilet in 30 Minutes. Unhook old flapper from overflow ears. Install new — same style (flat vs tapered seat). Chain slack: 1 cm when closed.
From course: Fix a Running Toilet in 30 Minutes
🏠 Home & DIY · Step 4/5
Adjust or replace fill valve
Adjust or replace fill valve — step 4 of 5 in Fix a Running Toilet in 30 Minutes. If still hissing: bend float arm down or turn adjustment screw to lower water. Water line 2 cm below overflow. Still running?
From course: Fix a Running Toilet in 30 Minutes
🏠 Home & DIY · Step 5/5
Pass criteria: silent toilet
Pass criteria: silent toilet — step 5 of 5 in Fix a Running Toilet in 30 Minutes. You pass when dye test clean after fix, no hiss 10 min, no leak at supply connection. Check monthly — flappers harden in 3–5 years.
From course: Fix a Running Toilet in 30 Minutes
🏠 Home & DIY · Step 1/5
Which drain, which clog
Which drain, which clog — step 1 of 5 in Unclog a Sink or Shower Drain Yourself. One fixture slow = local clog. All fixtures slow + gurgle = main line — stop DIY. Kitchen: grease + food. Bathroom: hair + soap.
From course: Unclog a Sink or Shower Drain Yourself

🏠 Home & DIY · Step 2/5
Cup plunger technique
Cup plunger technique — step 2 of 5 in Unclog a Sink or Shower Drain Yourself. Seal plunger over drain — wet rim. Cover sink overflow with wet rag (critical). Pump 15 vigorous strokes, check drain.
From course: Unclog a Sink or Shower Drain Yourself

🏠 Home & DIY · Step 3/5
Remove and clean P-trap
Remove and clean P-trap — step 3 of 5 in Unclog a Sink or Shower Drain Yourself. Bucket under trap. Loosen slip nuts by hand then wrench — plastic nuts crack if you gorilla. Trap drops — water and clog land in bucket.
From course: Unclog a Sink or Shower Drain Yourself
🏠 Home & DIY · Step 4/5
Hand snake into wall pipe
Hand snake into wall pipe — step 4 of 5 in Unclog a Sink or Shower Drain Yourself. Feed snake into drain line, crank clockwise when resistance — hook clog, pull out. Gloves. Gross but satisfying. Run hot water 2 minutes.
From course: Unclog a Sink or Shower Drain Yourself
🏠 Home & DIY · Step 5/5
Pass criteria: full flow
Pass criteria: full flow — step 5 of 5 in Unclog a Sink or Shower Drain Yourself. You pass when water drains at full speed 30 sec, no leak at trap nuts, tools cleaned.
From course: Unclog a Sink or Shower Drain Yourself
Free tips today. Full courses when you are ready.
Create a free account for daily tips — or unlock everything for $9/mo.