
Free to browse
Beauty & Grooming tips
310 free skill tips with unique step photos — plus long-form guides with FAQ and trusted sources. Every tip links to a full photographed course.
Beauty & Grooming tips
✨ Beauty & Grooming · Step 6/18
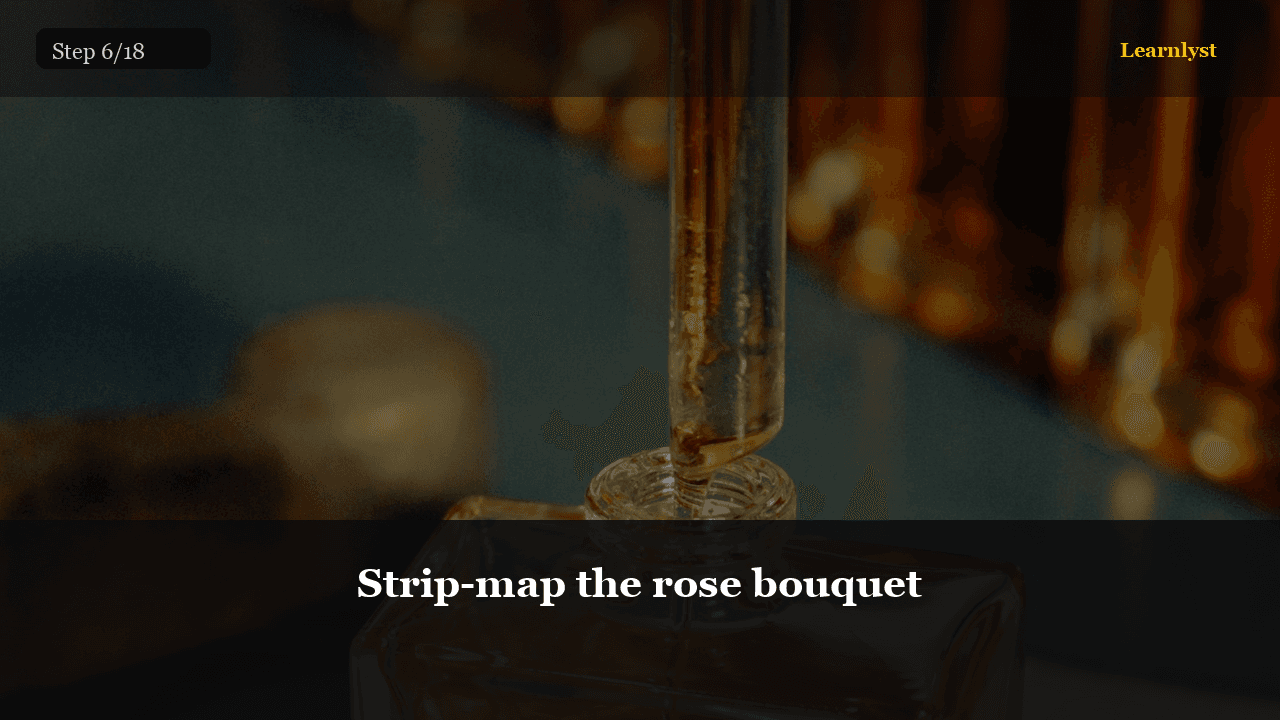
Strip-map the rose bouquet
Strip-map the rose bouquet — step 6 of 18 in DIY Rose Perfume at Home (Niche Floral). Strips: • Top: bergamot FCF • Heart: rose or geranium • Optional support: 1 dip lavender only • Base: cedar or sandalwood Hold together.
From course: DIY Rose Perfume at Home (Niche Floral)
✨ Beauty & Grooming · Step 7/18
Weigh the floral concentrate
Weigh the floral concentrate — step 7 of 18 in DIY Rose Perfume at Home (Niche Floral). Scale target for ~5.0 g: • Rose/geranium: 2.6 g • Bergamot FCF: 1.4 g • Cedar/sandalwood: 0.8 g • Lavender optional: 0.2 g max Dropper…
From course: DIY Rose Perfume at Home (Niche Floral)
✨ Beauty & Grooming · Step 8/18
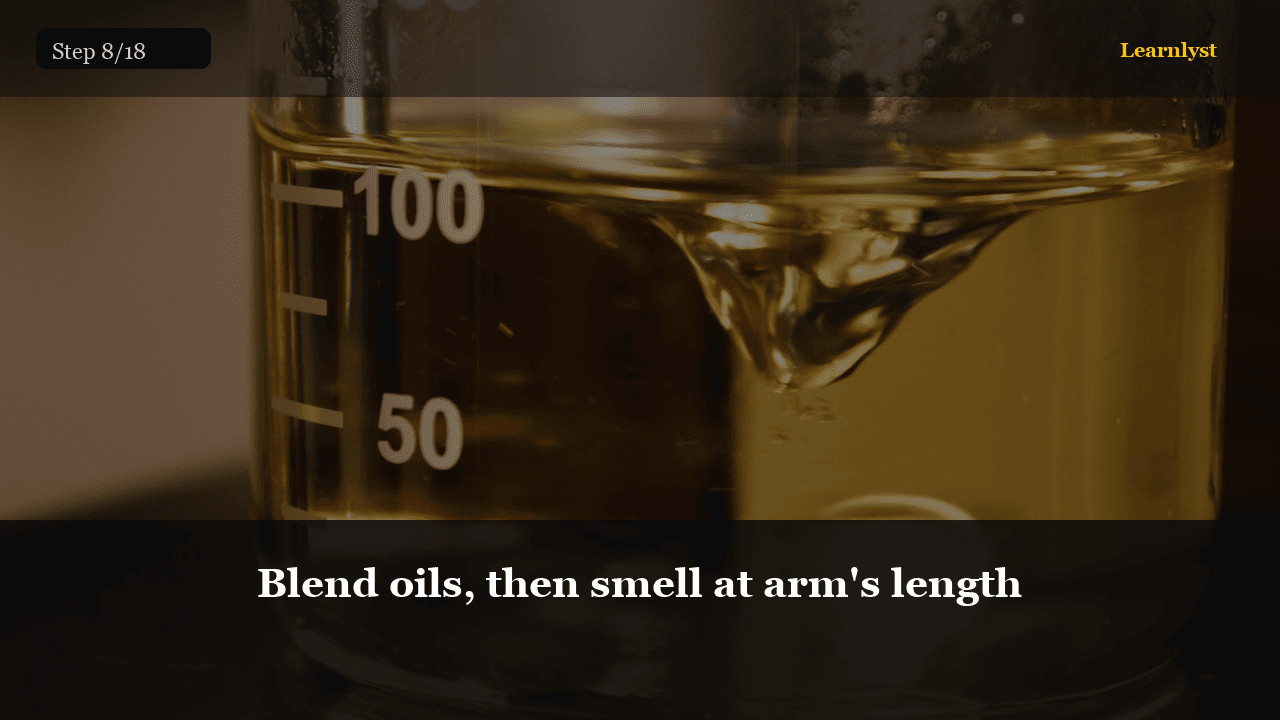
Blend oils, then smell at arm's length
Blend oils, then smell at arm's length — step 8 of 18 in DIY Rose Perfume at Home (Niche Floral). Stir oils in glass until uniform. Arm's-length check: bouquet first, wood second, citrus lift on top.
From course: DIY Rose Perfume at Home (Niche Floral)
✨ Beauty & Grooming · Step 9/18
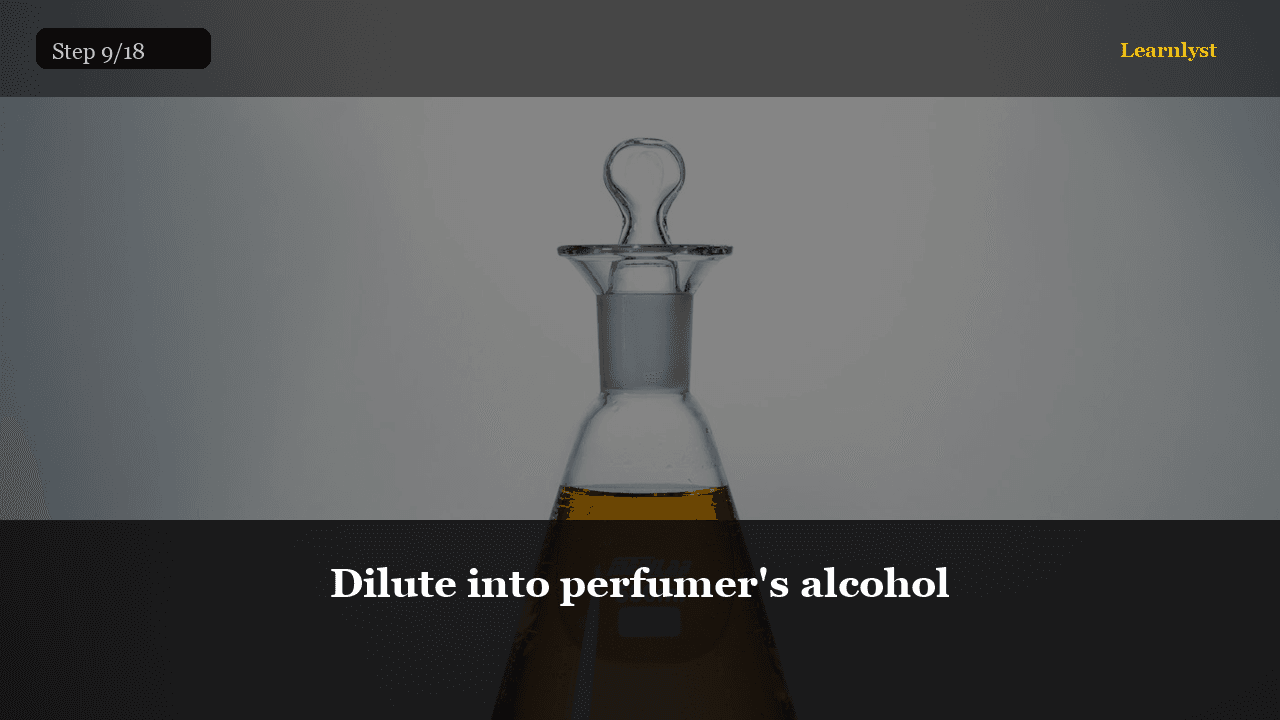
Dilute into perfumer's alcohol
Dilute into perfumer's alcohol — step 9 of 18 in DIY Rose Perfume at Home (Niche Floral). Add concentrate to ~20 ml alcohol for 25 ml finished. Invert gently 20 times. Temp label: Rose Niche — date — 18–20%.
From course: DIY Rose Perfume at Home (Niche Floral)
✨ Beauty & Grooming · Step 10/18
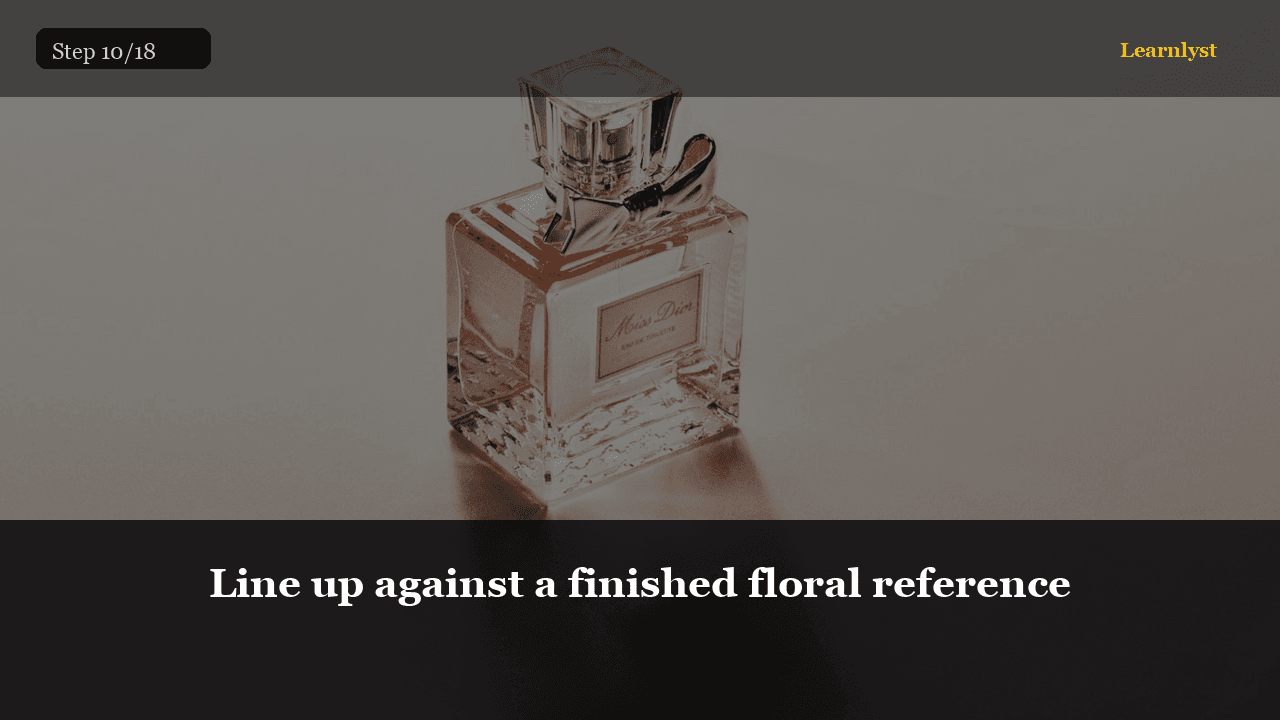
Line up against a finished floral reference
Line up against a finished floral reference — step 10 of 18 in DIY Rose Perfume at Home (Niche Floral). Optional: smell your blend next to a commercial rose EDP you like (not on skin yet). Note gaps: more citrus? more wood?
From course: DIY Rose Perfume at Home (Niche Floral)
✨ Beauty & Grooming · Step 11/18
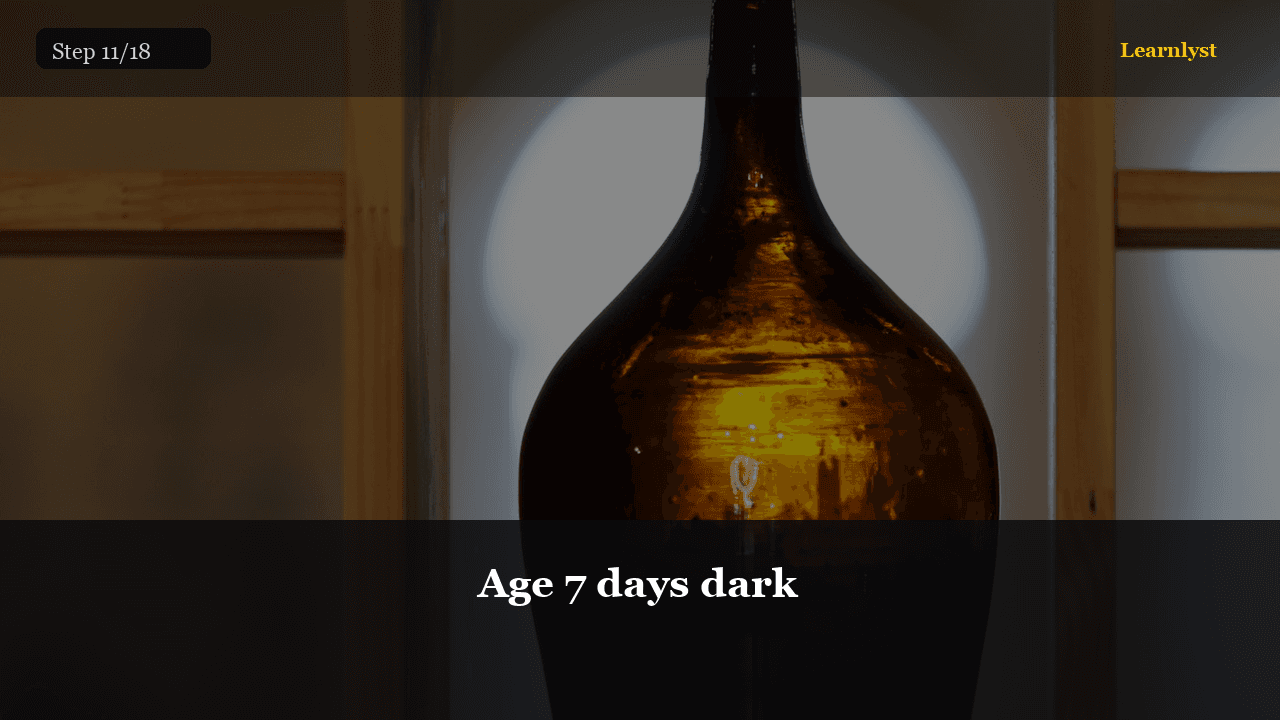
Age 7 days dark
Age 7 days dark — step 11 of 18 in DIY Rose Perfume at Home (Niche Floral). Cool dark rest. Day 3 and day 7 sniff tests. Rose should feel rounder; alcohol bite should fade.
From course: DIY Rose Perfume at Home (Niche Floral)
✨ Beauty & Grooming · Step 12/18
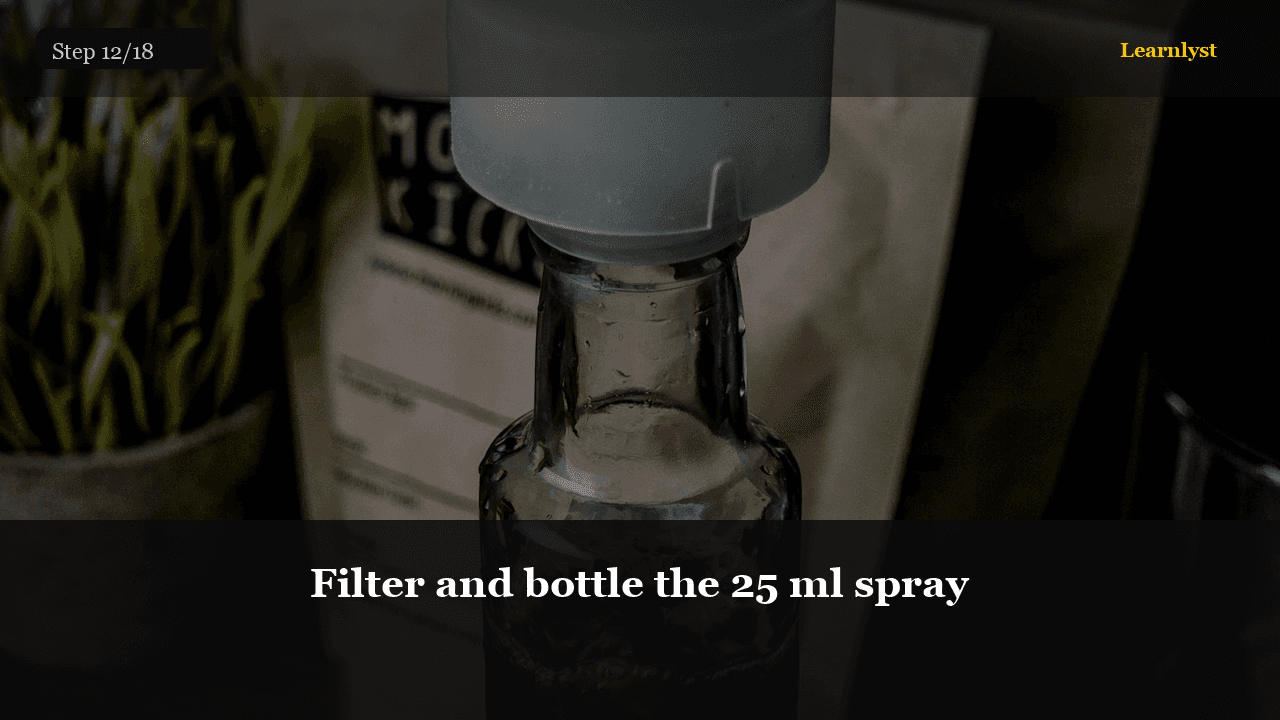
Filter and bottle the 25 ml spray
Filter and bottle the 25 ml spray — step 12 of 18 in DIY Rose Perfume at Home (Niche Floral). Filter if cloudy. Fill spray bottle, cap, wipe. Clear rose bouquet with soft wood dry-down = bottled.
From course: DIY Rose Perfume at Home (Niche Floral)
✨ Beauty & Grooming · Step 13/18
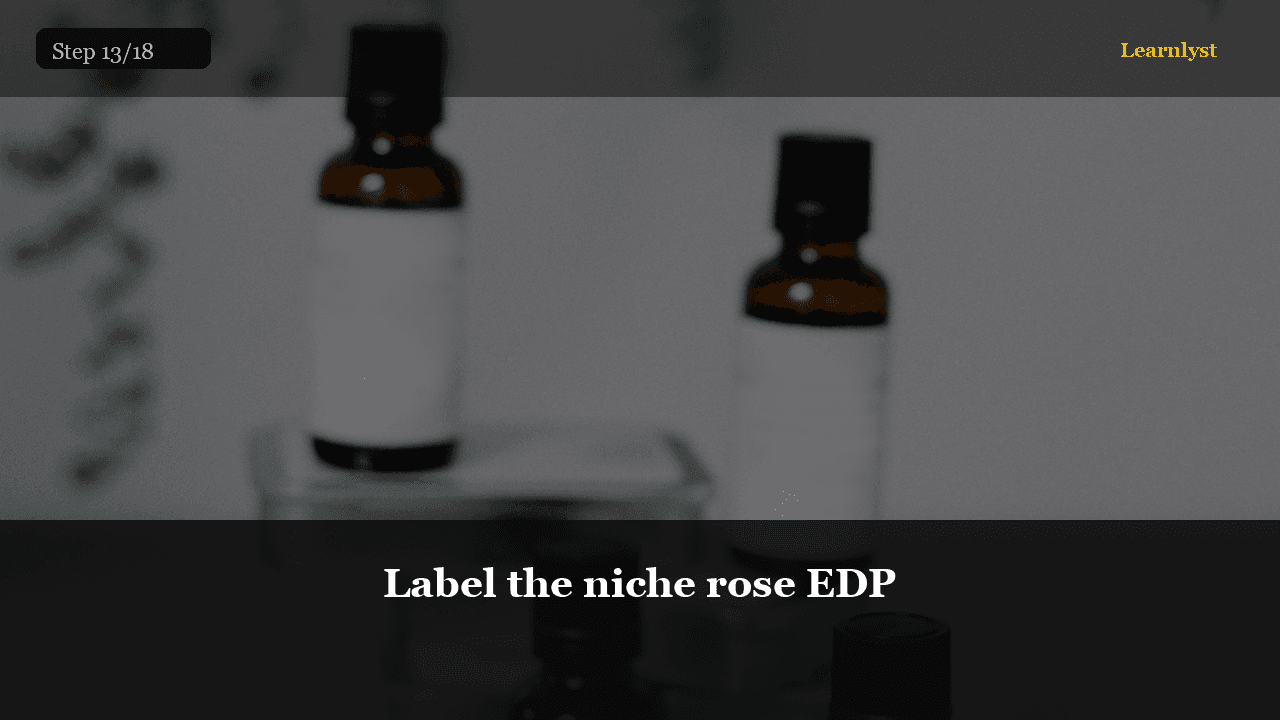
Label the niche rose EDP
Label the niche rose EDP — step 13 of 18 in DIY Rose Perfume at Home (Niche Floral). Label: Rose Niche EDP · % · date · rose/geranium · bergamot · wood. Keep the formula card with the bottle.
From course: DIY Rose Perfume at Home (Niche Floral)
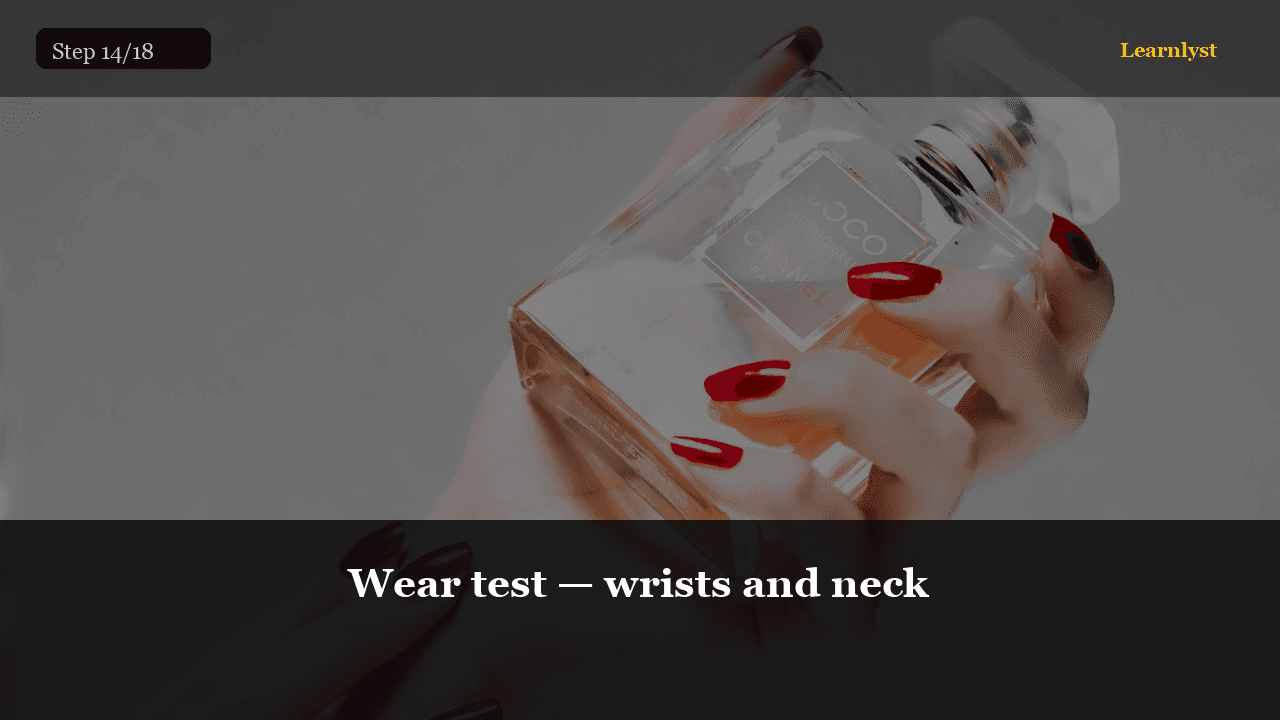
✨ Beauty & Grooming · Step 14/18
Wear test — wrists and neck
Wear test — wrists and neck — step 14 of 18 in DIY Rose Perfume at Home (Niche Floral). Unscented moisturizer first. One spray per wrist, one on neck. Log opening at minute 5. No rubbing. Florals bruise when smashed.
From course: DIY Rose Perfume at Home (Niche Floral)
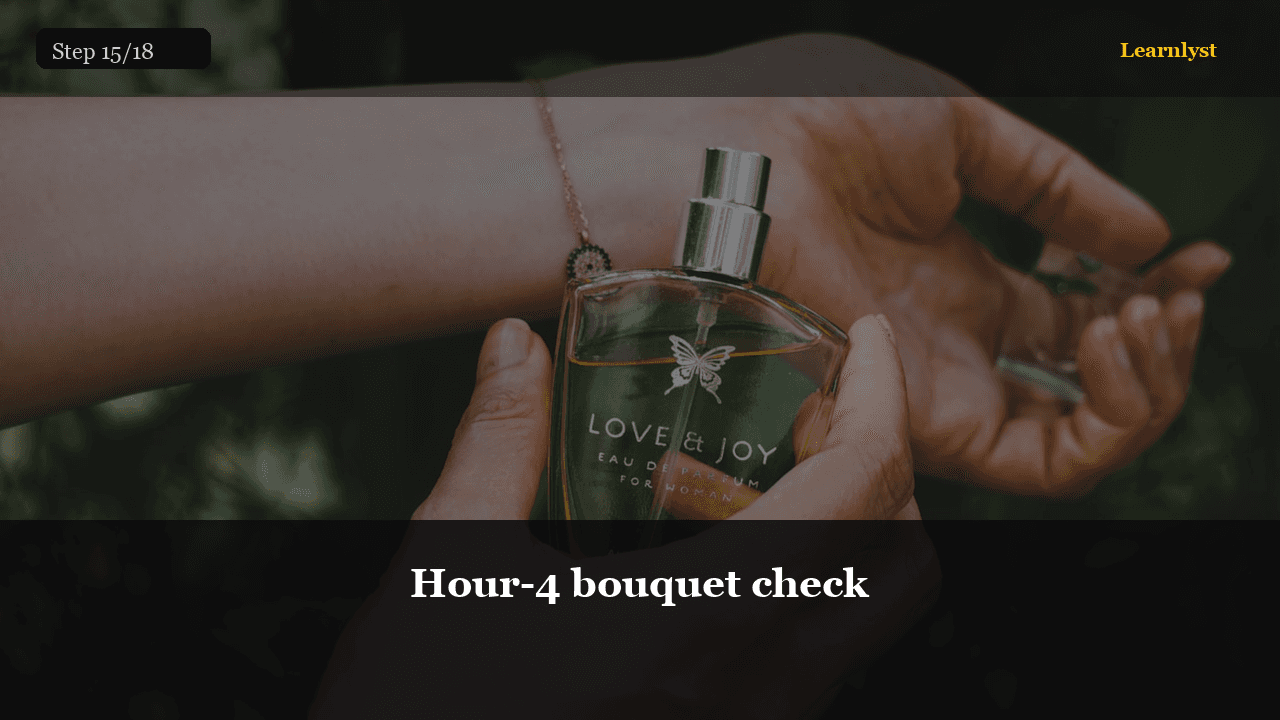
✨ Beauty & Grooming · Step 15/18
Hour-4 bouquet check
Hour-4 bouquet check — step 15 of 18 in DIY Rose Perfume at Home (Niche Floral). At hour 4 the heart should still whisper rose. If only wood remains, raise heart 10% next batch.
From course: DIY Rose Perfume at Home (Niche Floral)
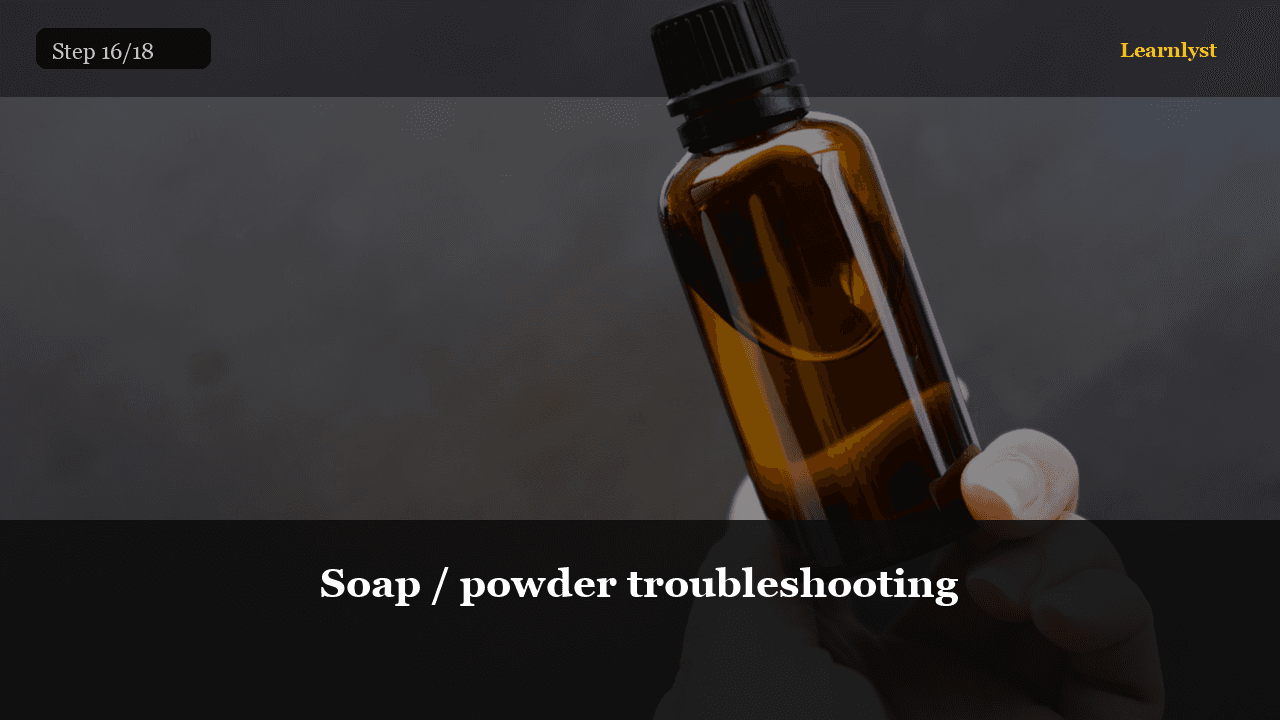
✨ Beauty & Grooming · Step 16/18
Soap / powder troubleshooting
Soap / powder troubleshooting — step 16 of 18 in DIY Rose Perfume at Home (Niche Floral). Soap: cut lavender to zero; raise bergamot slightly on a 5 ml sample. Powder: add 2 drops bergamot + 1 drop cedar to a sample; age 3 days;…
From course: DIY Rose Perfume at Home (Niche Floral)
✨ Beauty & Grooming · Step 17/18
Store cool and dark
Store cool and dark — step 17 of 18 in DIY Rose Perfume at Home (Niche Floral). Upright in a drawer. Cap tight. Florals fade faster in heat and light — treat the bottle like niche perfume, not bathroom decor.
From course: DIY Rose Perfume at Home (Niche Floral)
✨ Beauty & Grooming · Step 18/18
Pass criteria
Pass criteria — step 18 of 18 in DIY Rose Perfume at Home (Niche Floral). You pass when you have: • 25 ml labeled rose EDP • Documented formula (geranium or absolute noted) • 7-day age done • Wear log with opening…
From course: DIY Rose Perfume at Home (Niche Floral)
✨ Beauty & Grooming · Step 1/14
Gear up — no shortcuts
Gear up — no shortcuts — step 1 of 14 in Cold Process Soap Bars for Beginners. Goggles, gloves, long sleeves, closed shoes. Vinegar bottle labeled on counter. Window open.
From course: Cold Process Soap Bars for Beginners

✨ Beauty & Grooming · Step 2/14
Weigh oils and prepare mold
Weigh oils and prepare mold — step 2 of 14 in Cold Process Soap Bars for Beginners. Weigh olive, coconut, castor into heat-safe pot. Line mold with freezer paper if not silicone. All weights on scale — no volume guessing.
From course: Cold Process Soap Bars for Beginners
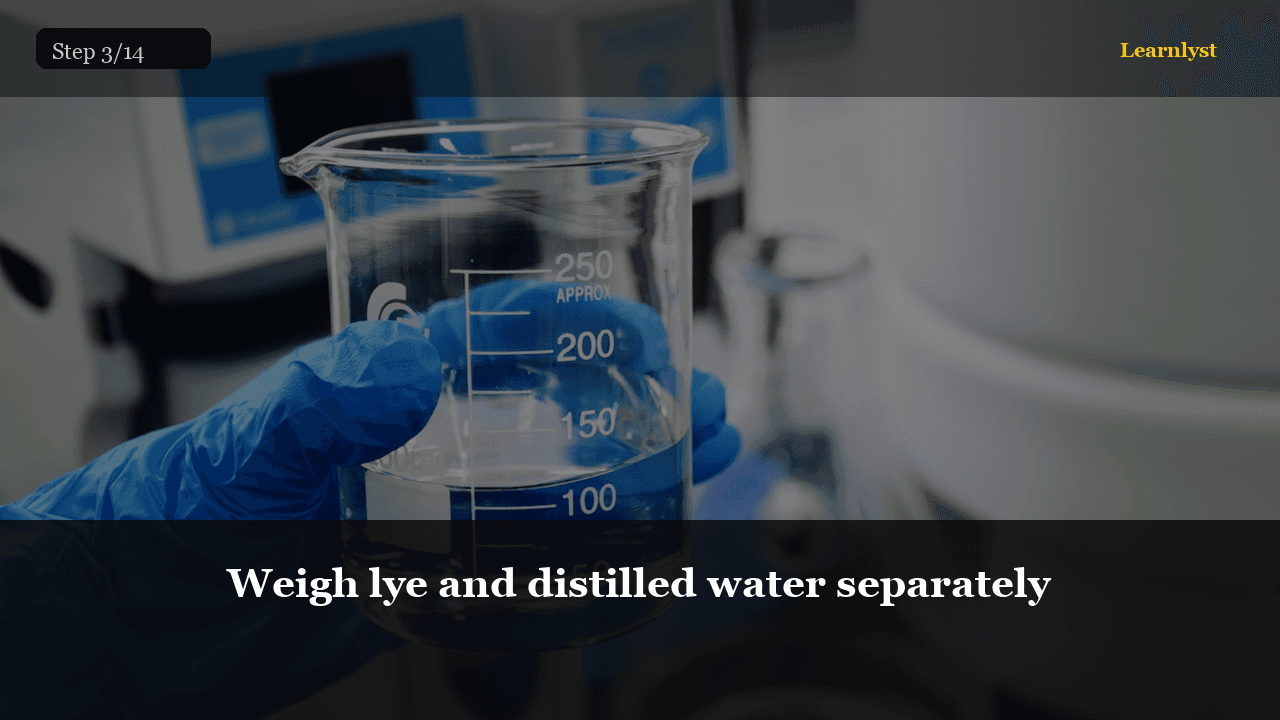
✨ Beauty & Grooming · Step 3/14
Weigh lye and distilled water separately
Weigh lye and distilled water separately — step 3 of 14 in Cold Process Soap Bars for Beginners. Calculator gives exact grams. Pour lye into water in ventilated area, stir until clear. Fumes — step back. Solution hits ~80°C — normal.
From course: Cold Process Soap Bars for Beginners

✨ Beauty & Grooming · Step 4/14
Cool lye and warm oils to 32–38°C
Cool lye and warm oils to 32–38°C — step 4 of 14 in Cold Process Soap Bars for Beginners. Both within 10°C of each other before blending. Too hot = accelerated trace you can't control.
From course: Cold Process Soap Bars for Beginners
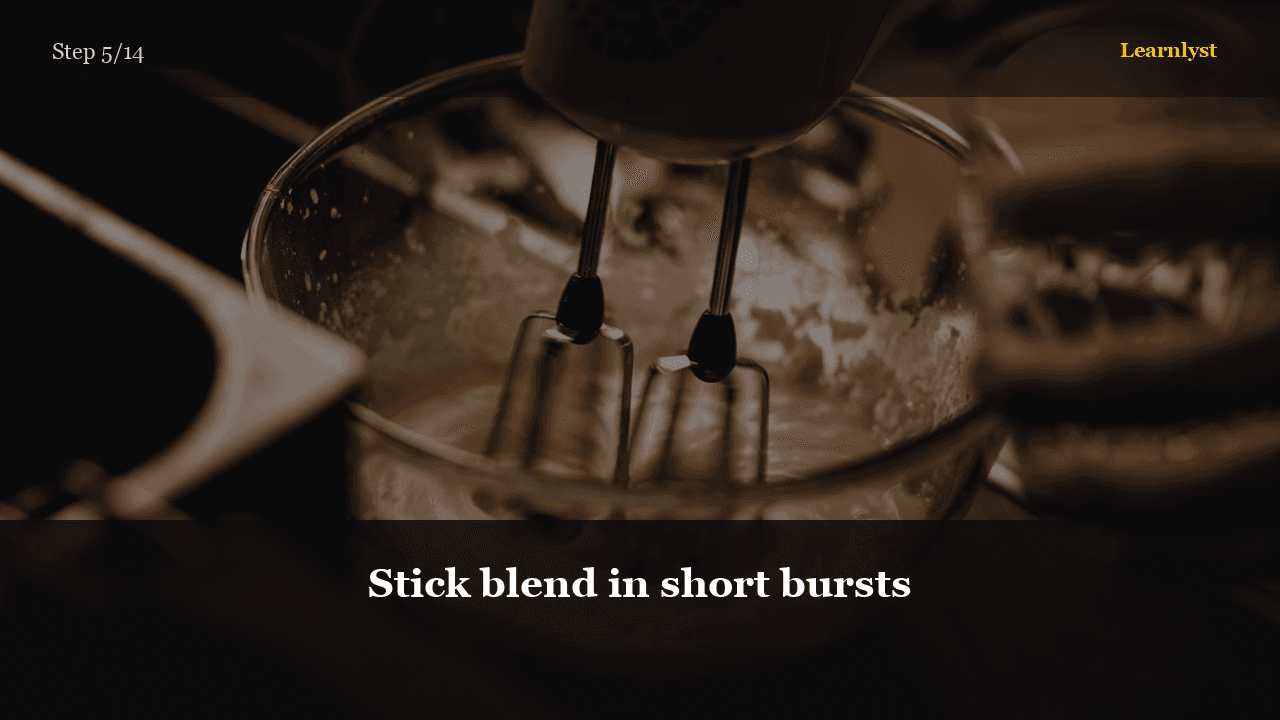
✨ Beauty & Grooming · Step 5/14
Stick blend in short bursts
Stick blend in short bursts — step 5 of 14 in Cold Process Soap Bars for Beginners. Pour lye into oils, burp blender, pulse 3 sec, stir, repeat. Watch for thin trace — drizzle leaves faint trail.
From course: Cold Process Soap Bars for Beginners

✨ Beauty & Grooming · Step 6/14
Add essential oil at light trace
Add essential oil at light trace — step 6 of 14 in Cold Process Soap Bars for Beginners. Swirl in 20 g lavender or tea tree with spatula — don't blender unless you want thick trace instantly.
From course: Cold Process Soap Bars for Beginners
✨ Beauty & Grooming · Step 7/14
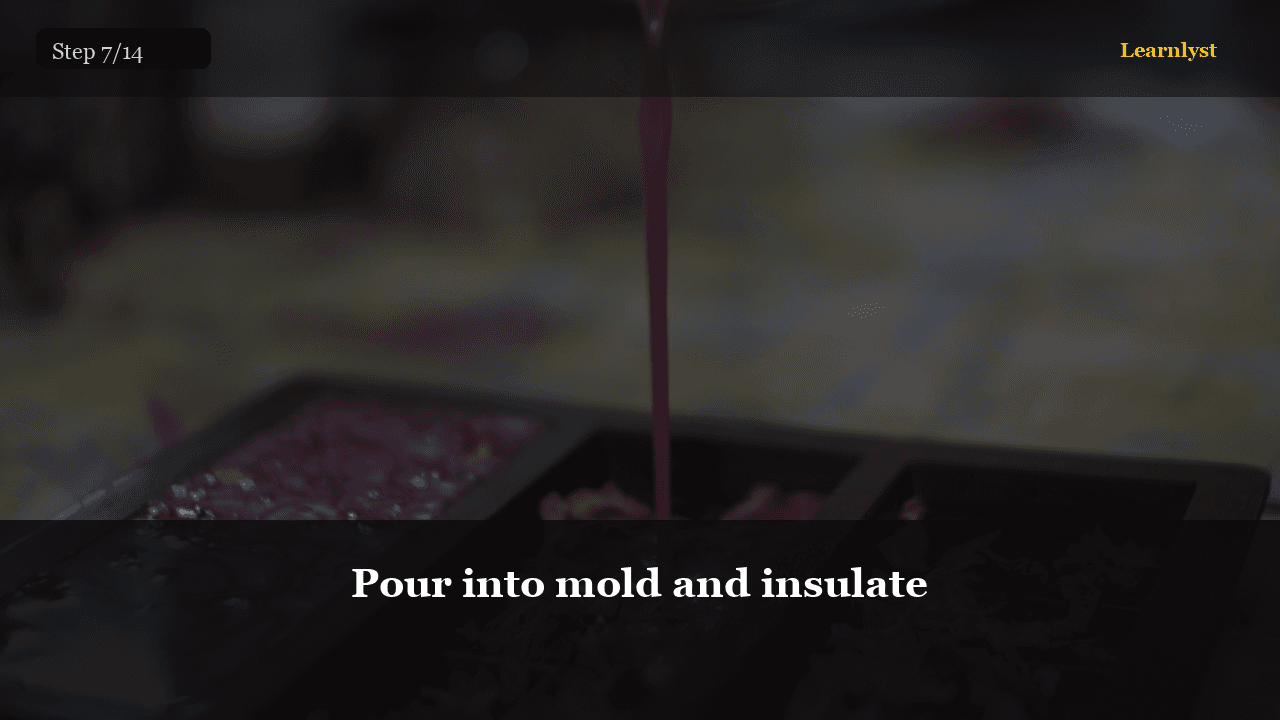
Pour into mold and insulate
Pour into mold and insulate — step 7 of 14 in Cold Process Soap Bars for Beginners. Scrape bowl, tap mold to release bubbles, cover with towel 24–48 h. Do not touch bare soap — pH still hostile.
From course: Cold Process Soap Bars for Beginners
✨ Beauty & Grooming · Step 8/14
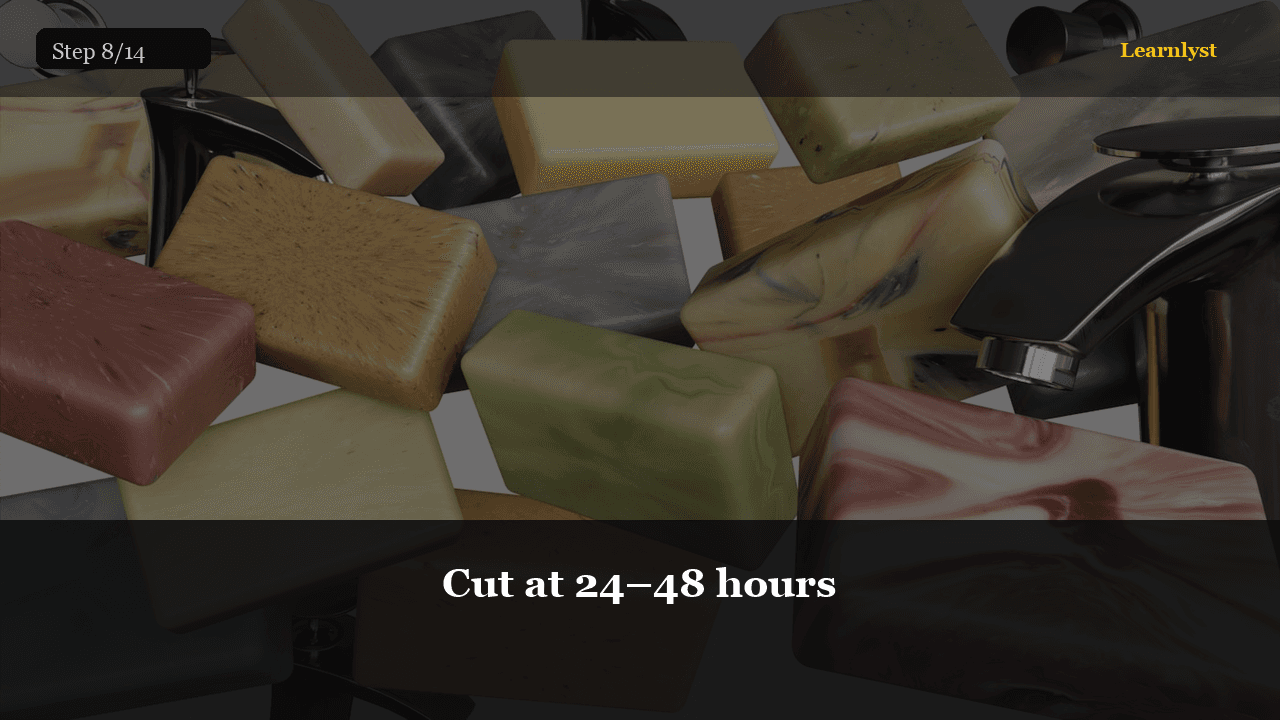
Cut at 24–48 hours
Cut at 24–48 hours — step 8 of 14 in Cold Process Soap Bars for Beginners. Firm like cheddar — if sticky, wait. Cut with wire or knife into 8–10 bars. Wear gloves — still caustic.
From course: Cold Process Soap Bars for Beginners

✨ Beauty & Grooming · Step 9/14
Space bars on rack
Space bars on rack — step 9 of 14 in Cold Process Soap Bars for Beginners. Air flow all sides. Label date. Cure 4 weeks minimum in dry room. Longer cure = milder, harder bar.
From course: Cold Process Soap Bars for Beginners
✨ Beauty & Grooming · Step 10/14
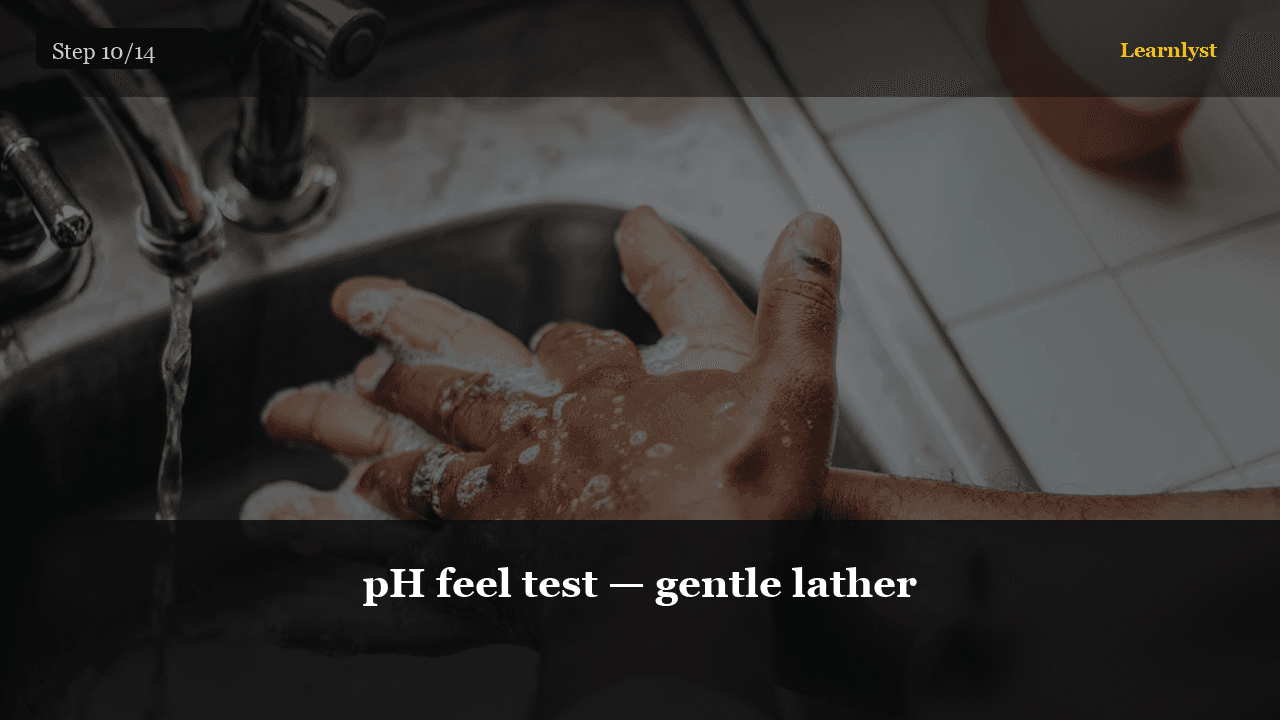
pH feel test — gentle lather
pH feel test — gentle lather — step 10 of 14 in Cold Process Soap Bars for Beginners. After 4 weeks, wet bar, lather hands. Should feel smooth, not slimy burn. If stingy, cure two more weeks.
From course: Cold Process Soap Bars for Beginners

✨ Beauty & Grooming · Step 11/14
Pass criteria
Pass criteria — step 11 of 14 in Cold Process Soap Bars for Beginners. You pass with: safety checklist completed, calculator printout saved, 8+ cured bars, and notes on trace time.
From course: Cold Process Soap Bars for Beginners
Free tips today. Full courses when you are ready.
Create a free account for daily tips — or unlock everything for $9/mo.