
Cleaning & Home Organization · 10 min read
How to Organize a Pantry in One Afternoon (That Stays Usable)
A complete pantry organization system you can finish in one afternoon: clear the shelves, sort what stays, build zones by how you actually cook, label once, and set a simple restock rule so chaos does not return by Tuesday.
Updated 2026-08-23 · Free guide with photo walkthrough in the full course
What you need
- Clear bins or jars for frequently opened dry goods
- Masking tape or a label maker
- Trash bags and a donate box
- Damp cloth and optional shelf liner if shelves are sticky
Tools
- Step stool for high shelves
- Permanent marker
- Phone timer to keep the afternoon on track
Why most pantry makeovers fail in a week
Open Pinterest and every pantry looks identical: matching clear bins, printed labels, and zero visible packaging. That aesthetic can work — but most real kitchens fail the makeover test within days because the system was built for photos, not for how people actually cook.
The usual failure pattern looks like this: you buy containers, decant everything on a Saturday, take a picture, and by Tuesday someone has shoved a grocery bag of snacks on the middle shelf because there was no defined home for it. Cans stack behind other cans. Two open bags of rice sit sideways. The "baking zone" becomes a junk drawer with a nice label.
What actually keeps a pantry usable is simpler than matching bins. You need zones based on how you cook, labels that anyone in the house can read at a glance, and a restock rule that prevents overflow before it starts. Treat the pantry like a tiny store: categories, front-facing stock, and a place for backup — not a museum shelf you are afraid to touch.
This guide walks through a full afternoon reset. Most small-to-medium pantries take two to four hours the first time. Maintenance afterward is five to ten minutes a month. The goal is not perfection. The goal is a pantry where you can find dinner ingredients without digging and where new groceries have an obvious place to land.
What you need before you start
You do not need a shopping spree at the container store. Start with what you have: trash bags, a donate box, a damp cloth, and tape or a label maker. Clear bins help for flour, rice, and cereal because you can see levels at a glance — but decanting every single package creates a second job you will abandon.
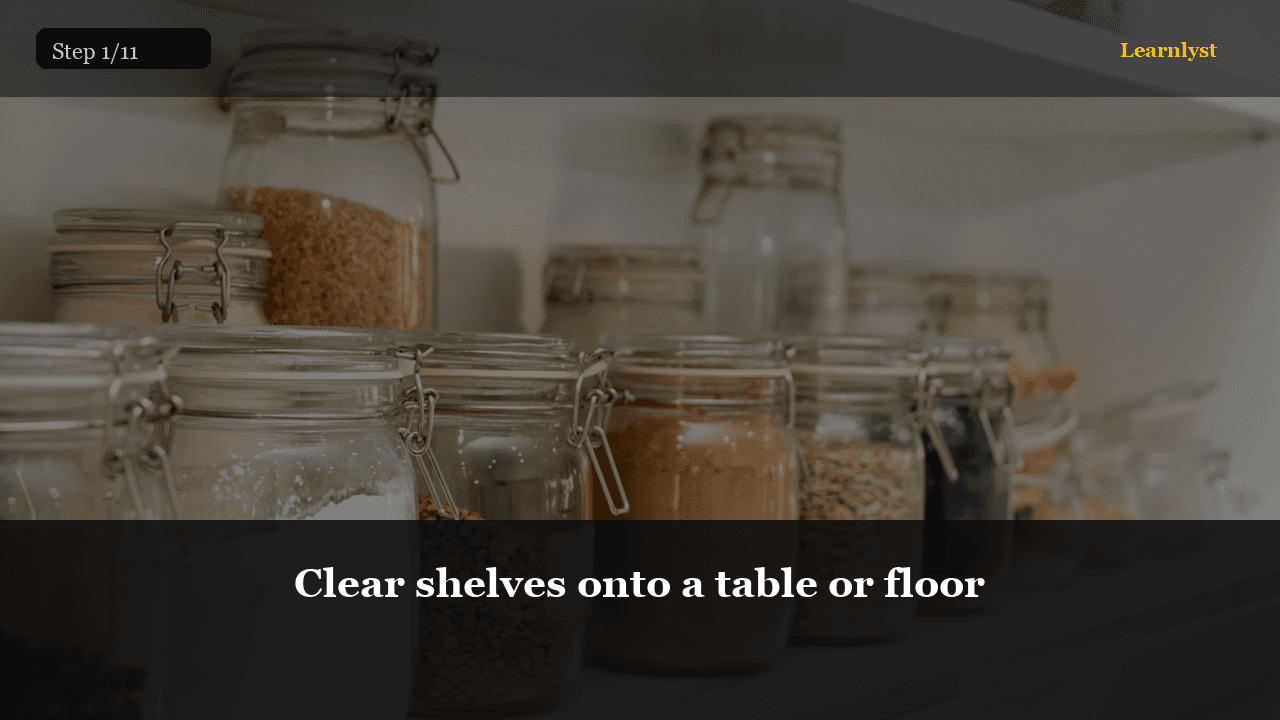
Clear a table or stretch of floor large enough to hold everything from one section of shelves at a time. If space is tight, work one shelf at a time rather than dumping the entire pantry at once. Set a phone timer for two-to-four-hour blocks so you finish instead of pausing halfway with chaos spread across the kitchen.
Before you touch a single box, check expiration dates and discard anything unsafe. If you find insects, moisture damage, or strong odors, discard contaminated packages and clean thoroughly before restocking — do not just rearrange around a pest problem.
- Matching containers are optional; zones and labels are not
- Keep a donate box for unopened food you will never use
- Photograph empty shelves if you rent and need move-out documentation
- Enlist a second person if lifting heavy bulk items is difficult
Step 1 — Empty and wipe (do not skip)
Pull everything onto your sorting surface. Work top to bottom when wiping so crumbs fall onto shelves you have not cleaned yet. This sounds obvious, but skipping the wipe is how sticky honey rings and old spice dust become permanent pantry texture.
As items come off the shelf, make quick decisions. Expired goes to trash. Unopened duplicates you will not use go to donate. Items that belong elsewhere — cleaning supplies mixed with food, random hardware, half-used gift bags — relocate immediately. The pantry should hold food and food-adjacent items only.
When the shelf is empty, wipe with a damp cloth and dry fully. Note any shelf liner that needs replacing or corners that trap crumbs. Deep shelves that are hard to reach will need bin "drawers" later — pull the bin out instead of digging behind three rows of cans.
- Work top to bottom so crumbs fall onto unfinished shelves
- Keep a donate box for unopened food you will not use
- Relocate non-food items the same day or they creep back

Step 2 — Sort into keep, donate, trash, and relocate
Sorting is where most of the time goes, and it is where most of the payoff lives. Group what remains into rough piles before anything goes back on the shelf: cooking staples, snacks, breakfast, baking, canned goods, oils and vinegars, backup bulk.
Be ruthless with duplicates. Three open boxes of the same pasta shape means you are not actually saving money — you are paying rent on shelf space. Consolidate into one open container and donate or use the rest quickly. Mystery bags with no label and no memory of purchase should leave. If you would not serve it to a guest, it probably should not stay.
This is also the moment to notice buying patterns. If you have six bottles of the same spice because you could never find the first one, your problem is visibility and zones — not storage aesthetics. Write that down; it informs where labels go later.

Step 3 — Build zones by how you cook
Zones beat alphabetization every time. Alphabetical order looks smart on paper and fails in real kitchens because nobody thinks "where is the cumin" by spelling — they think by meal.
Put daily items at eye level: breakfast cereal, coffee, snacks you grab after school, cooking oil you use every night. Heavy cans and large jars go on lower shelves where they cannot fall on someone's head. Rare baking supplies and backup bulk go high — reachable with a step stool, not blocking daily access.
A practical zone map for most households:
Breakfast and morning — cereal, oats, coffee, tea, peanut butter, bread-related items. Snacks — chips, bars, fruit snacks; consider one labeled bin at kid height if you want controlled access. Cooking staples — rice, pasta, beans, onions/garlic if stored dry, frequently used canned tomatoes and broth. Oils, vinegars, and sauces — away from the hottest wall if your pantry shares a wall with the stove; heat shortens oil life. Baking — flour, sugar, baking soda, chocolate chips, sprinkles — grouped so one baking session does not scatter the pantry. Backup bulk — costco-size bags, extra paper goods if stored here, overflow only.
If two zones fight for the same shelf, prioritize the one you touch daily. Rarely used items can live awkwardly; daily items cannot.
- Eye level = breakfast, snacks, and nightly cooking staples
- Lower shelves = heavy cans, jars, and water cases
- High shelves = baking extras and backup bulk overflow
- Kids snacks in one labeled bin if you want controlled access

Step 4 — Containers and labels that survive real life
Use clear containers only where they save time: flour, rice, cereal, snacks that go stale in open bags. Do not decant everything. Original packaging with a clear bin around it is fine. The container store fantasy of 40 matching jars is a maintenance job most people quit.
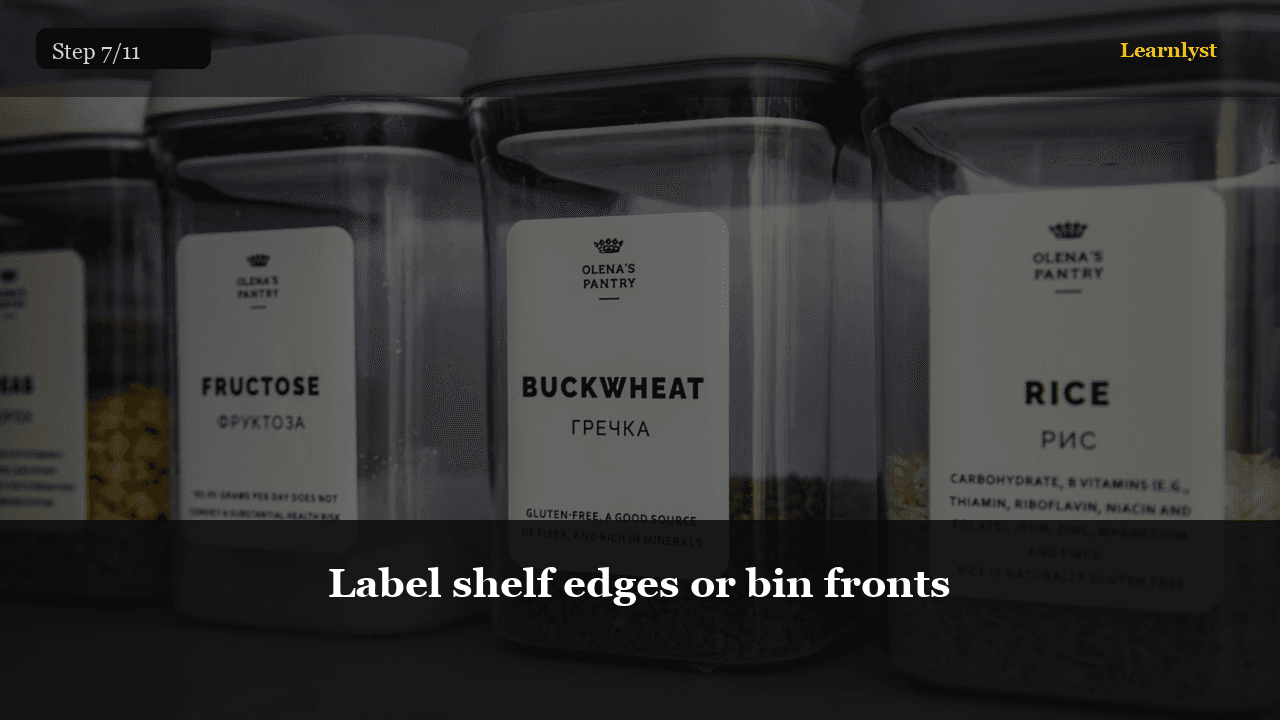
Label the shelf edge or the front of the bin, not only the jar lid. When lids spin and bins shuffle, lid labels lie. Front labels tell the truth. Keep names short: Pasta, Snacks, Baking, Cans. Include an opened date on oils, nuts, and anything that goes rancid — tape and a marker beat memory.
One-open rules matter: one open bag of flour, one open box of crackers. When you open a second before finishing the first, you create invisible waste and shelf sprawl. Write max counts on your restock card: two pasta boxes, one cereal, three canned tomatoes. Shopping gets easier when the pantry tells you what you actually need.
- Decant only foods you open often
- Mark opened dates on oils, nuts, and flours
- One open bag per item type when possible
Food safety while you organize
Dry goods last longer cool, dry, and sealed — but organization is not an excuse to keep unsafe food. If expiration dates are passed, if cans are bulging, or if you see signs of pests, discard and clean before restocking.
Keep raw-adjacent thinking even in a pantry: pet food separate from human food if possible, cleaning chemicals never stored next to edibles, and anything with moisture damage goes out. When in doubt, follow public food-safety guidance from USDA and FDA rather than "it smells fine" social media advice.
Refrigerator rules are separate, but pantry organization connects: when you find three bottles of ketchup in the pantry audit, one may belong in the fridge after opening. Relocate promptly.
The restock rule that keeps it organized
A pantry reset without a restock rule is a performance. The rule can live on an index card taped inside the pantry door:
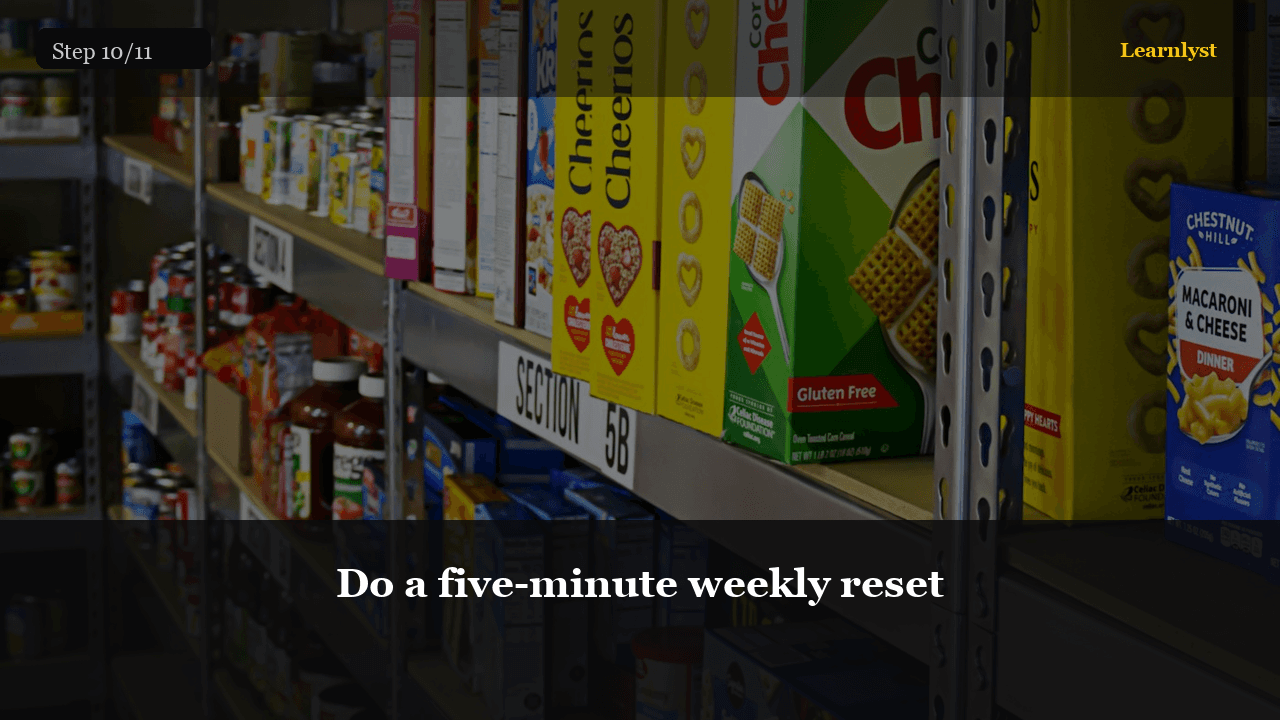
When you open the last unit of a staple, write it on the fridge list before the empty package hits the trash. Before buying bulk, check max counts — if you already have two pasta boxes, you do not need a third. Extras live in one overflow bin or shelf, not scattered across every level. Weekly five-minute reset: face labels forward, toss empty bags, note what is truly out.
This is how pantries stay usable without another full teardown every month. The weekly reset is not cleaning — it is inventory hygiene. Most people skip it until chaos returns, then blame the bins. The bins were never the system.
- Fridge list rule: last unit opened = add to shopping list same day
- Overflow bin for extras until used or donated
- Five-minute weekly face-forward reset

Maintenance, common mistakes, and when to reset again
Expect a full reset once, then maintenance forever. Monthly, spend five minutes on face-forward and expired checks. Seasonally, before holidays or big shopping trips, audit max counts and donate duplicates.
Common mistakes to avoid:
Buying containers before sorting — you end up with wrong sizes and more clutter. Decanting everything — creates work and often hides expiration dates you need to see. No overflow plan — bulk buys sprawl because backup had no home. Labels only on lids — lids rotate; front labels do not. Skipping the restock card — the pantry looks good for photos, then grocery trips undo the logic.
Deep shelves stay usable with pull-out bins. Treat each bin like a drawer: pull forward, take what you need, slide back. If you rent a small apartment pantry, vertical risers and door racks help, but zones still matter more than square footage.
When life happens — new roommate, baby starting solids, dietary change — run a mini sort on one zone rather than waiting for total failure. Partial resets beat all-or-nothing perfectionism.
FAQ
Do I need matching containers?
No. Matching containers look nice, but zones and labels matter more. Buy clear bins only for foods you open often — flour, rice, cereal, snacks. Cleaned original packaging works if it is grouped and labeled.
How long does a first pantry organize take?
Most small-to-medium pantries take two to four hours including wipe-down and sorting. Large stockpiles or deep corner pantries may need a second session — finish zones before buying more storage.
What about deep shelves I cannot reach?
Use bins as drawers. Pull the bin out instead of digging behind rows of cans. Keep daily items off the deepest shelf; reserve it for backup bulk and rarely used items.
Will it stay neat after one afternoon?
Only if you follow restock rules: one open bag per item, max counts before buying more, and a five-minute weekly reset. Without habits, any system fails — not just pantries.
Small pantry — does this still work?
Yes. Use vertical risers and door racks if helpful, but zones and labels beat square footage. Keep daily items at eye level and move bulk elsewhere if needed.
Related guides

Sources
Keep learning
Want the full photographed walkthrough?
Organize a Pantry in One Afternoon — every step with photos inside Learnlyst. From $9/mo or $79/yr.