
Food & Cooking · 5 min read
How to Cook Chicken Breast That Is Not Dry
Dry chicken breast is usually uneven thickness and overcooking — not bad luck. Learn to pound or butterfly for even cooking, salt ahead, cook to temperature instead of guesswork, and rest before slicing for juicy results every time.
Updated 2026-08-23 · Free guide with photo walkthrough in the full course
What you need
- Boneless skinless chicken breasts
- Salt and optional pepper or spices
- Oil or butter for the pan
- Instant-read meat thermometer
Tools
- Cutting board and parchment or plastic wrap
- Meat mallet or heavy pan for pounding
- Skillet or sheet pan for oven method
The real reason chicken breast dries out
Chicken breast is lean muscle with little fat to forgive mistakes. The thick end of a typical breast can be twice the height of the thin tip — so by the time the thick center is safe to eat, the edges are overcooked and chalky.
Most home cooks rely on time guesses ("six minutes per side") or visual cues ("until juices run clear"). Both fail because breast size, pan heat, and starting temperature vary. The reliable fix is even thickness plus thermometer — not more sauce to rescue dry meat.
Sauce can mask dryness; it cannot fix it. Learn the mechanics once and weeknight chicken becomes predictable instead of a lottery.
Pound or butterfly to even thickness
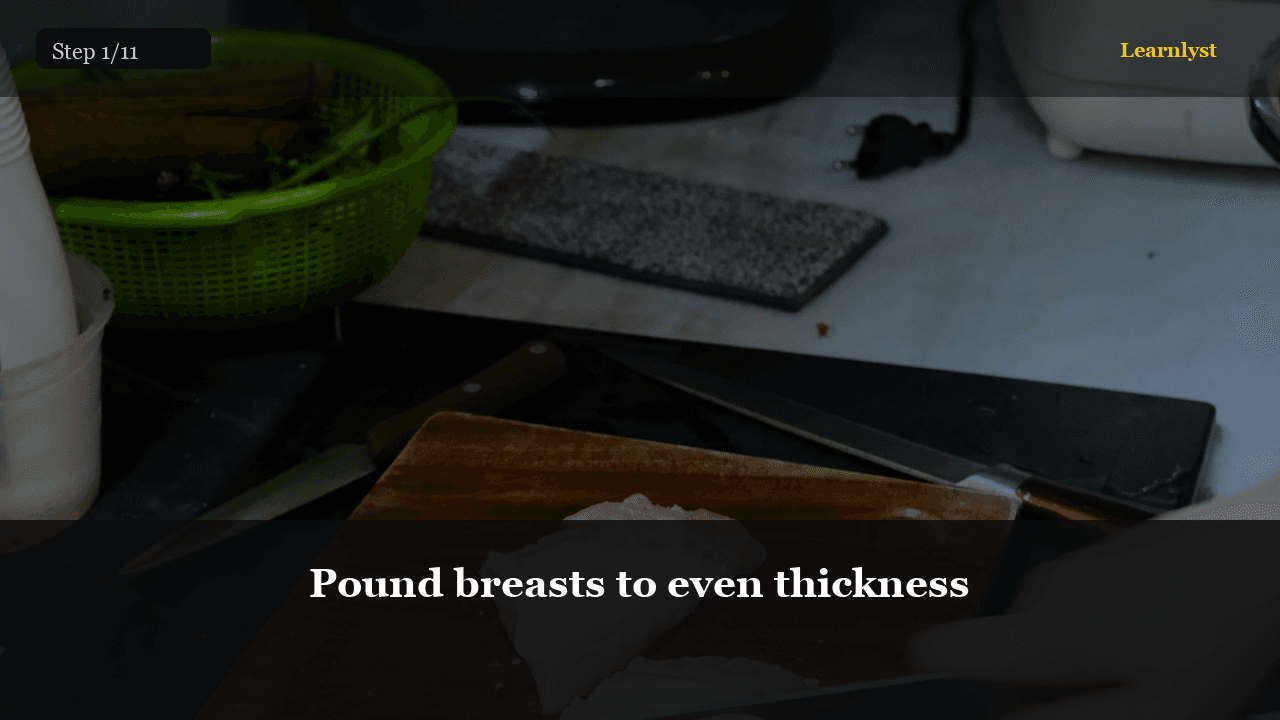
Place the breast between parchment or plastic wrap on a cutting board. Gently pound the thick end with a meat mallet or the bottom of a heavy pan until the piece is roughly uniform height — about half an inch to three-quarters inch for most pan cooking.
Alternatively, butterfly the breast: slice horizontally almost through, open like a book, and pound lightly if one side is still thicker. Even pieces cook evenly; uneven pieces always sacrifice one zone.
Pat dry with paper towels before seasoning. Surface moisture steams instead of browns — and browning adds flavor that makes lean breast taste like dinner, not diet food.
- Target roughly uniform thickness end to end
- Butterfly option if you prefer not to pound hard
- Pat dry before salt and heat
Salt ahead when you can
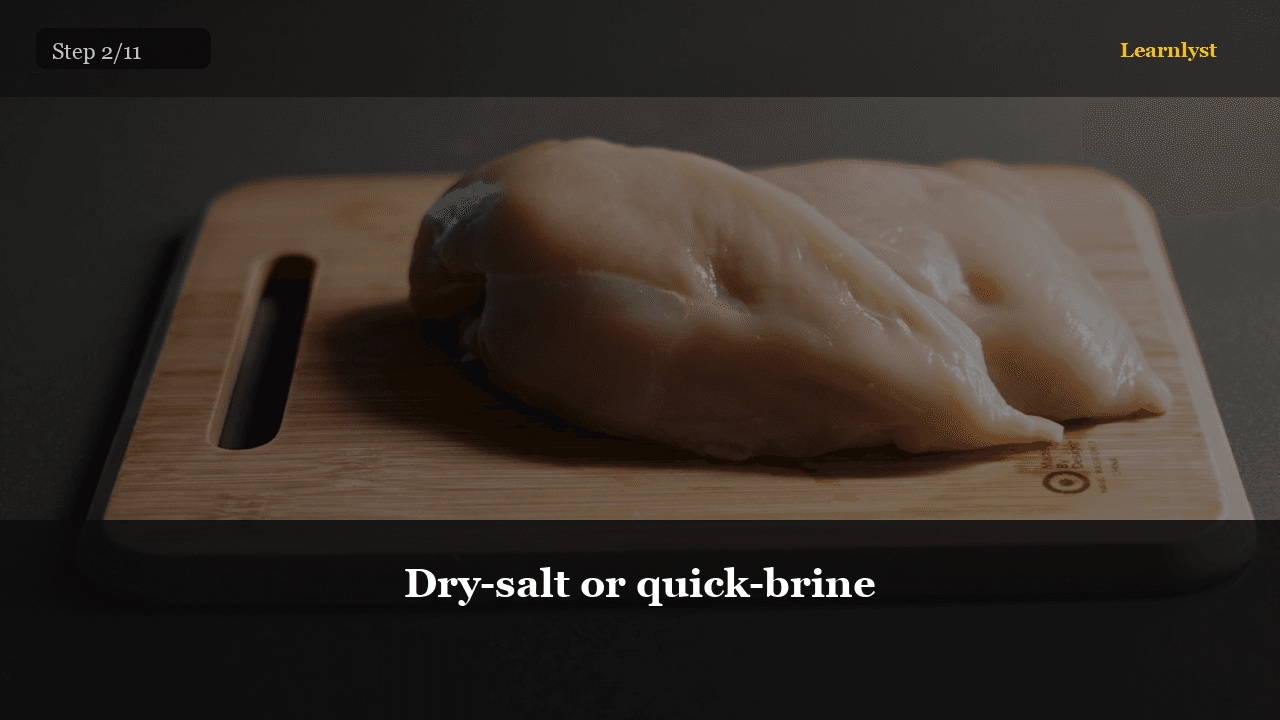
Season with salt 20–40 minutes before cooking when possible. Short salting helps seasoning penetrate and improves moisture retention in lean breast. A quick dry brine (salt plus optional spices, rest uncovered in fridge) works in the same window.
If you only have five minutes, salt right before cooking — still better than nothing. Avoid salting heavily then cooking immediately on wet surface; pat dry again if liquid pools.
Pepper and spices can go on with salt or after pat-dry. Garlic powder and paprika are weeknight-friendly; fresh herbs go on after rest if you want bright flavor.
Pan method for weeknight chicken
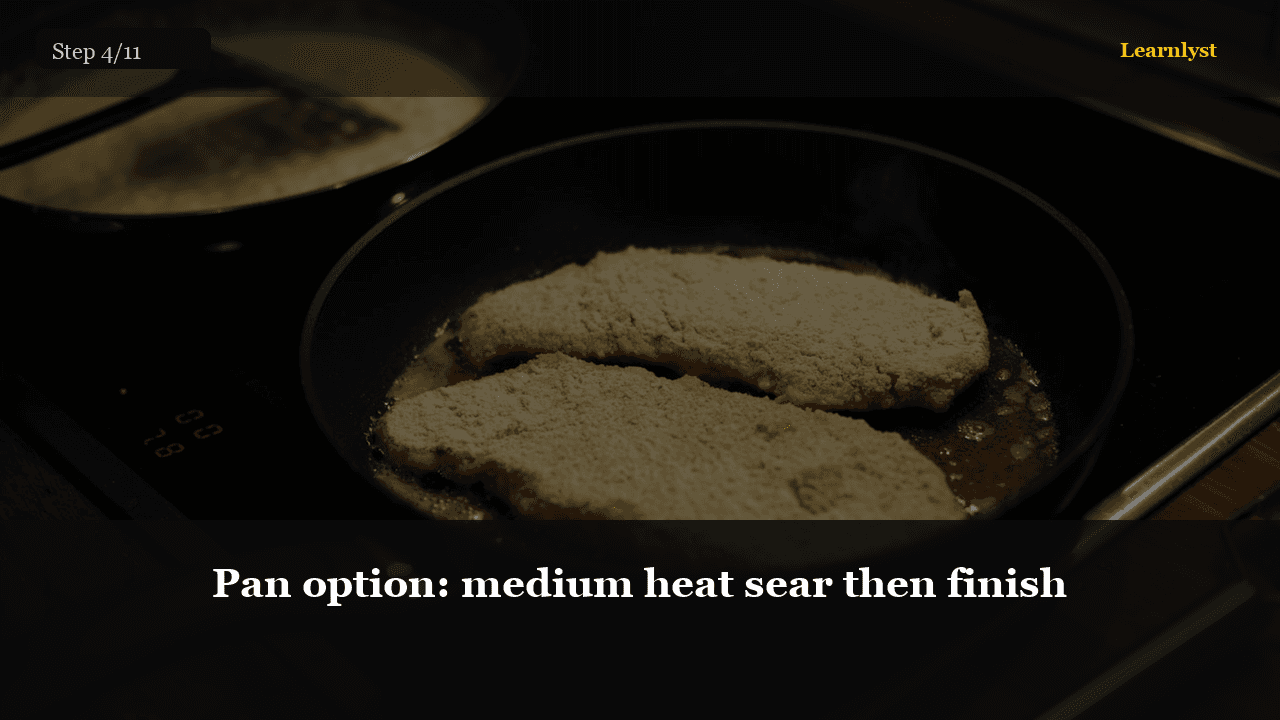
Heat a skillet over medium-high until oil shimmers. Add chicken without crowding — batch if needed. Crowding drops temperature and steams.
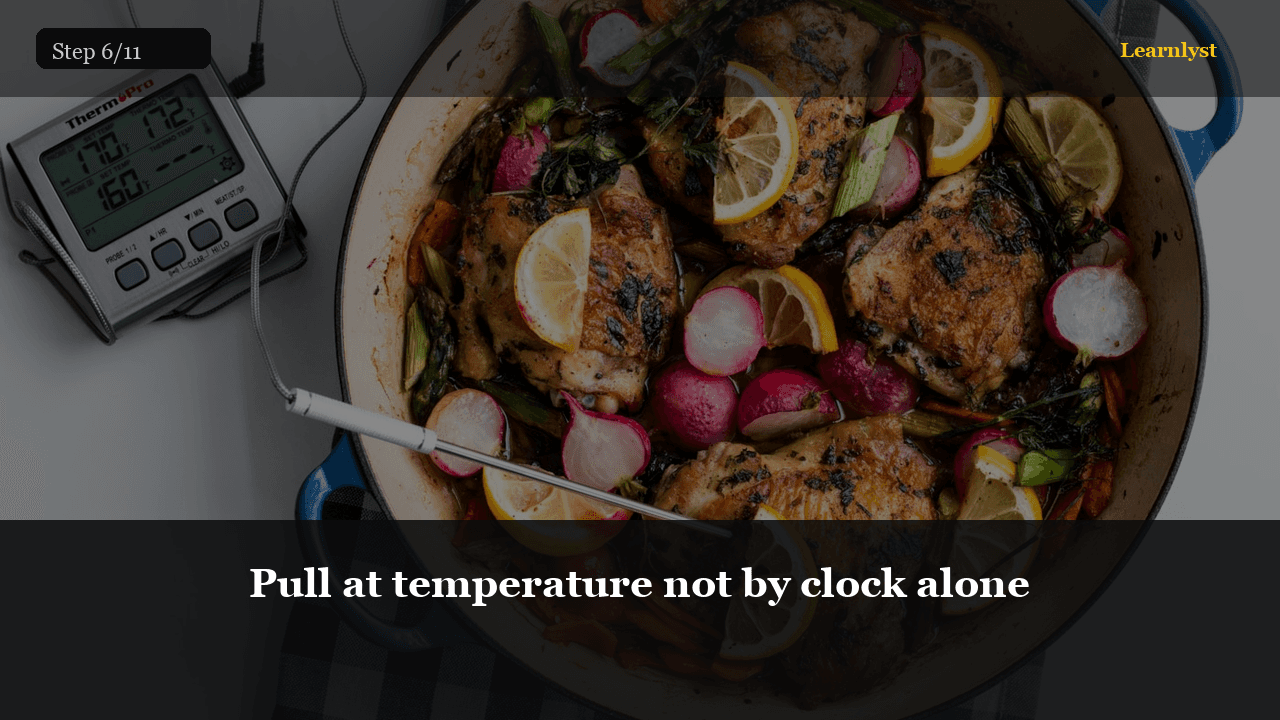
Cook until deep golden on the first side, flip once, reduce heat slightly if browning too fast. Start checking temperature in the thickest part a few minutes after flip. Pull when thermometer reads the USDA safe minimum for poultry — 165°F (74°C) at the thickest point.
If exterior browns before center is done, lower heat and add a minute covered, or finish in a 375°F oven for five minutes. The thermometer decides done — not the clock.
- Do not crowd the pan
- Flip once when first side is well browned
- Thermometer at thickest part, not the edge
Oven method for multiple breasts
Oven method suits meal prep or feeding more people. Preheat to 400°F (205°C). Season pounded breasts, optionally sear one minute per side in an oven-safe skillet for color, then transfer to oven.
Bake until 165°F at thickest part — typically 15–22 minutes depending on thickness and quantity. Rest on a cutting board three to five minutes before slicing across the grain.
Slice across the grain for tender bites. Parallel slicing with the muscle fibers gives chewy strings even when temperature was perfect.
Food safety first
Undercooked poultry is a real risk. Rely on temperature, not color or juice appearance. Use a clean instant-read thermometer every time until you trust your thickness and heat combo.
Separate raw poultry boards and utensils from produce. Wash hands after handling raw chicken. Refrigerate leftovers within two hours and reheat until steaming hot throughout.
Follow USDA FSIS guidance for safe minimum internal temperatures and handling. When in doubt, cook a degree higher and rest — dryness from two degrees over is less risky than undercooked center.
Quick reference — juicy chicken checklist
Print or save this sequence for weeknight cooking:
1. Pound or butterfly to even thickness (~½ inch). 2. Pat dry, salt 20–40 minutes ahead if possible. 3. Preheat pan until oil shimmers — do not crowd. 4. Brown one side, flip once, reduce heat if needed. 5. Thermometer in thickest part — 165°F (74°C). 6. Rest 3–5 minutes, slice across the grain.
Pan for one to two breasts; oven at 400°F for batches. Frozen chicken: thaw in fridge overnight first. Leftovers: refrigerate within 2 hours, reheat until steaming.

Common mistakes and quick fixes
Cooking from frozen without adjusting — thaws unevenly; thaw in fridge overnight for even results.
Skipping rest — juices run out on the board; always wait three to five minutes.
Cutting to "check" — each cut releases moisture; use thermometer instead.
Boiling in crowded pan — lower heat, fewer pieces, or finish in oven.
Only thick grocery breasts — pound or buy cutlets when time is short.
Dry chicken is fixable with process. Once even thickness and thermometer become habit, you will rarely need rescue sauces again.

FAQ
Pan or oven?
Pan is faster for one or two breasts on weeknights. Oven is more hands-off for four or more. Both work if thickness and temperature are right.
Can I use frozen chicken?
Thaw fully in the fridge first for even cooking. Cooking from frozen needs longer time and still requires a thermometer check in the thickest part.
What temperature is safe?
USDA recommends 165°F (74°C) at the thickest part of poultry. Use an instant-read thermometer — do not guess from time alone.
Why rest after cooking?
Muscle fibers relax and juices redistribute. Slicing immediately forces moisture out onto the cutting board instead of staying in the meat.
Related guides
Sources
Keep learning
Want the full photographed walkthrough?
Cook Chicken Breast That Is Not Dry — every step with photos inside Learnlyst. From $9/mo or $79/yr.