
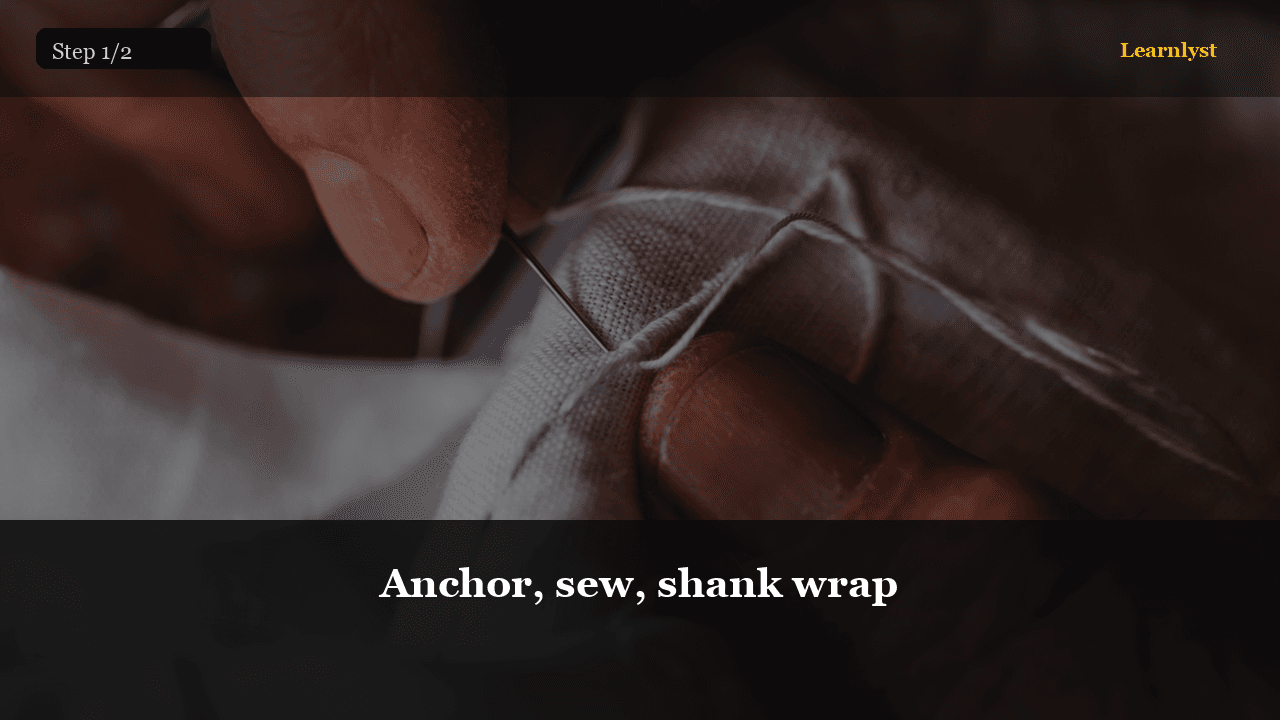
01Anchor, sew, shank wrap
Knot doubled thread. Anchor on underside. Sew through holes 6–8 times with a toothpick under the button for gap.
Remove toothpick, wrap thread around the stem under the button several times, then lock knot underneath. Trim.
Thread lock, shank space, reinforce — 10 minutes beats a tailor trip
Everyday repair: needle, matching thread, double thread with knot, sew through holes leaving a thread shank for thick fabric, wrap shank, lock knot. Coat and shirt buttons. Stop losing buttons in the laundry after one wear.
Full step-by-step lessons with photos unlock with a subscription.
Free preview
See how every step looks — photo, checklist, and pro tips included.
Knot doubled thread. Anchor on underside. Sew through holes 6–8 times with a toothpick under the button for gap.
Remove toothpick, wrap thread around the stem under the button several times, then lock knot underneath. Trim.
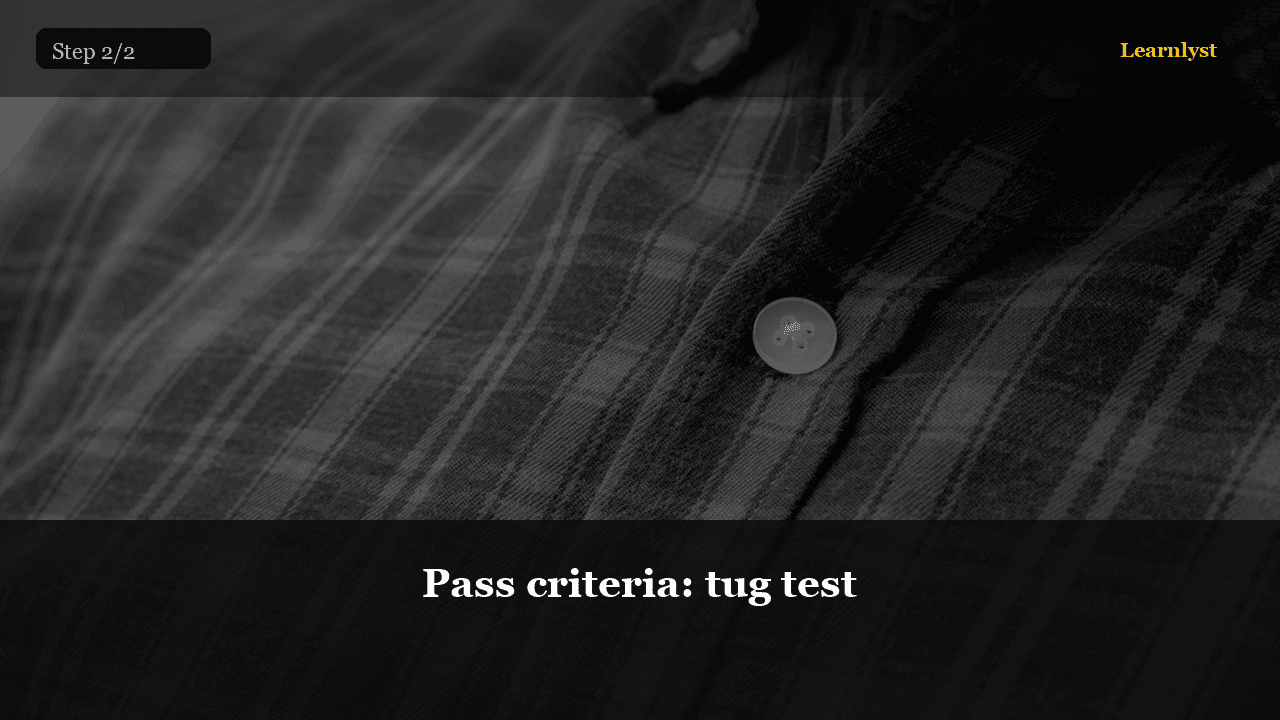
Tug firmly. Button the garment once. You pass when it doesn't wobble off and the fabric lies flat without puckering to death.
Keep a mini kit in the junk drawer — future you will need it.
Pro tip. Save spare buttons from new shirts in a small envelope labeled.
Full library access
Subscribe for $9/month or $79/year — every category, every guide.
View plansEach tip has its own step photo — browse free, then unlock the full course.
More Everyday Life tips →Related courses with photographed steps — browse before you subscribe.

Morning Routine That Actually Sticks
Three anchors, phone rules, and a chaos-day minimum

Fold a Fitted Sheet the Easy Way
Tuck corners, smooth, and store — sheets that stack flat

How Your Refrigerator Actually Works
Compressor, coils, expansion — why heat leaves the box and bills climb when coils are filthy

Grocery Shopping That Saves $50 a Week
Meal plan, list by aisle, and stop overspending on autopilot
$9/month · Cancel anytime · All courses included
Sign up to unlock