
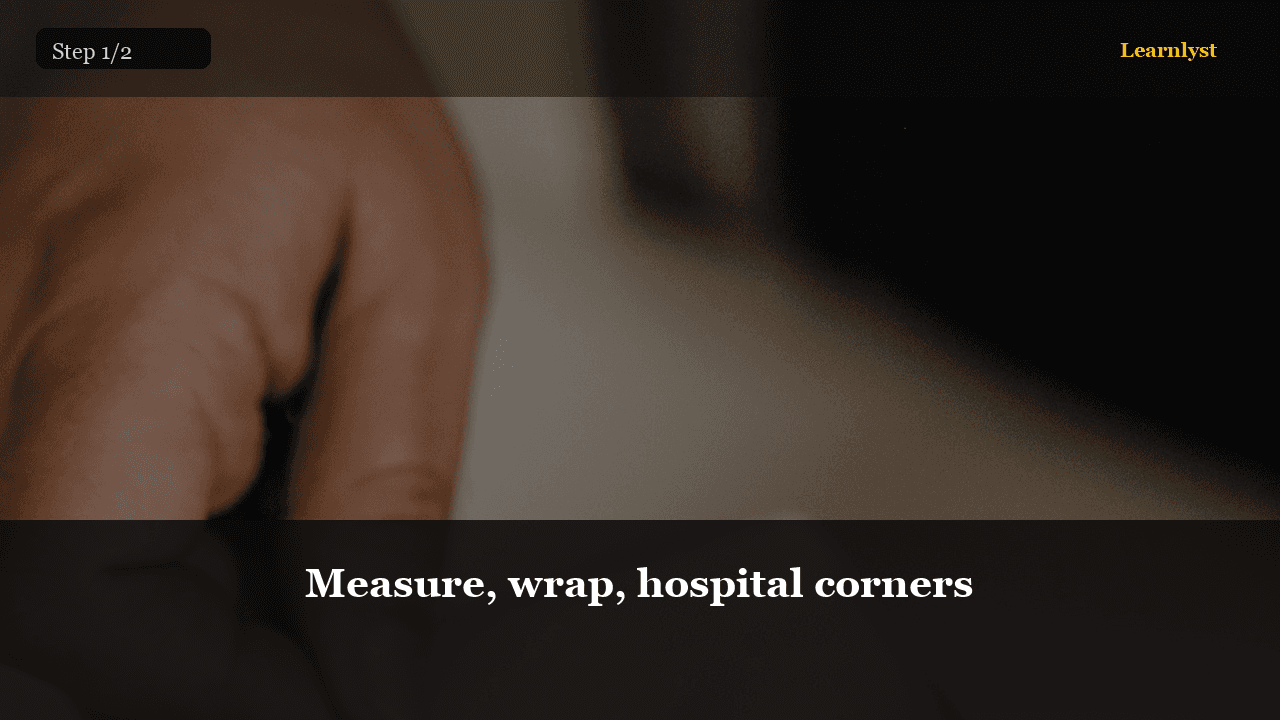
01Measure, wrap, hospital corners
Roll gift for length/width with ~2 in overlap. Cut. Seam on bottom or back. Fold ends like hospital corners — crisp triangles tucked under.
Burnish creases with a card edge.
Sharp folds, clean seams, ribbon that doesn't sag — 10-minute polish
Wrapping life skill: measure paper once, hospital corners, double-sided tape hidden, ribbon with a real bow or simple knot + tag. Kraft paper + good ribbon beats cartoon paper with messy folds. Looks thoughtful without craft-store overwhelm.
Full step-by-step lessons with photos unlock with a subscription.
Free preview
See how every step looks — photo, checklist, and pro tips included.
Roll gift for length/width with ~2 in overlap. Cut. Seam on bottom or back. Fold ends like hospital corners — crisp triangles tucked under.
Burnish creases with a card edge.
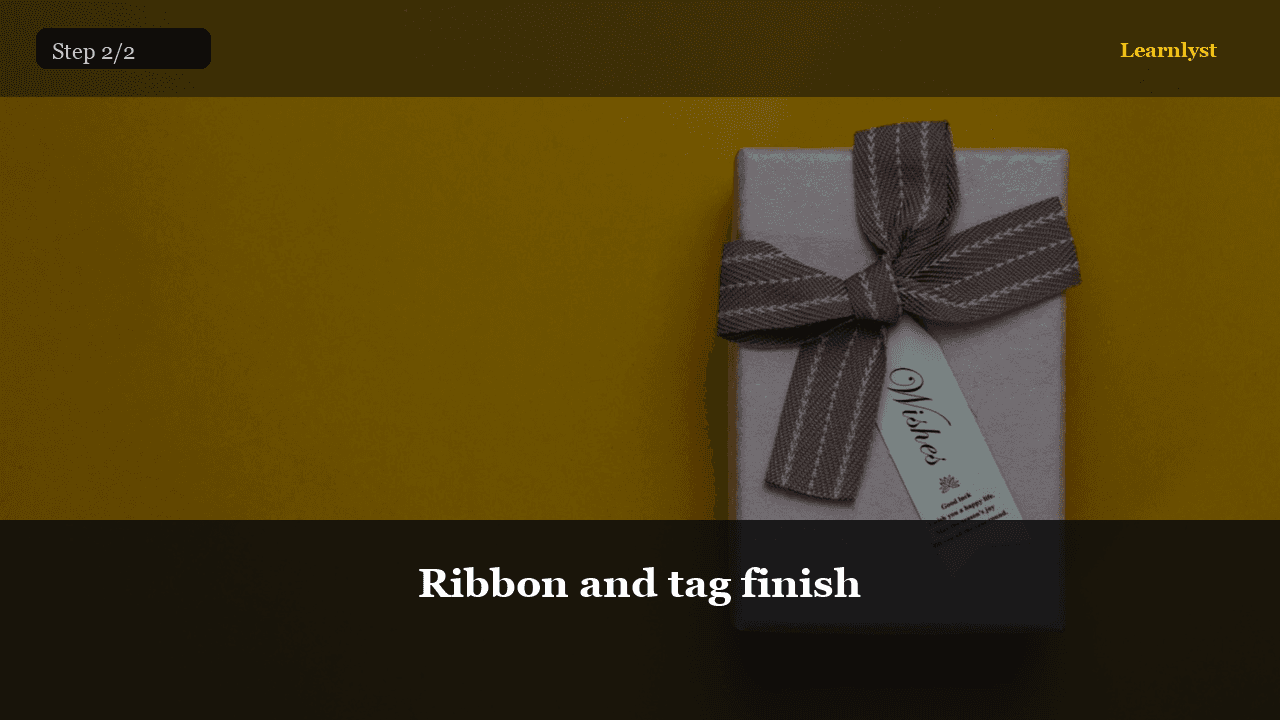
Double-sided tape on seam so nothing shiny shows. Ribbon cross or single band. Real bow or neat knot. Tag with name only — short.
You pass when it looks store-counter from 1 meter away.
Pro tip. Less paper = sharper. Bulky wraps read as rushed.
Full library access
Subscribe for $9/month or $79/year — every category, every guide.
View plansEach tip has its own step photo — browse free, then unlock the full course.
More Gifts & Giving tips →Related courses with photographed steps — browse before you subscribe.

Pick a Gift They'll Actually Use
Stop guessing — read their life, not a gift guide

Last-Minute Host Gift Under $25
Wine-not-only options: candle, good chocolate, kitchen staple — with a note
Wrap a Gift That Looks Expensive
Sharp folds, double-sided tape, one ribbon — clean finish in 10 minutes

The Three-Question Gift Test
Filter every idea in 90 seconds before you spend
$9/month · Cancel anytime · All courses included
Sign up to unlock